Upgrade to v4.1
Follow these steps to upgrade the Bold BI Azure App service to version 4.1:
-
Log in to the Azure Portal and select the Bold BI Azure App Service in Microsoft Azure Services.
-
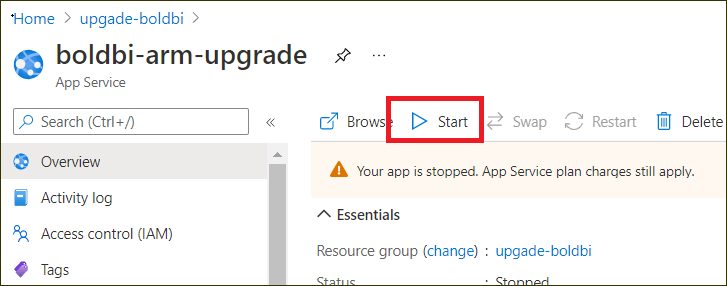
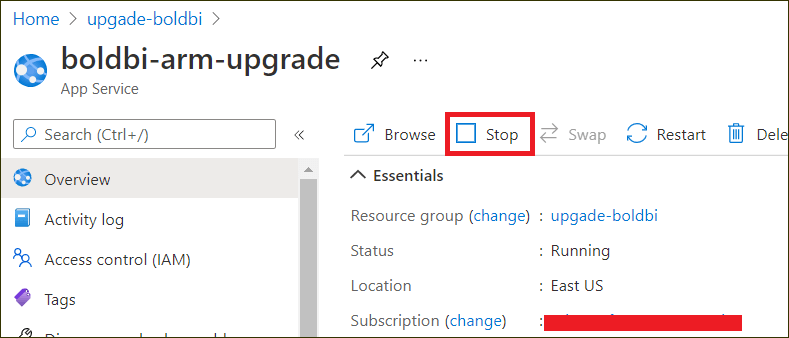
In the Overview section, click Stop.
-
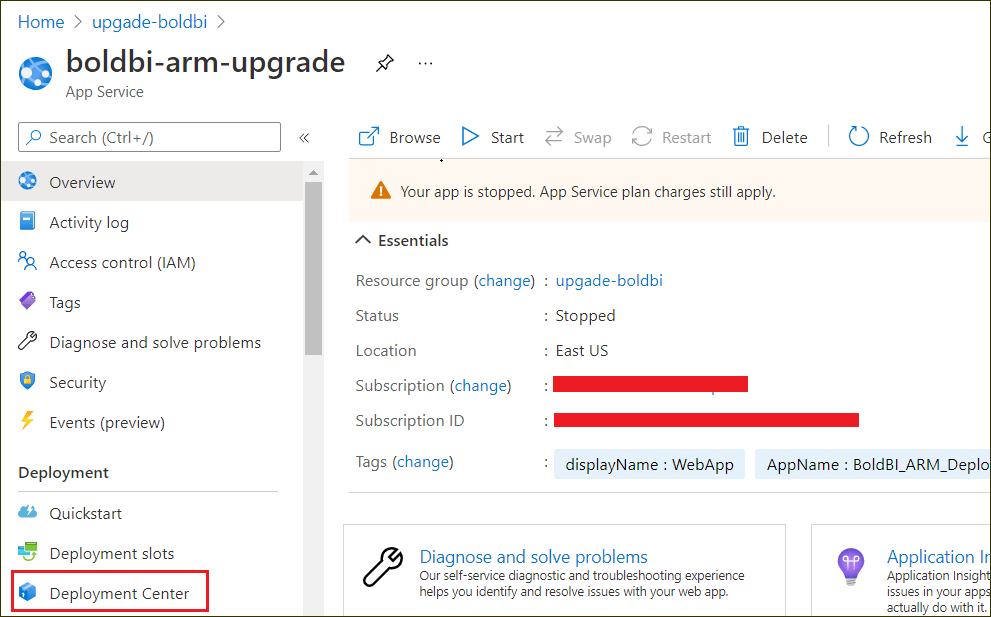
Choose Deployment Center in the left panel of the Bold BI Azure App service.
-
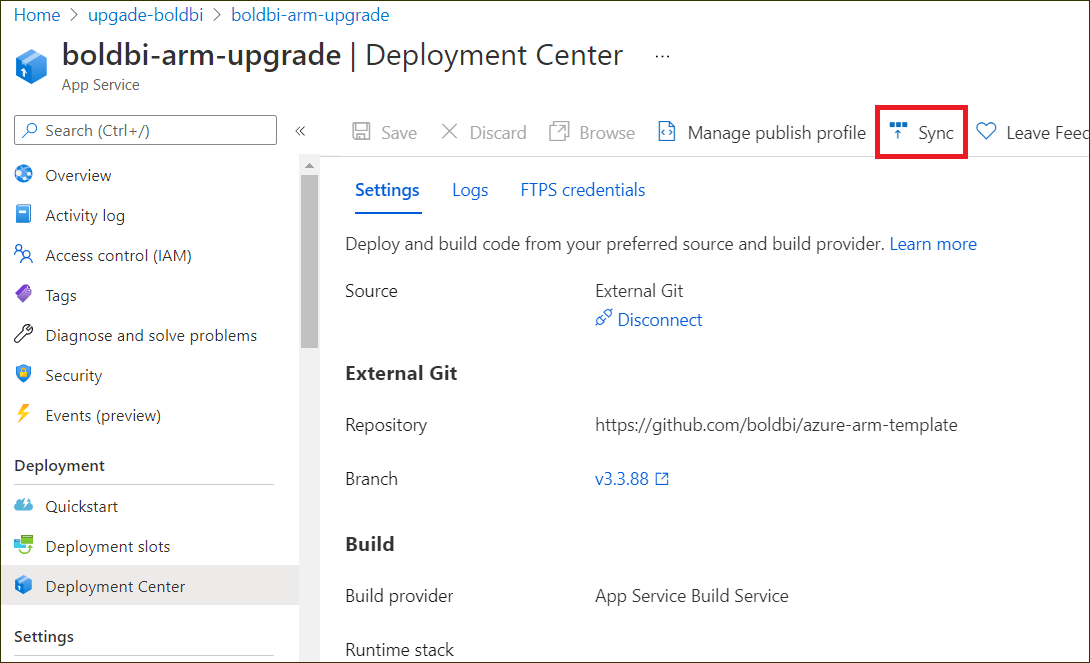
To upgrade to v4.1.36, you need to migrate the v3.3.40 or v3.3.88 UMS blob resources to a new blob structure. To do that, click Sync in the deployment center blade.

-
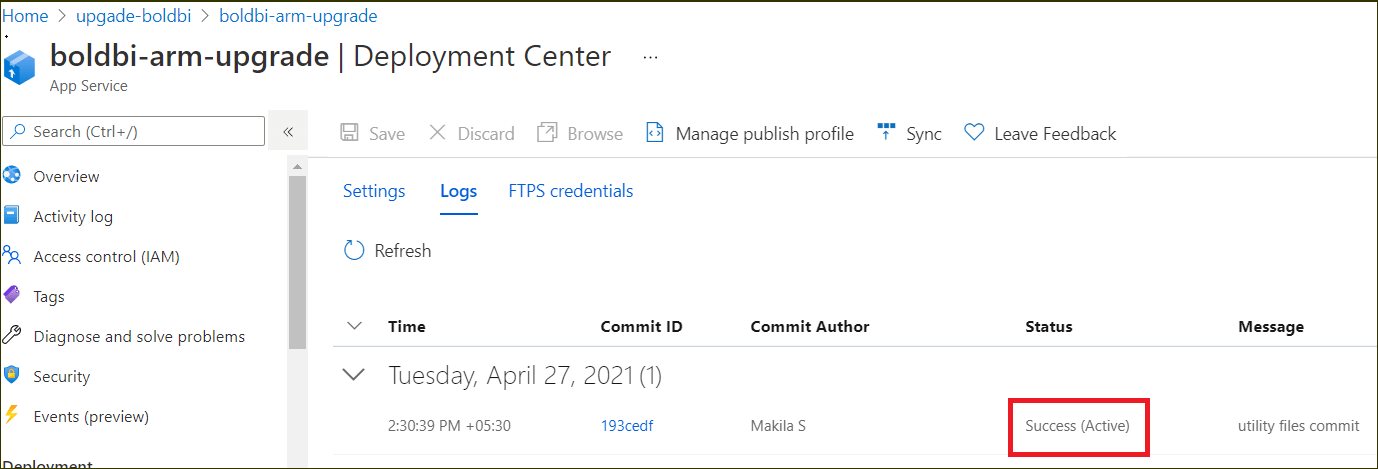
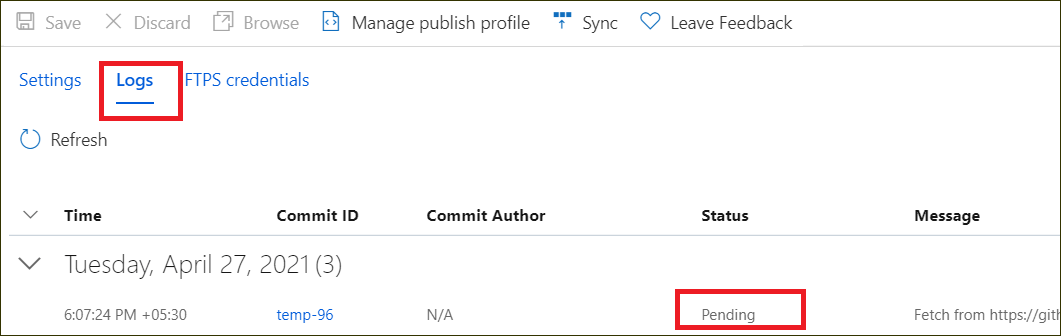
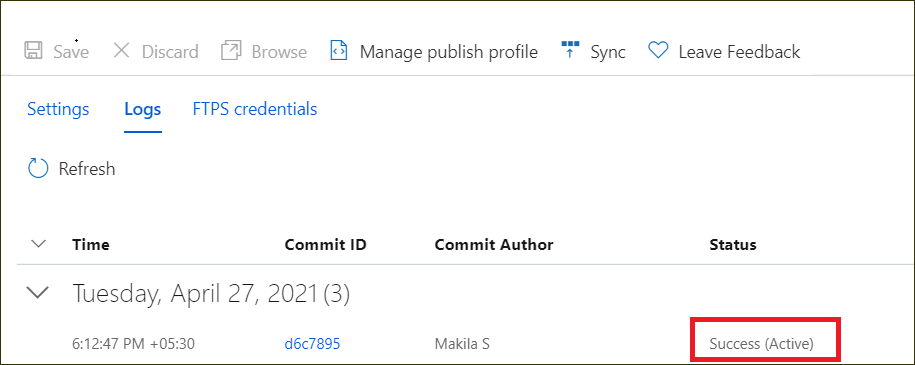
Check the deployment status in the logs. Once, the deployment is completed successfully, the logs will show a success status.
-
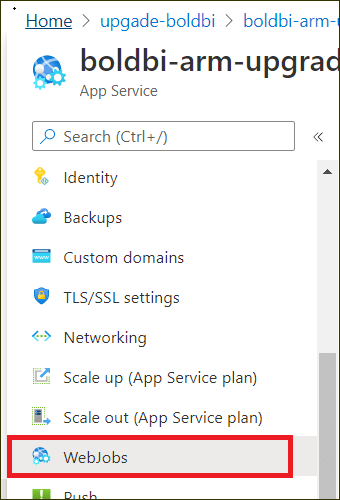
After a successful deployment, navigate to WebJobs in the left panel of the Bold BI Azure App service.
-
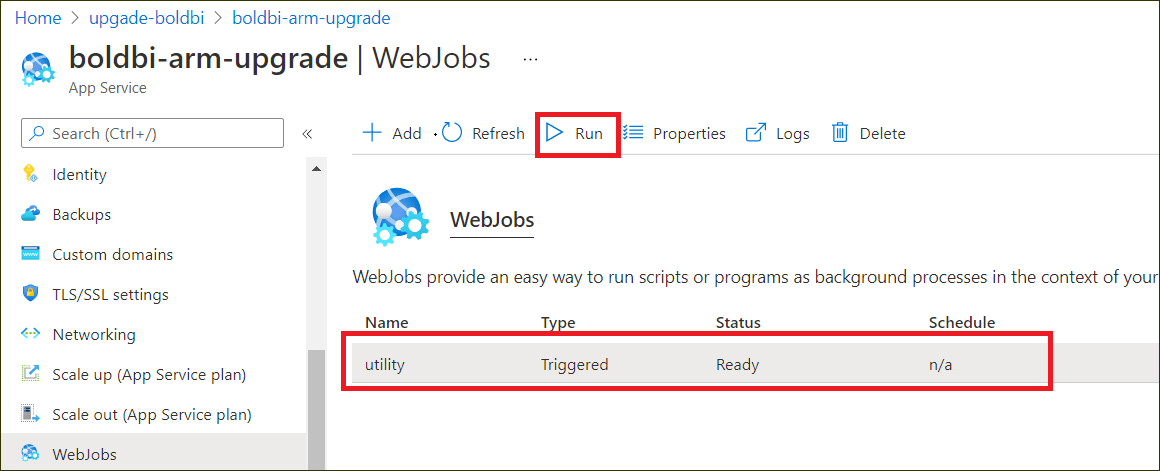
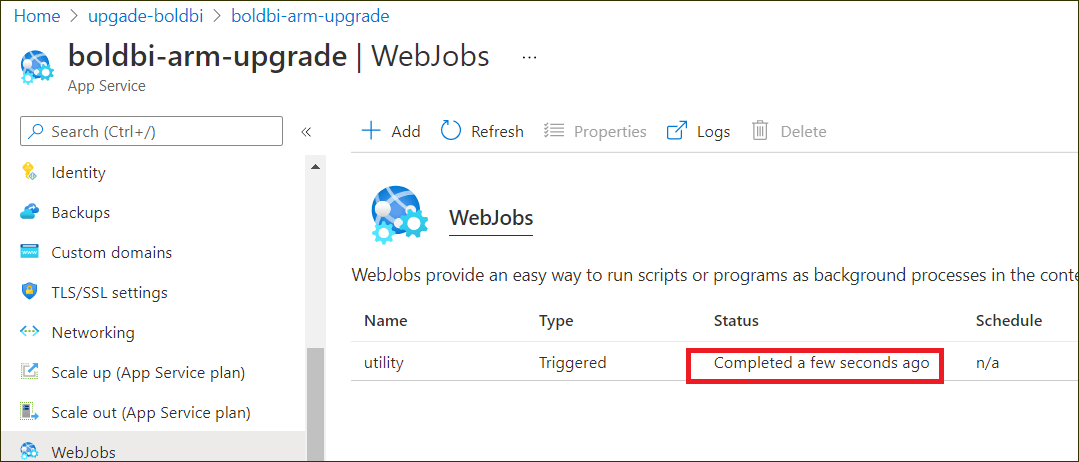
In the WebJobs section, the migration utility will be available. Click ‘Run’ and wait for the migration to complete.
-
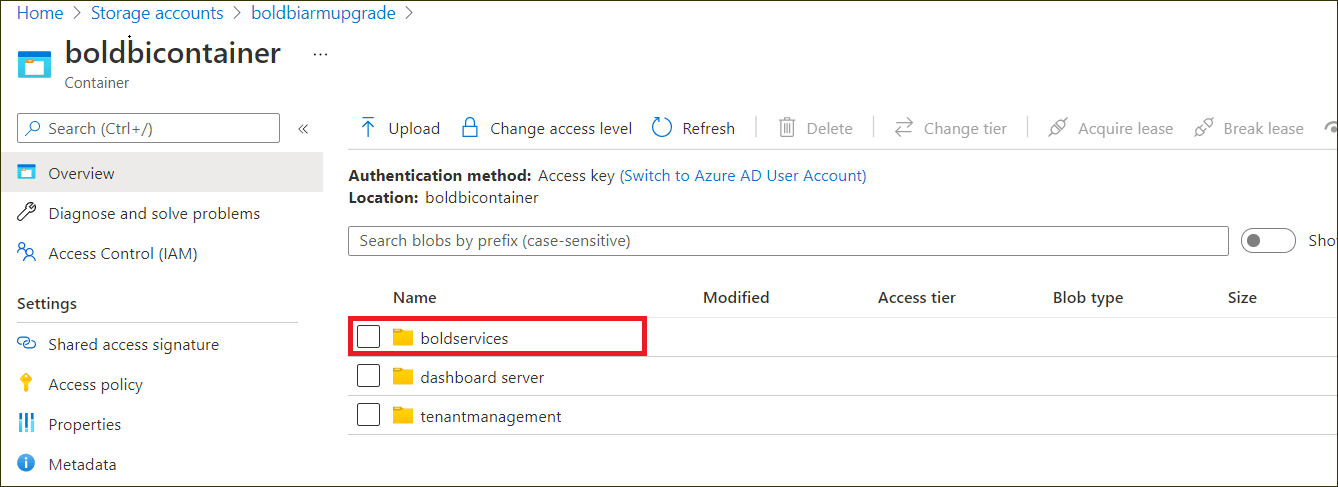
To ensure migration success, go to the blob container used in the Bold BI Azure App service and check whether the following boldservices Blob is created or not.
-
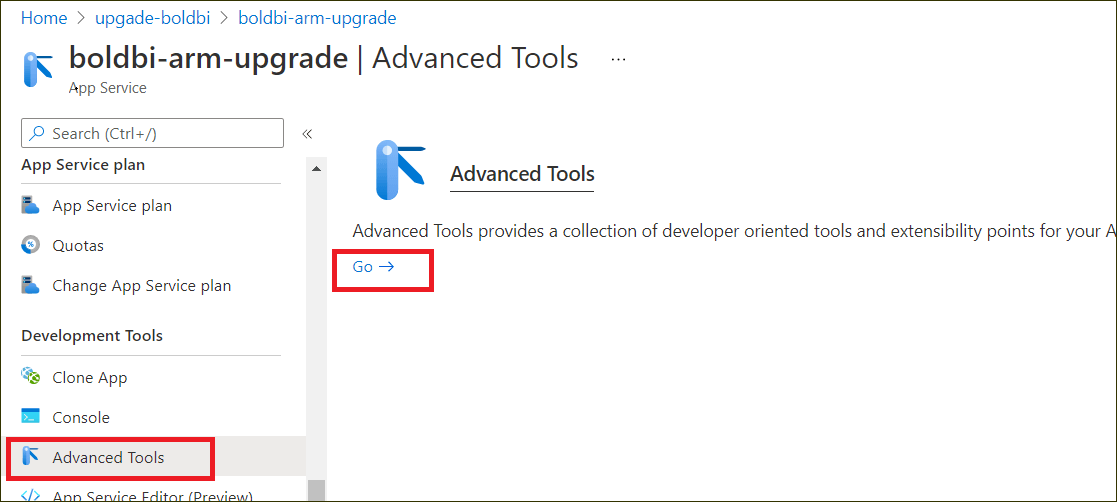
After the migration is completed, choose Advanced Tools in the left panel of the Bold BI Azure App service and then click Go. It will open the KUDU console.
-
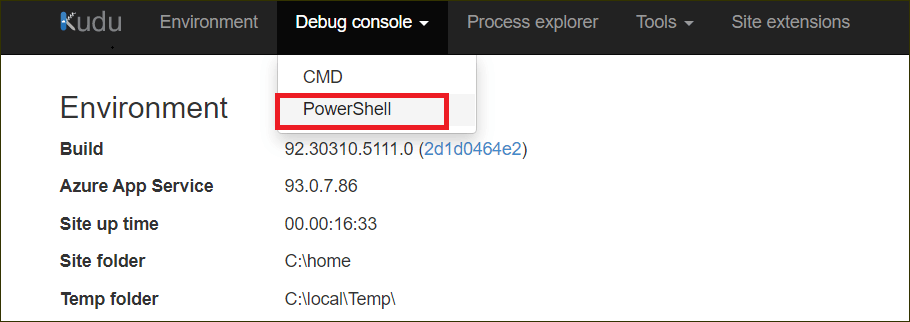
In the KUDU console, click Debug Console and choose PowerShell.
-
In PowerShell, navigate to the path
C:\home\site\repository\.git.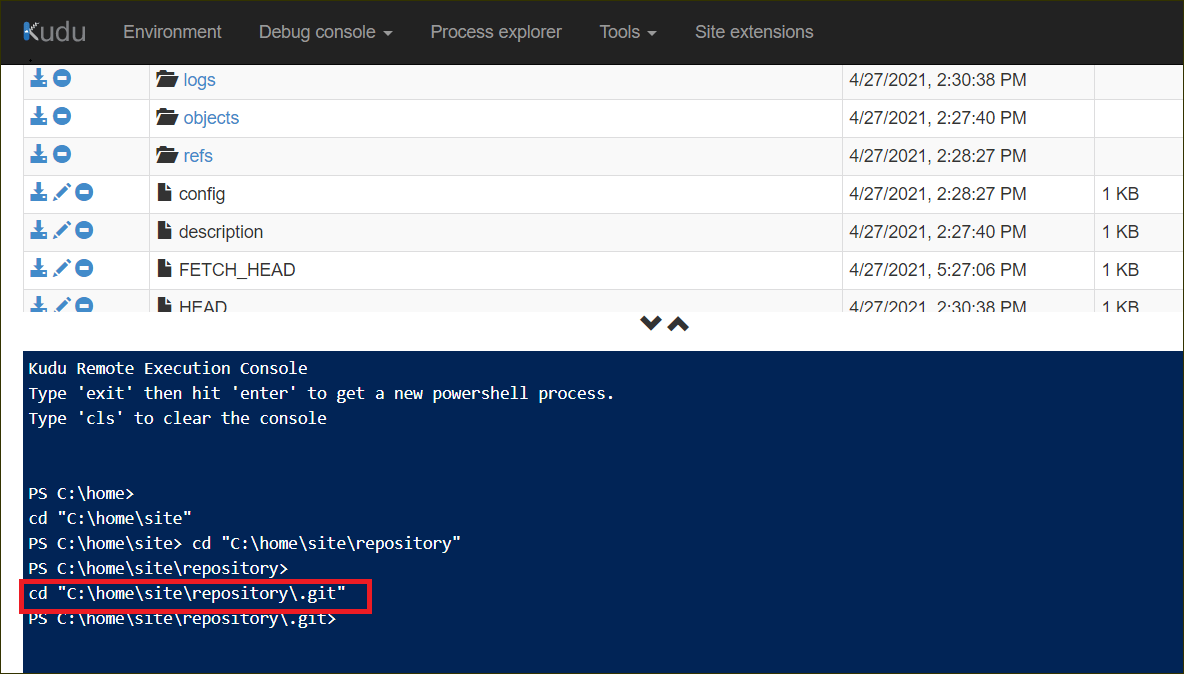
-
Run the git command
git remote rm origin.
-
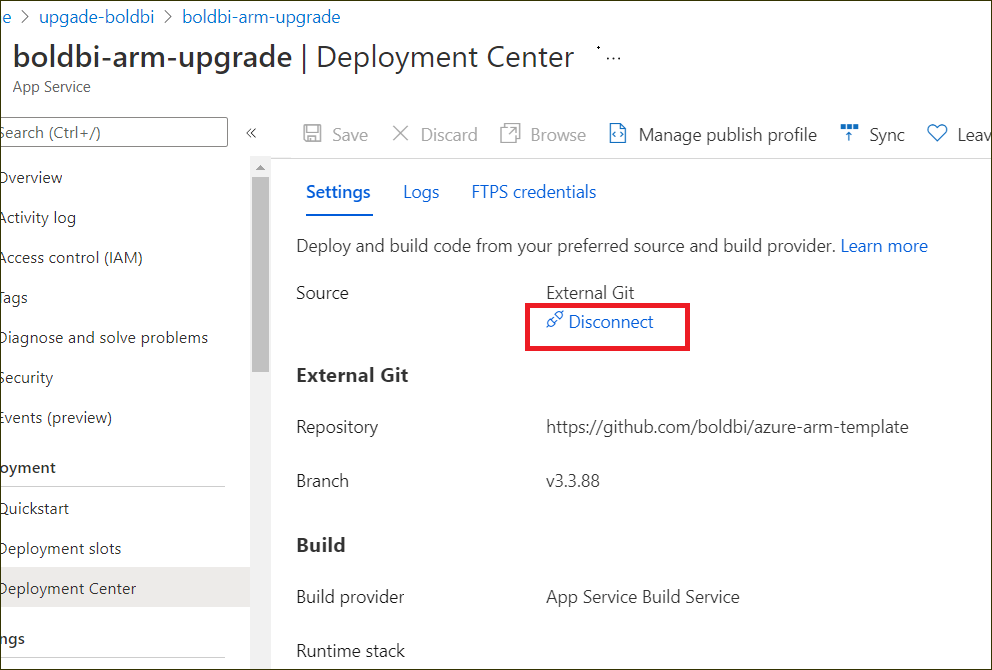
After running the command, go to the deployment center and click Disconnect. Now, the deployment option will open.
-
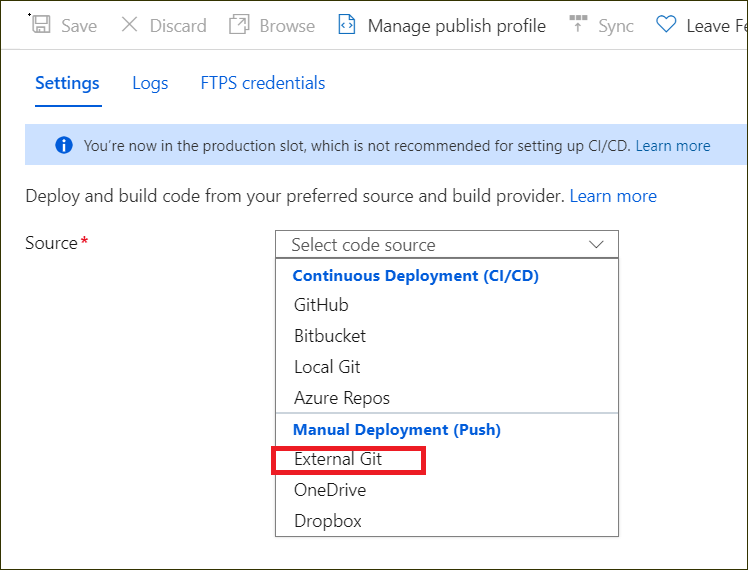
Select the External Git in the source option.
-
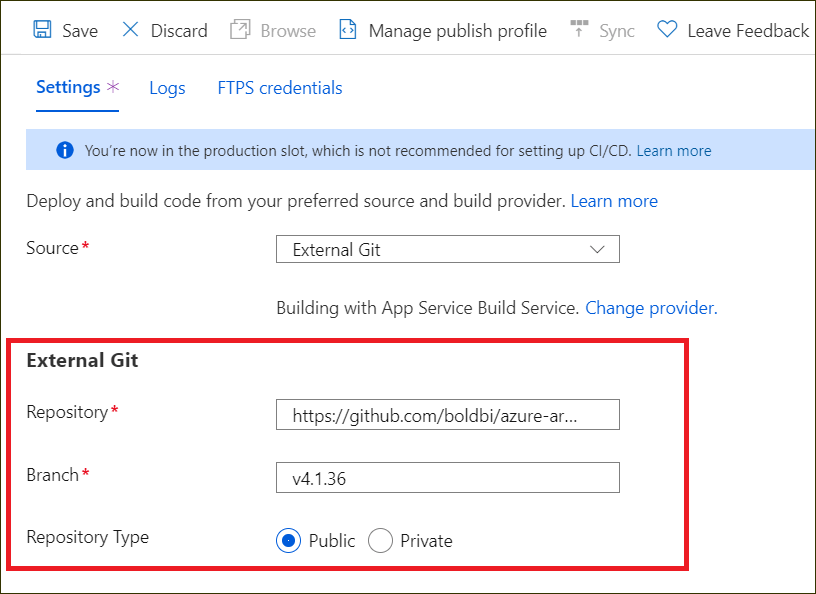
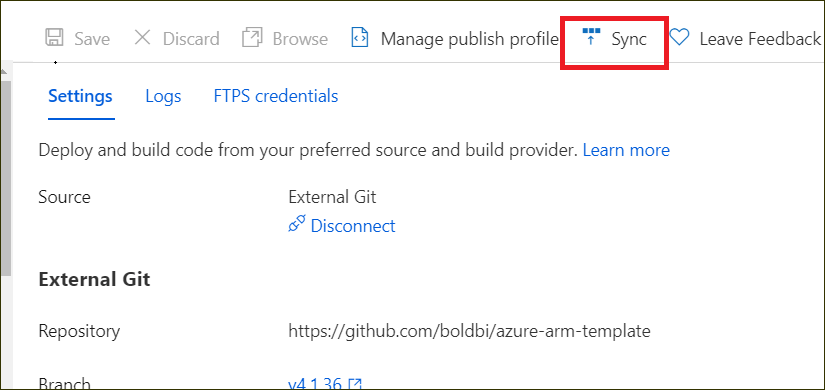
Now, in the External Git, fill out the following information:
Repository - URL
Branch - v4.1.36
Repository Type - Public
-
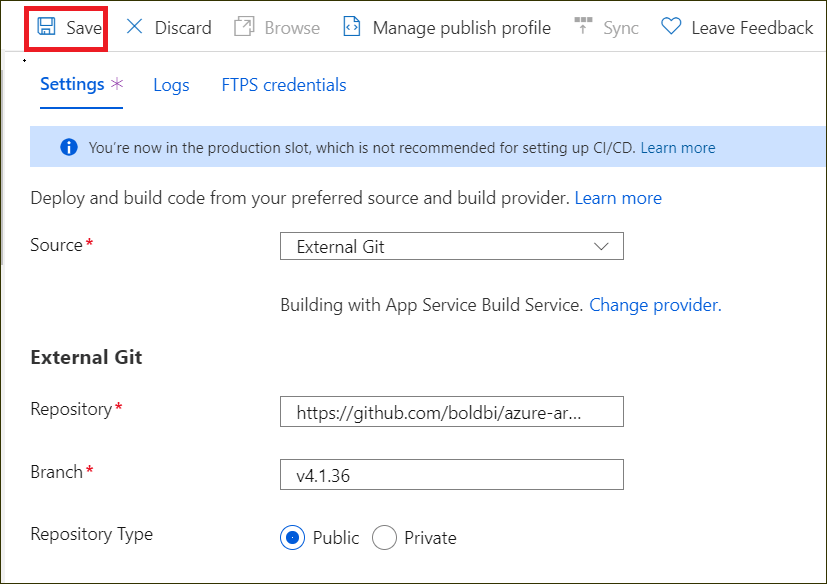
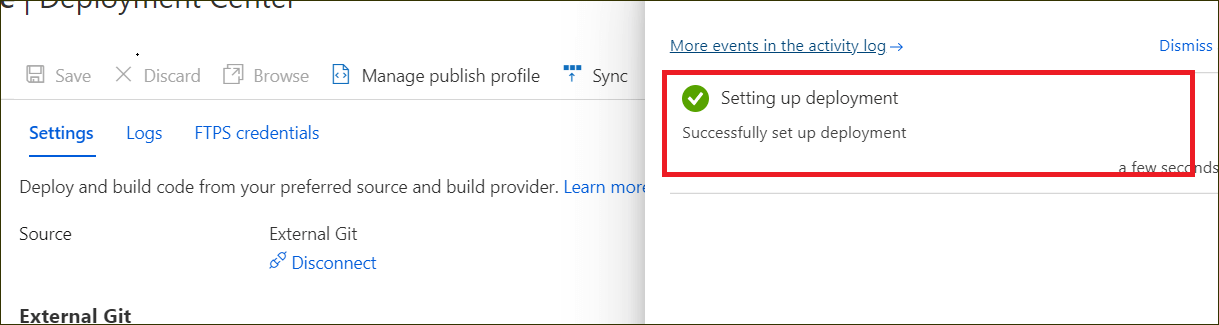
Next, click Save. The Successfully set up deployment notification will be shown in the notification blade.
-
After completing the deployment setup, click Sync in the deployment center blade.

-
Synchronization progress is shown in the deployment options blade.
-
Please wait until the synchronization is completed.
-
Once the synchronization is completed, Save the below configuration settings.
-
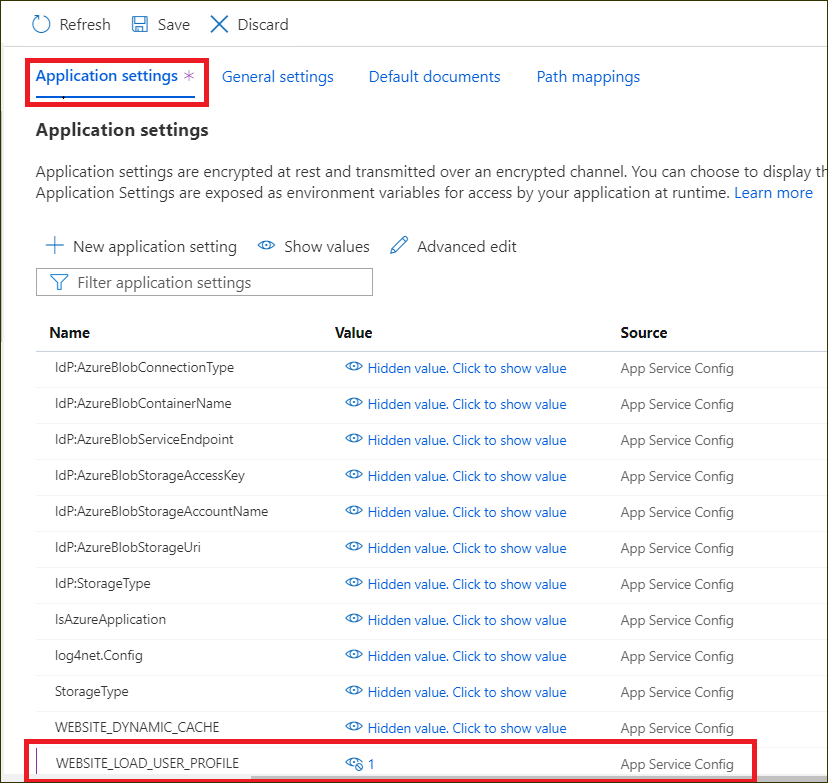
Add the following application settings key.
Key Value WEBSITE_LOAD_USER_PROFILE 1
-
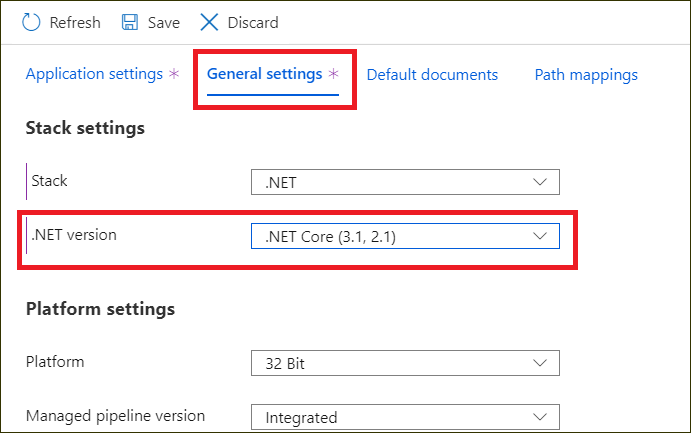
Change the below value in General Settings.
Settings Value .NET version .NET Core(3.1,2.1)
-
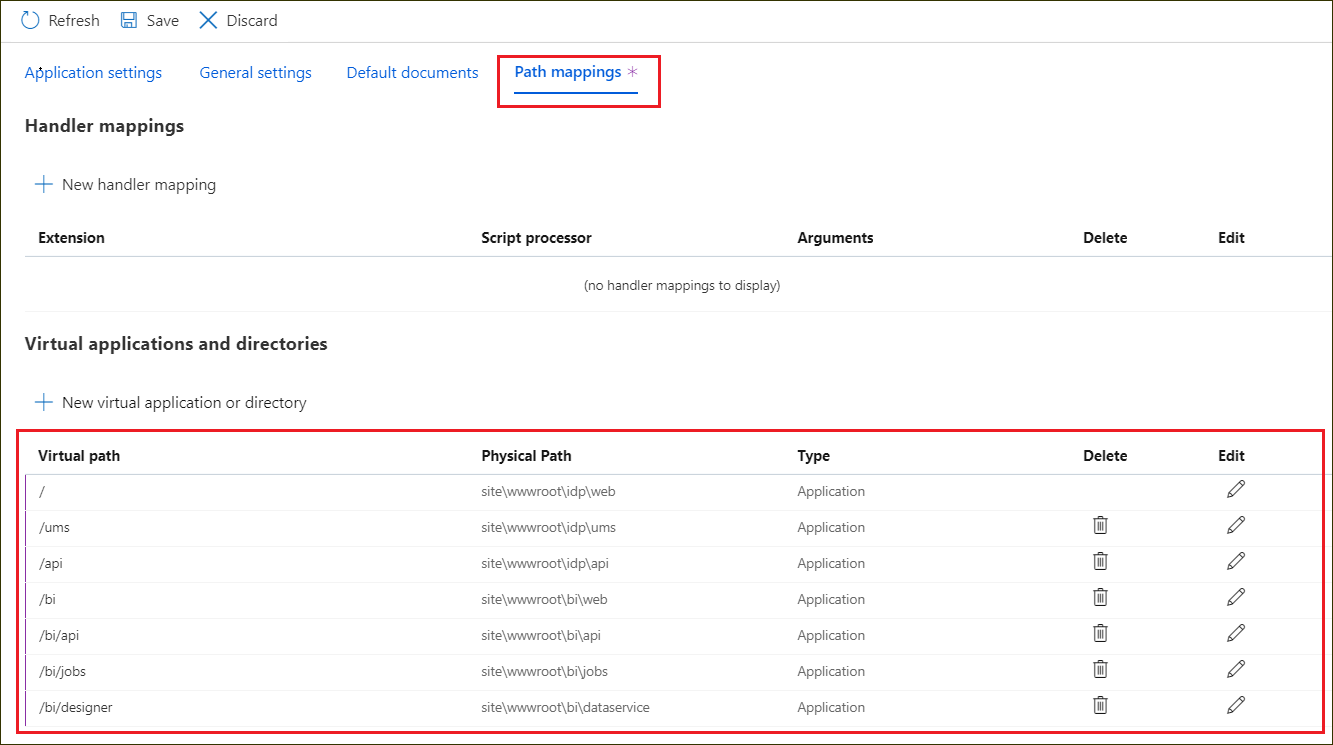
Change Physical Path in Path Mappings
Virtual Path Physical Path (v3.3.40, v3.3.88) Physical Path (v4.1.36) / site\wwwroot\IDP site\wwwroot\idp\web /bi site\wwwroot\Dashboard Server site\wwwroot\bi\web /bi/api site\wwwroot\Dashboard Server\api site\wwwroot\bi\api /bi/jobs site\wwwroot\Dashboard Server\jobs site\wwwroot\bi\jobs /bi/designer site\wwwroot\Dashboard Designer site\wwwroot\bi\dataservice
-
-
Then, click Start in the Overview section to start the Bold BI Azure App service.