How to publish modified data sources from one tenant to another
To dynamically modify the connection string of the corresponding data source of a dashboard in the destination tenant using Custom Attribute support, you need to create and save the necessary data source connection string details as a custom attribute in both the source and destination tenants. Make sure to use the same attribute key and then incorporate it into the dynamic connection string value of the corresponding data source in a dashboard of the source tenant.
Find the list of connections with the connection string details as follows,
-
SQL
-
Azure Synapse Analytics
-
Amazon RDS SQL
{ "DataSource": "", "InitialCatalog": "", "UserName": "", "Password": "", "IntegratedSecurity": "", "AdvancedSettings": "", "CommandTimeout": "" } -
Amazon Athena
{ "Database": "", "RegionEndpoint": "", "OutputLocation": "", "AwsAccessKeyId": "", "AwsSecretAccessKey": "" } -
Amazon Aurora PostgreSQL
-
Amazon Redshift
-
Google Cloud PostgreSQL
-
Amazon RDS PostgreSQL
{ "ServerName": "", "Database": "", "UserName": "", "Password": "", "Port": "", "SslMode": "", "TrustServerCertificate": "", "AdvancedSettings": "", "CommandTimeout": "" } -
ClickHouse
{ "ServerName": "", "Database": "", "Port": "", "UserName": "", "Password": "", "AdvancedSettings": "", "CommandTimeout": "" } -
Elasticsearch
{ "ServerName": "", "Database": "", "Port": "", "UserName": "", "Password": "", "AuthenticationType": "", "AdvancedSettings": "", "ConnectionType": "" } -
MySQL
-
Amazon Aurora MySQL
-
MariaDB
-
Google Cloud MySQL
-
Amazon RDS MySQL
-
Amazon RDS MariaDB
-
CDATA with MySQL endpoints
-
SingleStore
{ "ServerName": "", "Database": "", "UserName": "", "Password": "", "Port": "", "AdvancedSettings": "", "CommandTimeout": "" } -
Oracle
{ "ServerName": "", "Port": "", "InstanceName": "", "Database": "", "UserName": "", "Password": "", "AdvancedSettings": "", "CommandTimeout": "" } -
ODBC
{ "ServerName": "", "Database": "", "Port": "", "UserName": "", "PassWord": "", "DsnName": "", "odbctype": "", "Driver": "", "AdvancedSettings": "", "CommandTimeout": "" } -
Presto
{ "ServerName": "", "Database": "", "Port": "", "UserName": "", "Password": "", "AuthenticationType": "", "AdvancedSettings": "", "CatalogName": "" } -
InfluxDB
{ "ServerName": "", "Database": "", "UserName": "", "Password": "", "Port": "", "AuthenticationType": "", "AdvancedSettings": "", "CommandTimeout": "" } -
SparkSQL
{ "ServerName": "", "Database": "", "Port": "", "UserName": "", "Password": "", "AuthenticationType": "", "AdvancedSettings": "" } -
SnowFlake
{ "ServerName": "", "Database": "", "UserName": "", "Password": "", "AdvancedSettings": "", "CommandTimeout": "" } -
Google BigQuery
     {

        "ServiceId" = "",
        "Service" = "",
        "Provider" = "",
        "Database" = "",
        "IsServiceAccount" = "",
        "ClientID" = "",
        "Type" = "",
        "ClientEmail" = "",
        "PrivateKey" = ""
     }
NOTE :This is supported only for Service Account Authentication
Follow these steps to publish the modified data sources from one tenant to another
-
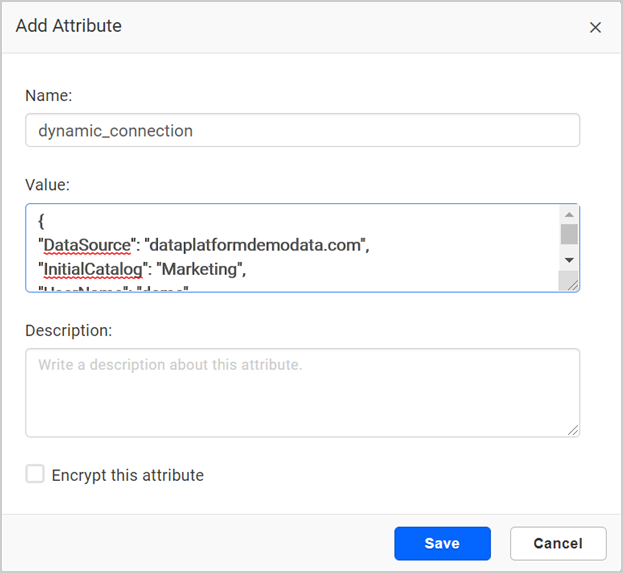
First,you need to create a custom attribute with the required connection string in the source tenant.
-
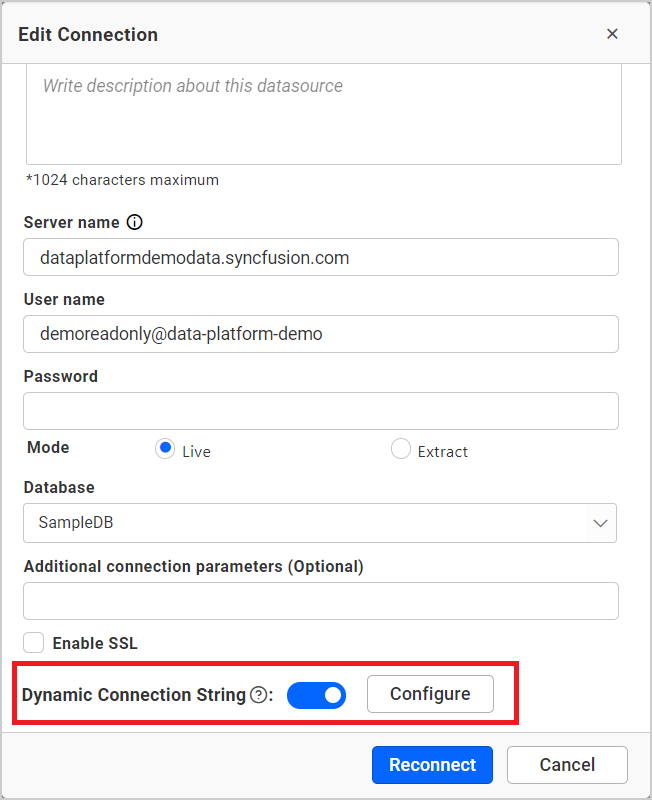
Edit the corresponding data source of the dashboard, enable the Dynamic Connection String option, and then click on the Configure button.
-
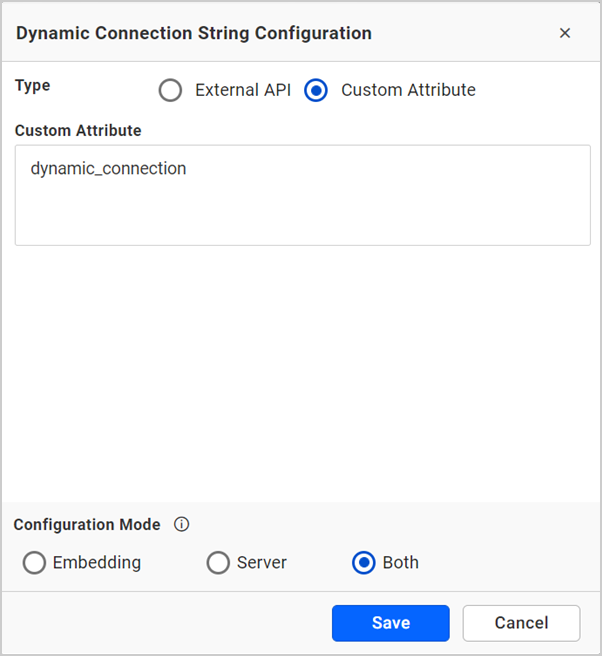
In the pop-up window, select the Custom Attribute option, enter the custom attribute key (Name) in the text box, choose the Configuration Mode as Both if necessary, and save the configuration. Lastly, save the data source.
Note: Refer to this section to learn more details about the Configuration Mode of Dynamic Connection String.
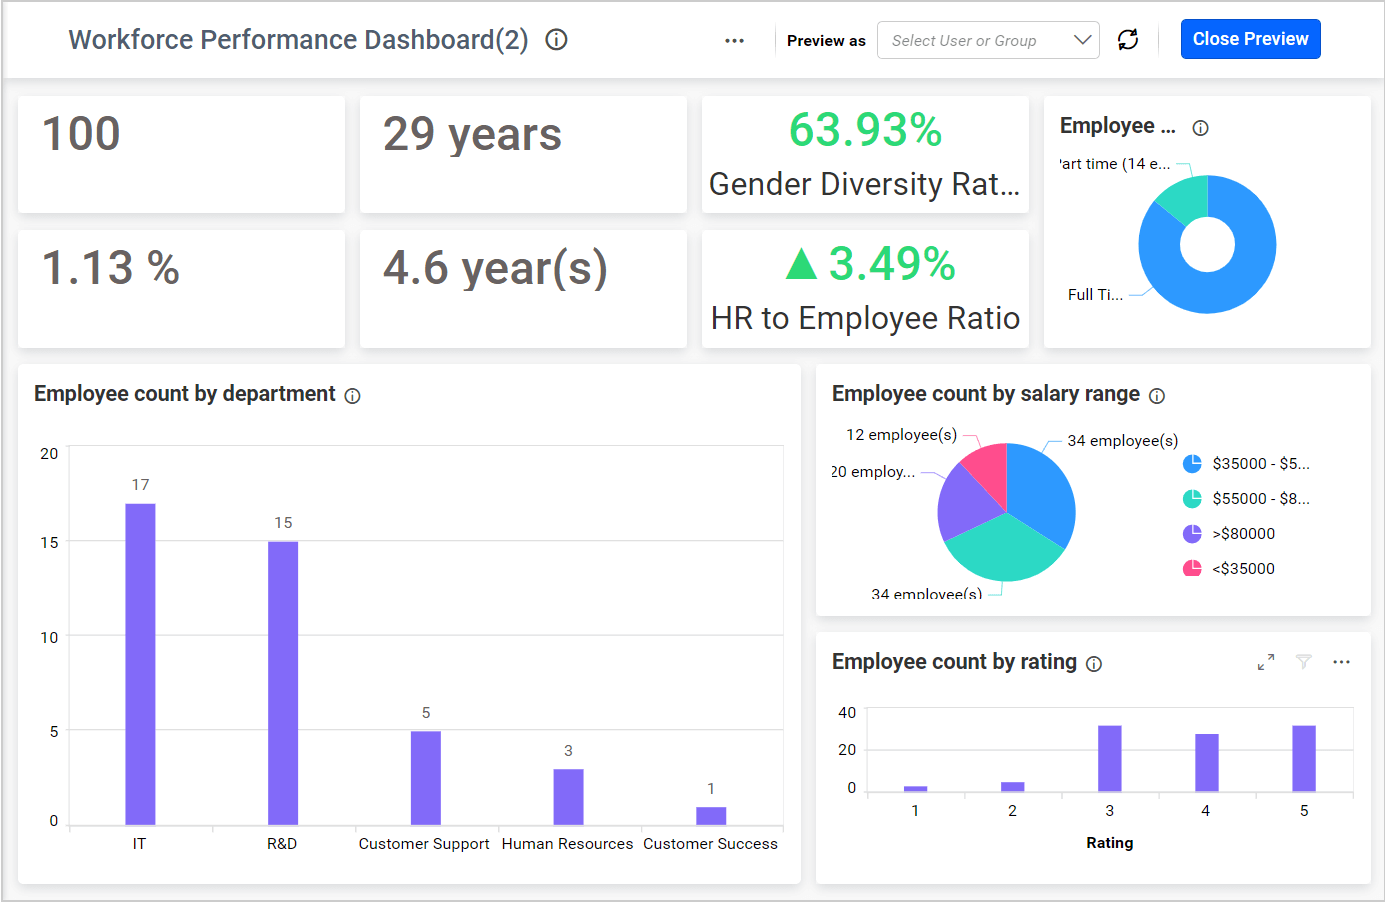
Now, the dashboard will be rendered in the source tenant as shown in the following image.
-
Then, create the Custom Attribute in the destination tenant with the required connection string details using the same attribute key (Name) that was used in the source tenant, as shown in the following image.
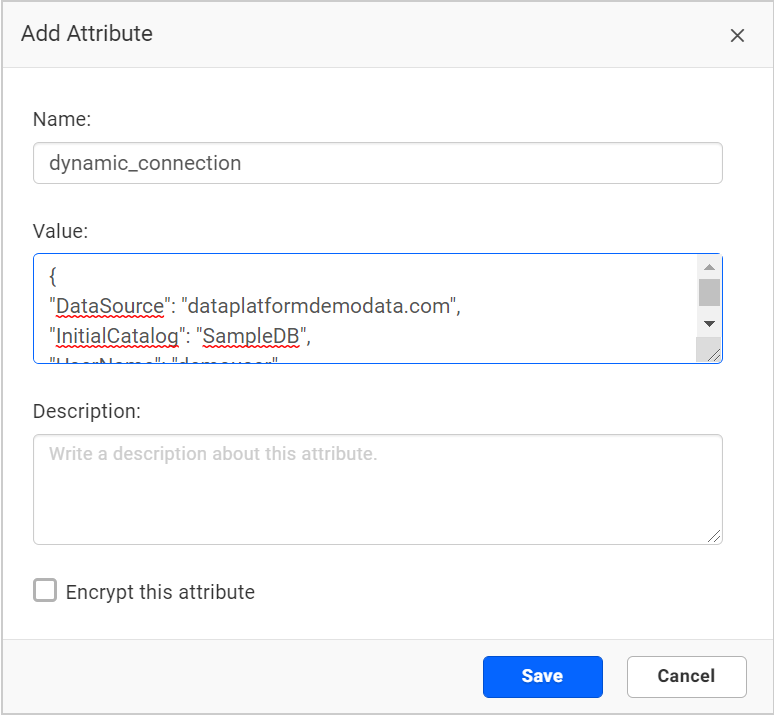
-
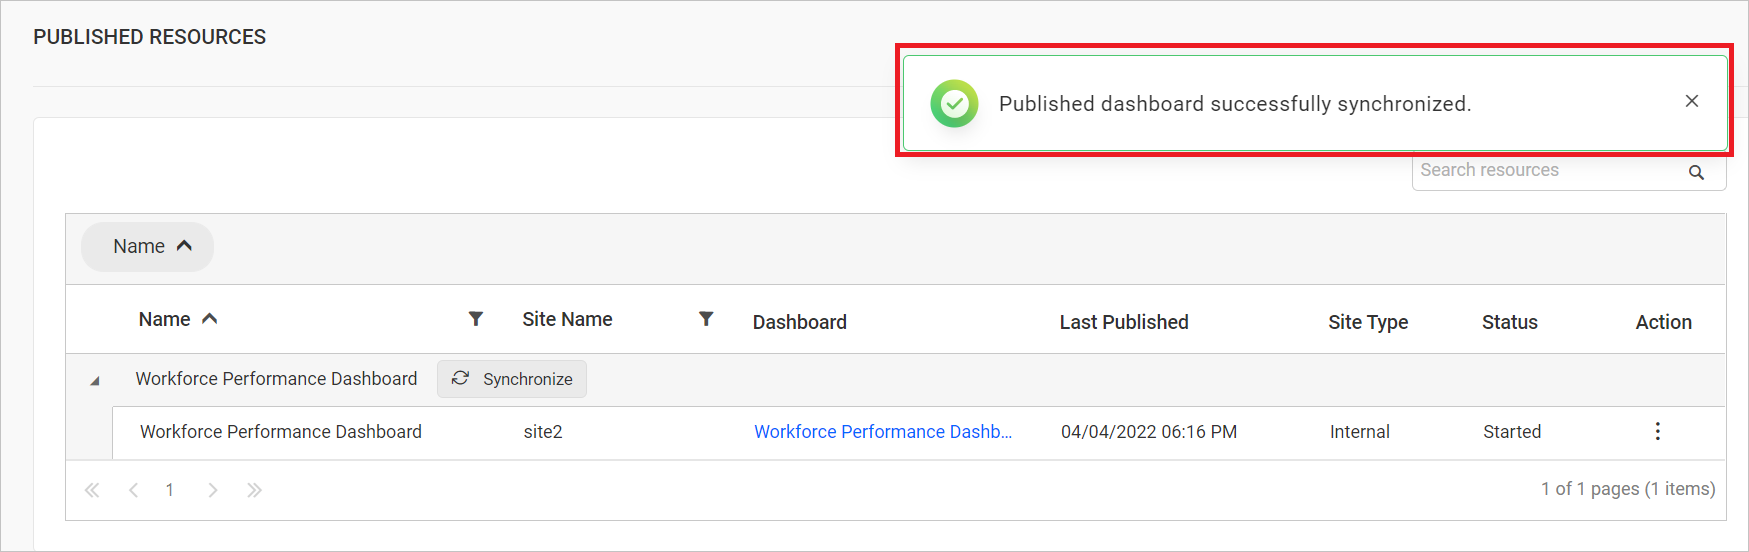
Now, publish the dashboard in the source tenant that is configured with the modified data source to the destination tenant using the “Publish dashboard” feature in the internal site support. We can ensure this by checking the status of the published dashboard by clicking on the
Publishicon in the left sidebar.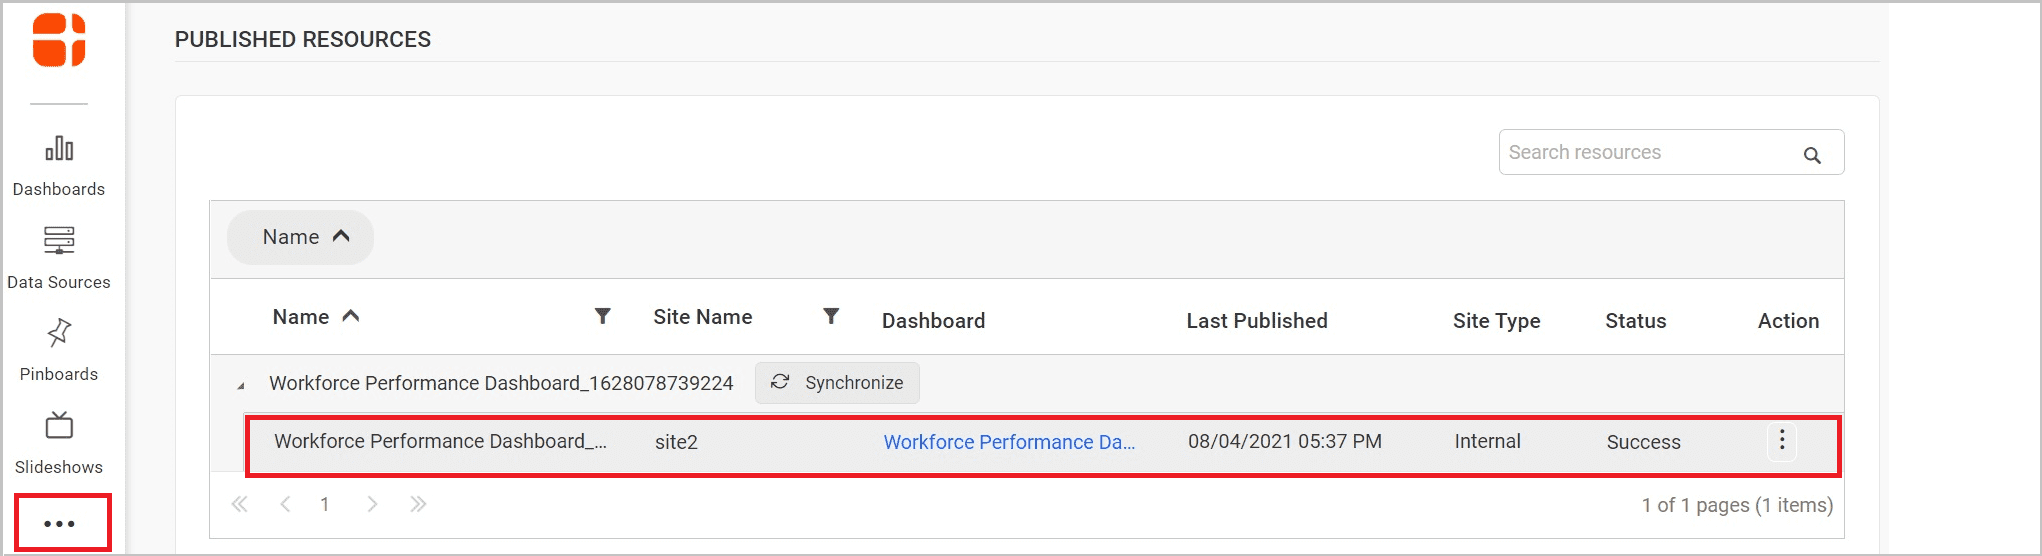
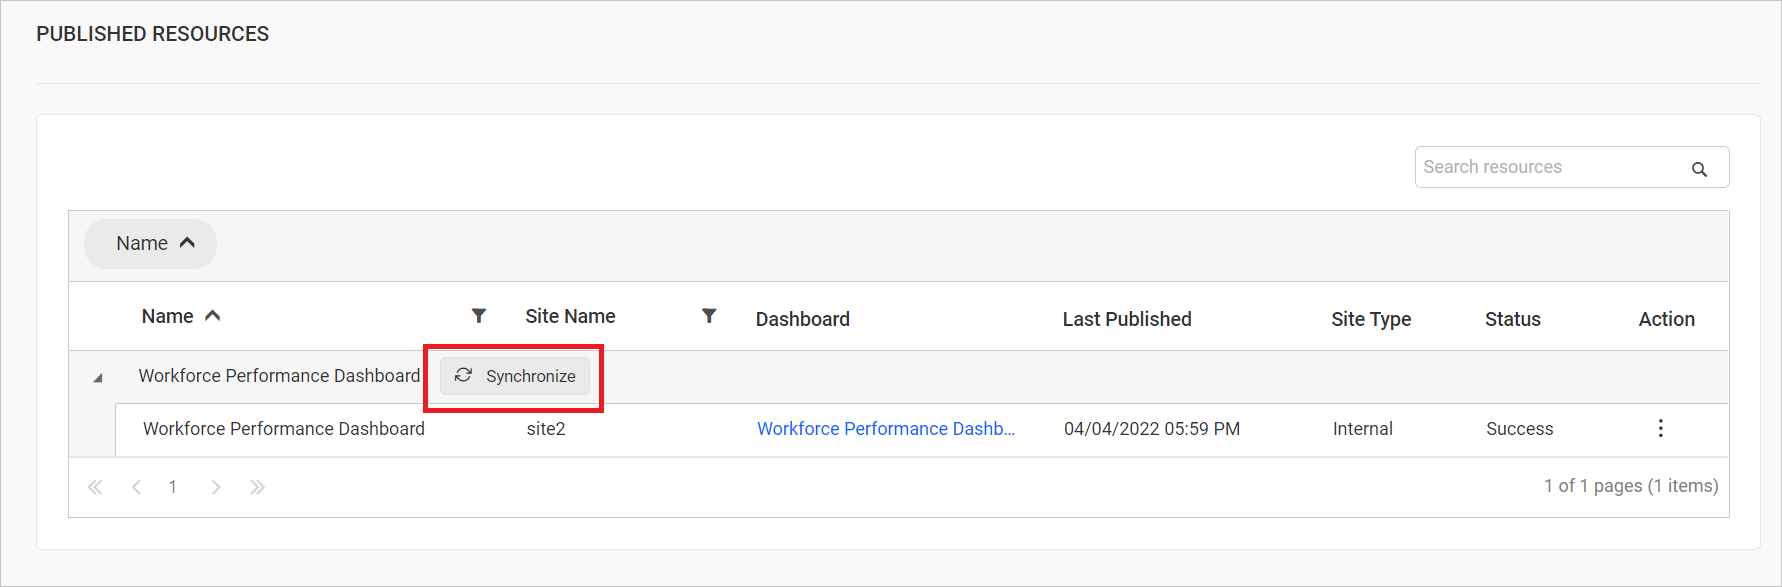
To synchronize the published dashboard to reflect dashboard changes on other sites, click the Synchronize option, and then select Yes on the pop-up window.
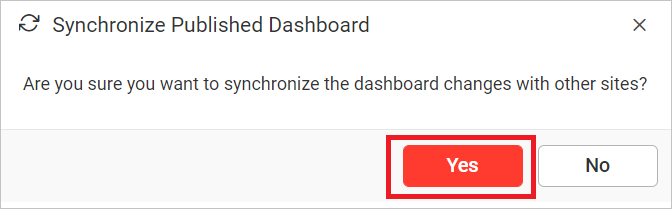
You will receive the highlighted notification.
-
Refresh the destination tenant and open the dashboard. The dashboard will now be rendered with the data from the connection string that has been added to the custom attribute of the tenant.
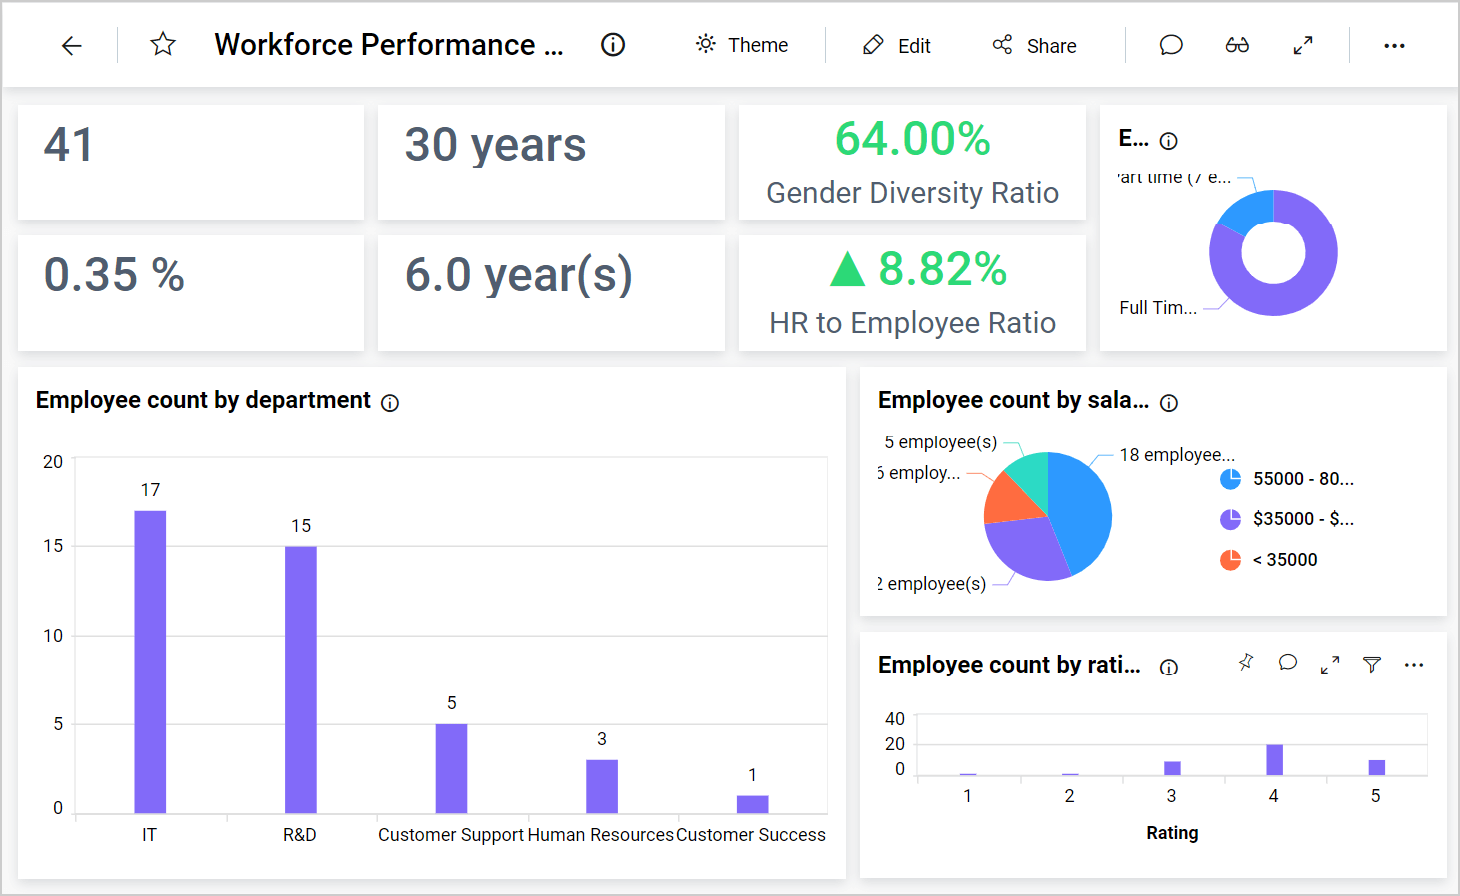
NOTE: The published dashboard will only work properly if the data source schema of the source site matches the schema of the target site.