Fusion Auth support for SSO authentication
The Bold BI application supports adding users through the Fusion Auth provider. By importing them, you can share the dashboards and email exported dashboards with them.
NOTE: This feature is available in Bold BI Embedded Analytics but not in Cloud Analytics Server.
How to register the Bold BI application in Fusion Auth
This section explains how to register the Bold BI application in Fusion Auth to enable Single Sign-On (SSO) for users.
NOTE: This configuration needs to be done on the Fusion Auth website.
Prerequisites
- An admin account in Fusion Auth.
- Install Bold BI application.
Steps to register the Bold BI application
-
Please log in to the Fusion Auth website using the admin account.
-
Click on
Applicationsin the left panel menu.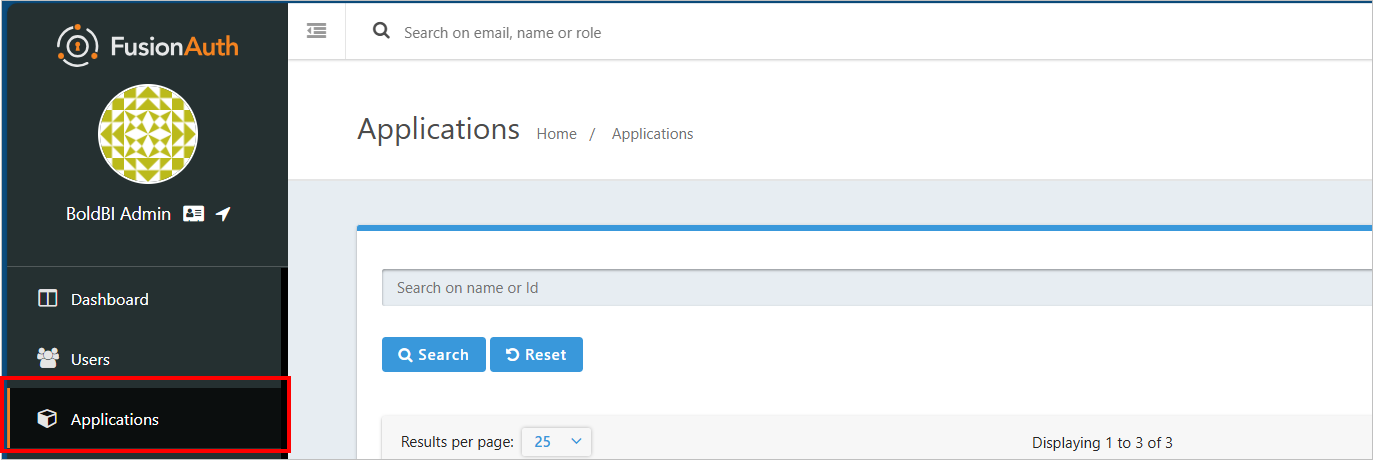
-
Click on the
Add Appbutton.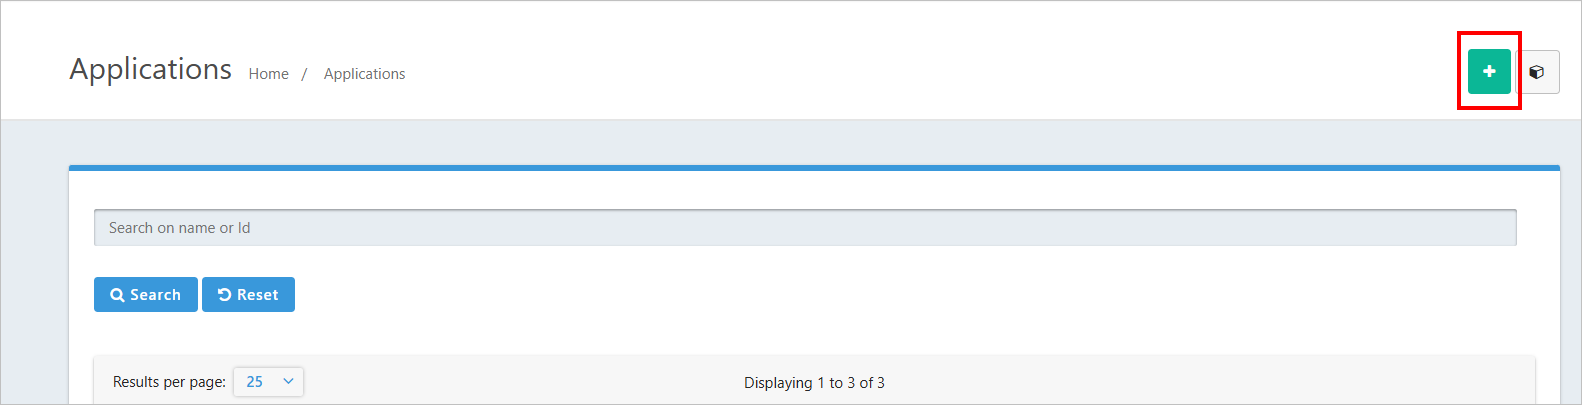
-
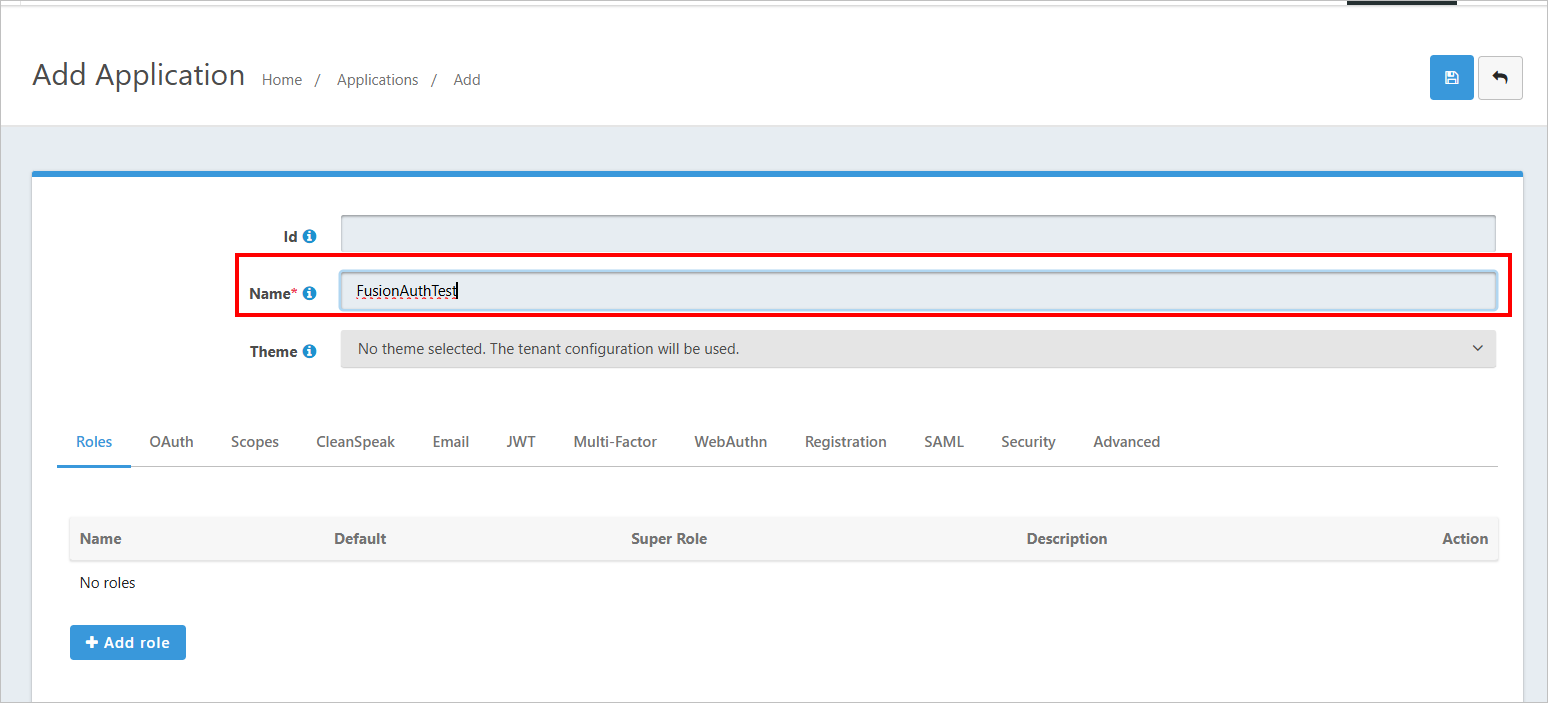
Please enter the application name.
-
Go to
Oauthtab and then fill the following fields. click onSaveicon.- Enable grants
- Login Redirect URIs
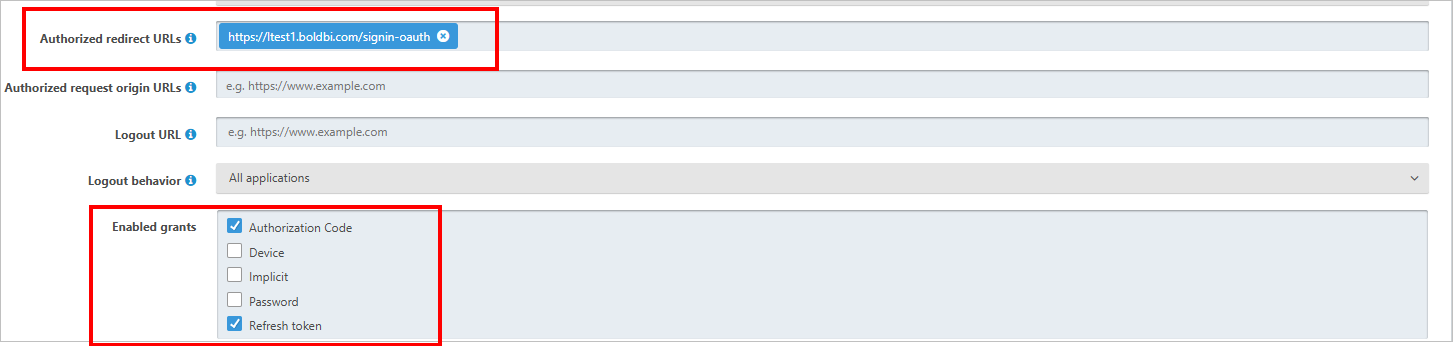

-
The
Redirect URIare found under theOpen ID Connectsettings of your Bold BI application, as shown in the following screenshot.
After successfully registering in Fusion Auth, save these settings on the Bold BI settings page to enable this authentication.
Enable Fusion Auth support for authentication in Bold BI
Configure the settings in Bold BI as in the following snap to enable the authentication using Fusion Auth.
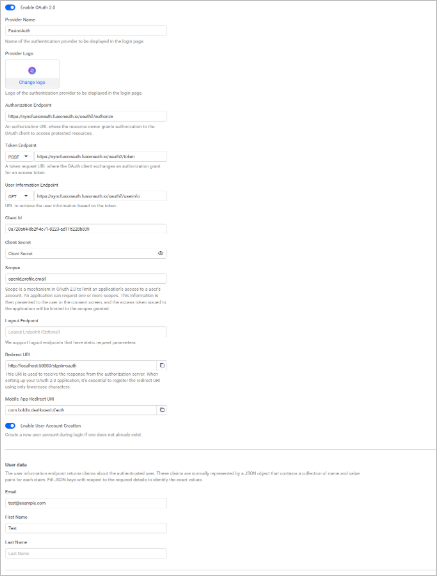
The fields that need to be saved in Bold BI in order to enable Fusion Auth for authentication are explained as follows.
| Provider Name | It represents the name of the authentication provider to be displayed in the login page. |
| Provider Logo | It represents the logo of the authentication provider to be displayed in the login page. |
| Authority | It must be in the form https://subdomain.FusionAuth.com/oidc. Sub domain represents the Fusion Auth instance. |
| Client ID | The Client ID you get after registered the Bold BI application in Fusion Auth website. |
| Client Secret | The Client Secret you get after registered the Bold BI application in Fusion Auth website. |
| Identifier | preferred_username |
| Logout Endpoint | It is the endpoint in the Fusion Auth website that signs the user out. |
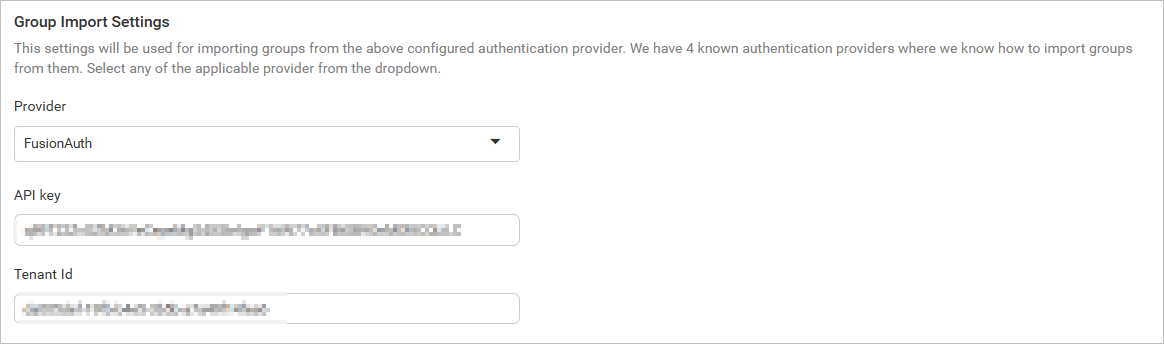
Configure Fusion Auth Group Import Settings in Bold BI
Configure the group import setting in Bold BI using Fusion Auth, as shown in the image below.