Configuring OAuth Data Connectors
OAuth is an open standard for access delegation, commonly used as a way for Internet users to grant websites or applications access to their information on other websites but without giving them the passwords. Most service connectors require OAuth to connect, to ensure that a client application is authorized to access the data.
NOTE: This feature is available in On-Premises Deployment but not in Syncfusion Managed Cloud Server.
To configure OAuth for data sources in Bold BI, follow the steps below:
-
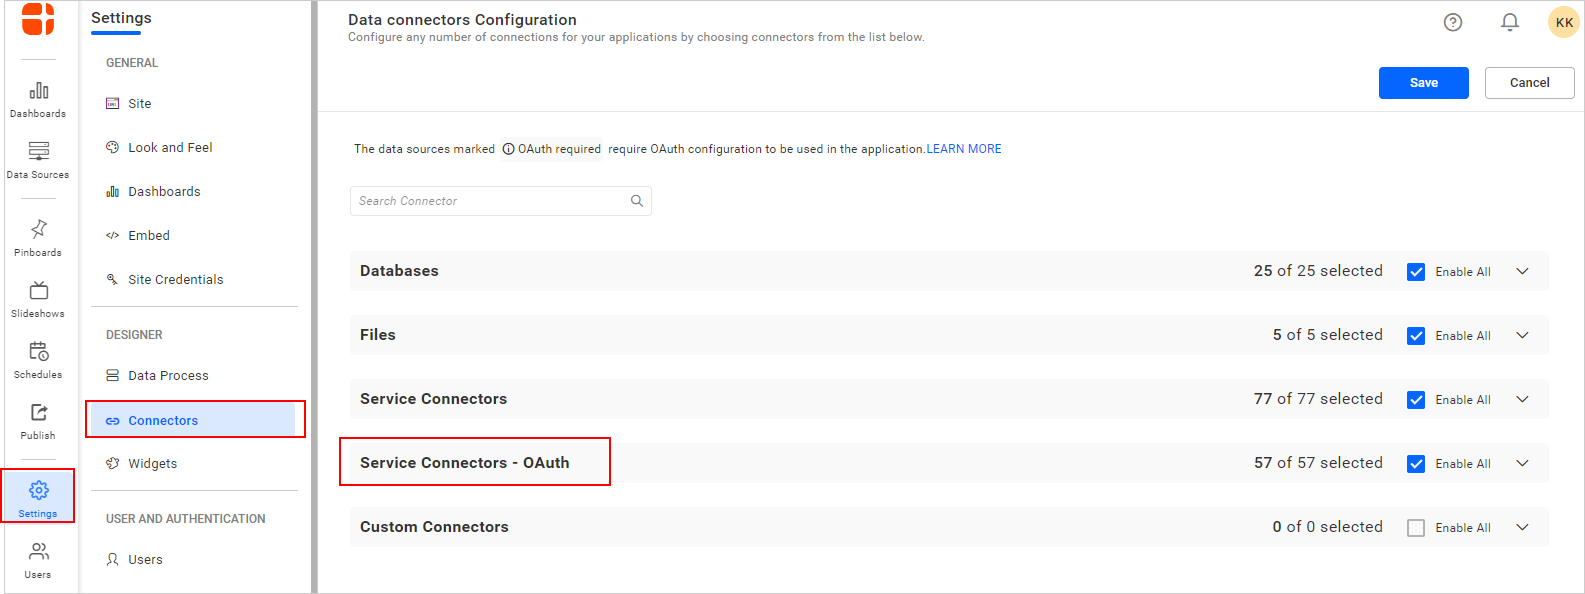
Click the Settings icon on the left pane.
-
Select the Connectors tab. This tab lists all the available data sources in Bold BI.
-
Expand the Service Connectors – OAuth section.
-
Click Enable All to enable all the connectors or enable the connector you need to connect to.
-
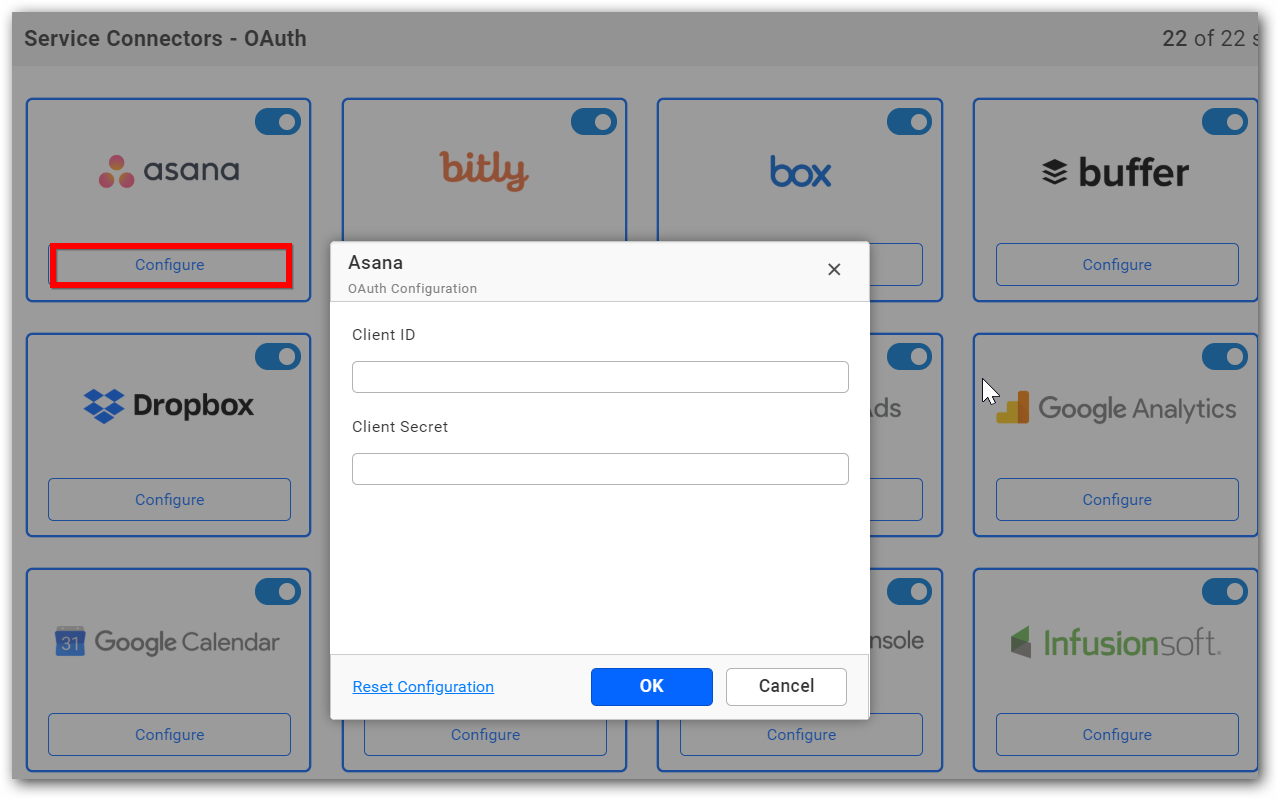
Each connector will have a Configure button to get the OAuth details.
-
Choose a connector and input its corresponding Client ID and Client Secret, then click OK. You can modify these values whenever required.
-
Click Save. If you proceed without saving the configuration, you will not be able to connect to the data source.

How to get Client ID and Client Secret
If you do not have an existing app with the service provider, you must register a new app with the service. Depending on the service provider, the process of registering an app varies. We suggest you go through the developer documentation of the corresponding service provider beforehand.
In Bold BI, each OAuth connector contains a Help link to guide you to the developer documentation for the service provider.
After registering your app, you will receive a client ID and a client secret. The client ID is considered public information and is used to build login URLs. The client secret must be kept confidential.
Redirect URIs
You must register a redirect URI to be used for redirecting users to our application. Without setting a Redirect URI, the OAuth process will not complete.
Set this redirect URI in your app. The protocol, host, and port are the respective values on which your Bold BI service runs.
[protocol]://[host]:[port]/bi/designer/v1.0/oauth/agent
For example:
http://localhost:12345/bi/designer/v1.0/oauth/agent
https://testboldbi:12345/bi/designer/v1.0/oauth/agent
Steps to configure OAuth for WordPress
If you have not configured OAuth for WordPress in Bold BI, follow the steps below and then proceed to connect to this data source.
-
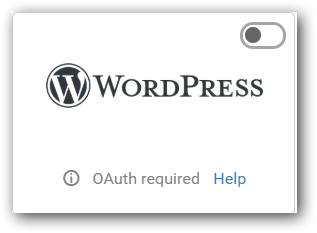
Enable the WordPress service.
-
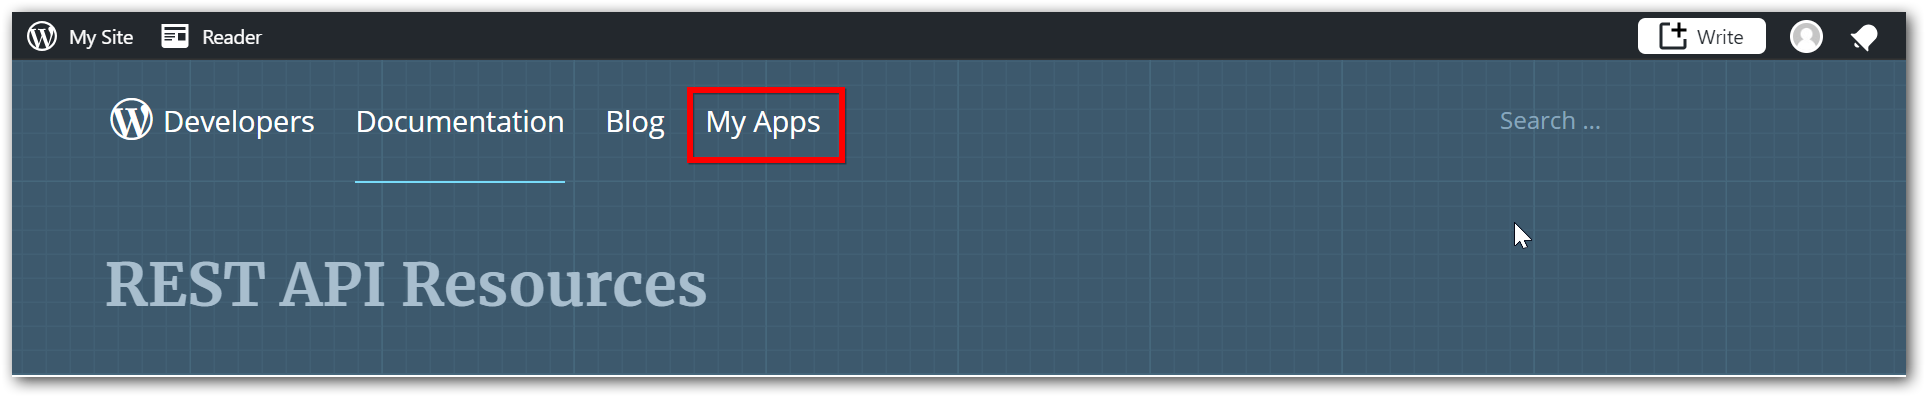
You will need a developer account of the respective data source to generate Client ID and Client Secret. Use the Help link on the data source to navigate to the service provider’s developer/documentation site. For WordPress.
-
Click My Apps. Your applications will be listed here. If you don’t have an app, click Create New Application.
-
The Redirect URL for this app should be the Bold BI service. Get the host and port number of the Bold BI Application and replace it in the following URL:
http://[host:port]/bi/designer/v1.0/oauth/agent -
Select the app you want to connect and get its corresponding OAuth information.
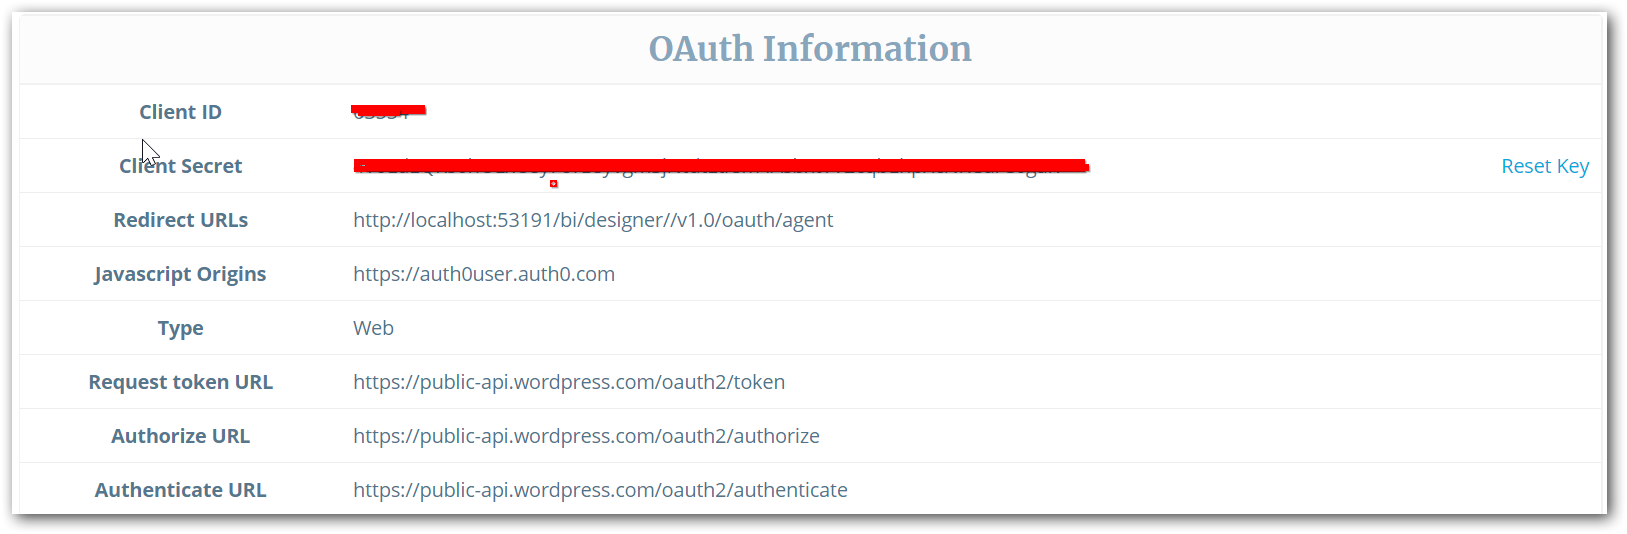
-
Use this Client ID and Client Secret in Bold BI. Click the Configure button and input these values, then click OK.
-
Click Save to update the settings. Upon confirmation, refresh the designer page and connect to the WordPress data source.
NOTE: Only one Client ID and Client Secret can be maintained for a data source. Click Reset Configuration to delete the entry.