Publishing a Dashboard
A new dashboard or an existing dashboard can be published with the same or a different Name on the site. While publishing the dashboard, you can also add a Description if necessary.
The publishing operation can be handled using the options in the tools pane of the design view items, such as Publish and Publish As.
![]()
To publish, click on Publish in the tools panel. To Publish As an existing dashboard, click the down arrow near the publish icon and select Publish As.
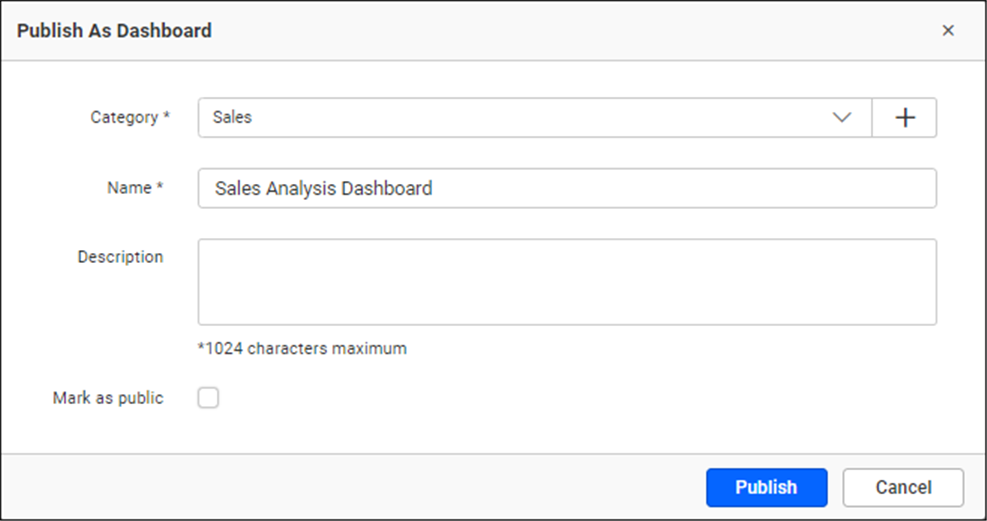
The Publish As Dashboard dialog box will open, where you can select the category and name where the dashboard needs to be published.

Enter the name and description for the dashboard.
By selecting Mark as public, the dashboard will be saved as a public dashboard.
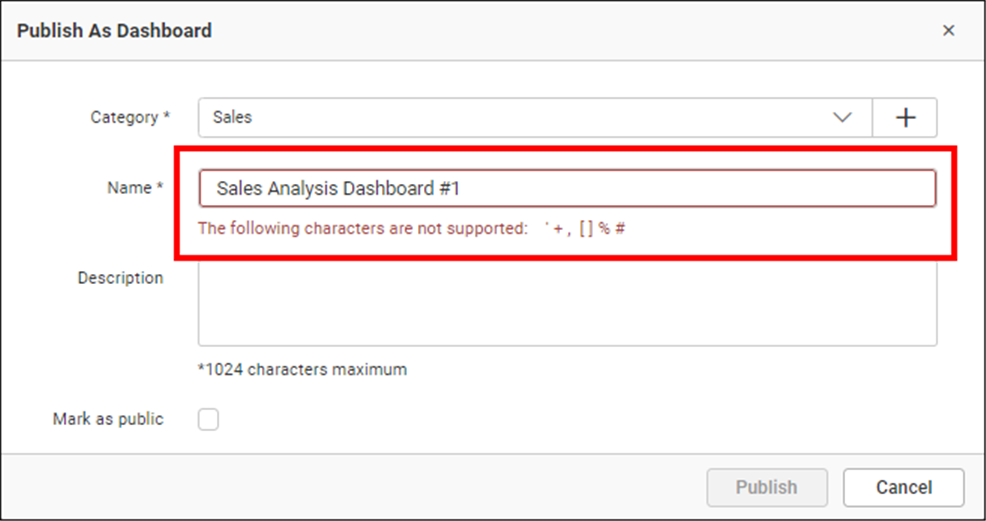
Some special characters are not supported in the dashboard name when saving.

Click Publish to save the dashboard.
When saving for the first time, the Publish As dialog may appear even when clicking Publish.
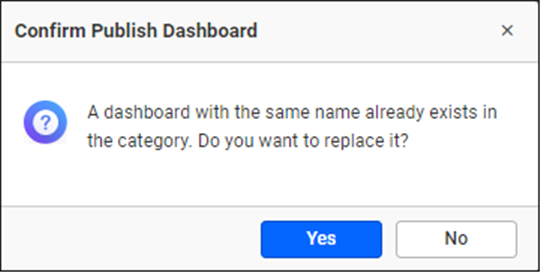
If a dashboard with the same name already exists in the selected category, a Confirm Publish Dashboard dialog will prompt to replace the dashboard in the specified category. Selecting Yes will replace the dashboard.

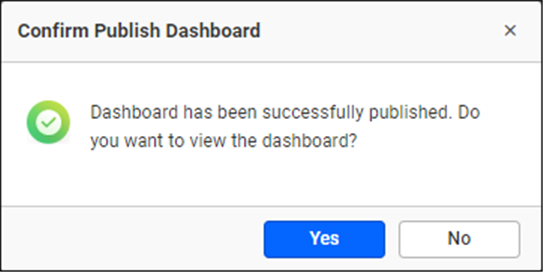
After successfully publishing a dashboard, you will be prompted to view the published dashboard. Selecting Yes will navigate to view the subsequent dashboard.

Learn how to edit an existing dashboard
Post your message
If you are still unable to find the information you are looking for in the self-help resources mentioned above, please contact us with your requirements.