Append Data Source in Bold BI:
This section explains how to use the Append Data option in Bold BI Enterprise.
![]()
Configuring the Append Data Source:
The Append Data Source allows users to append selected files to an existing data source table. Currently, this feature is available for file types such as Excel, JSON, CSV, and XML.

To append data in an existing data source, click on the append data icon. The dialog will open, as seen in the following image.
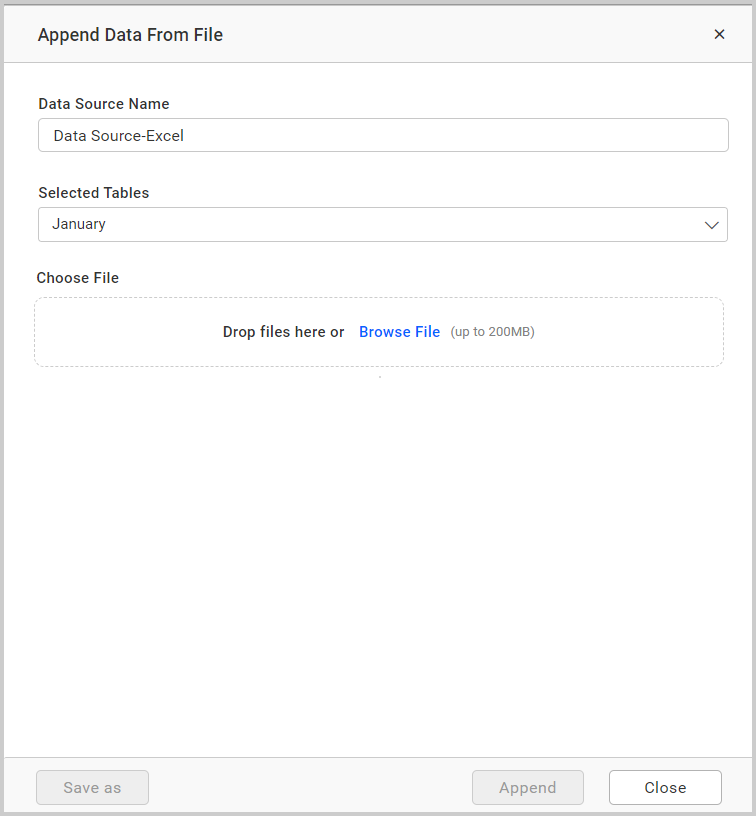
Choose the table name from the selected tables dropdown menu in which the data should be appended.
The Append Data Source allows users to append both single and multiple files.
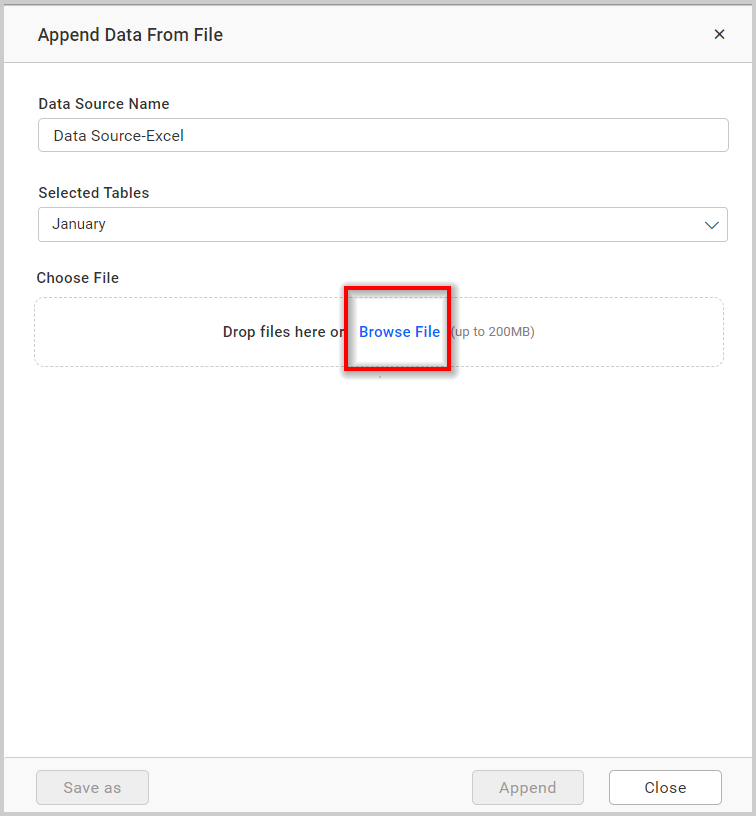
Click the Browse File button to select the files you want to append, as shown in the following image.
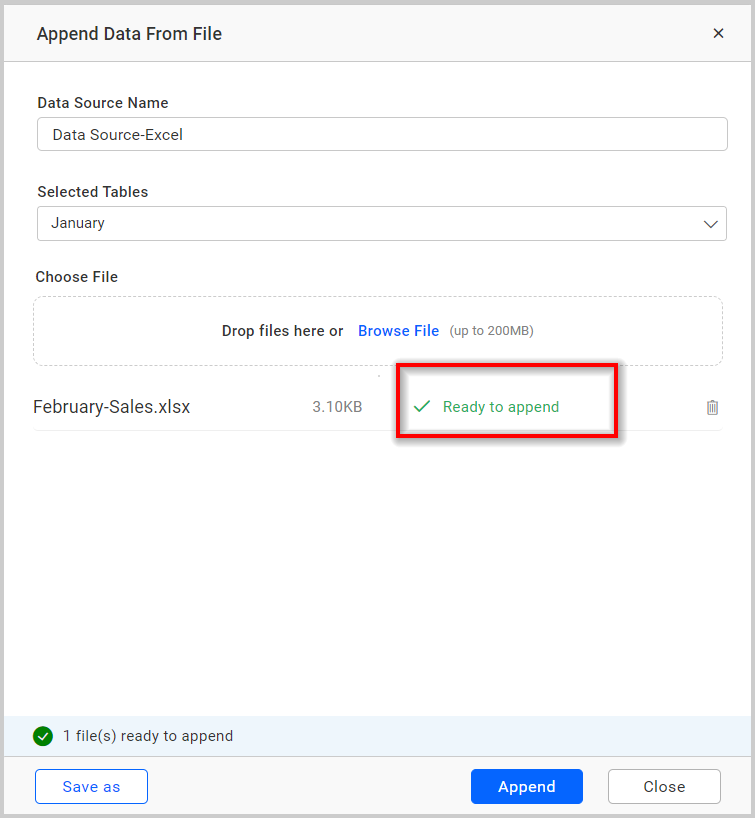
Once the selected files are uploaded, the schema comparison will be done, and the validation status will be updated as follows:
-
Single file upload
-
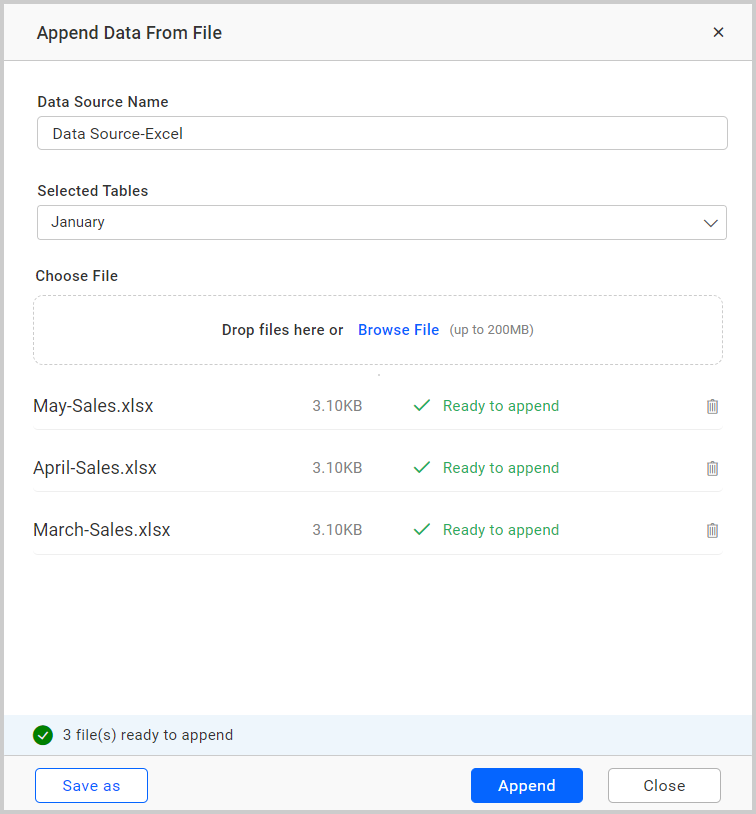
Multiple files upload
If the schema validation has failed, delete the file by clicking the Delete icon and browse with a valid file to append again, as shown in the following image.
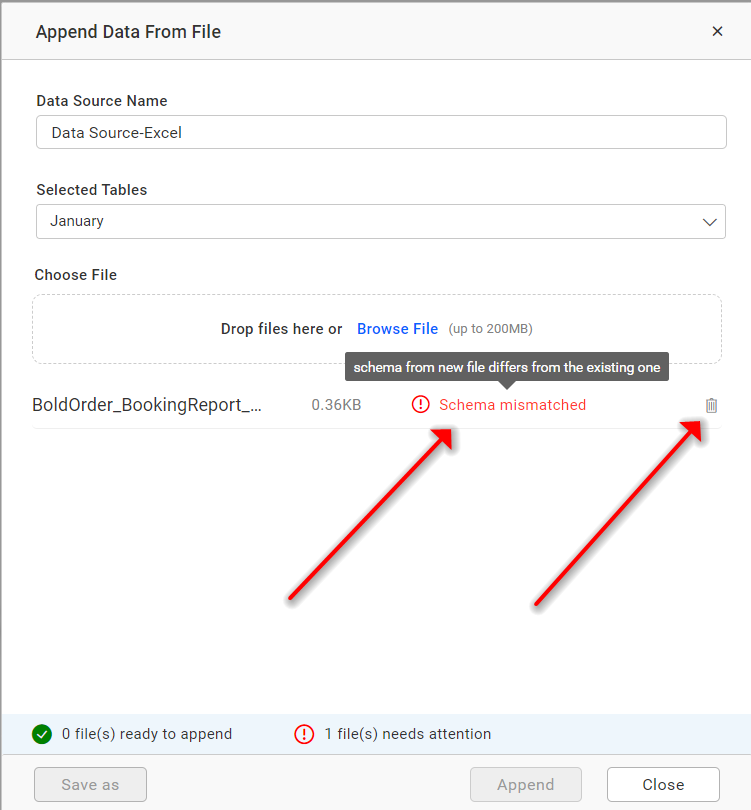
Once you see the success message Ready to append, the Append and Save As options will be enabled.
Save As:
The Save As option allows you to create a new data source with the selected files along with the existing data source data.
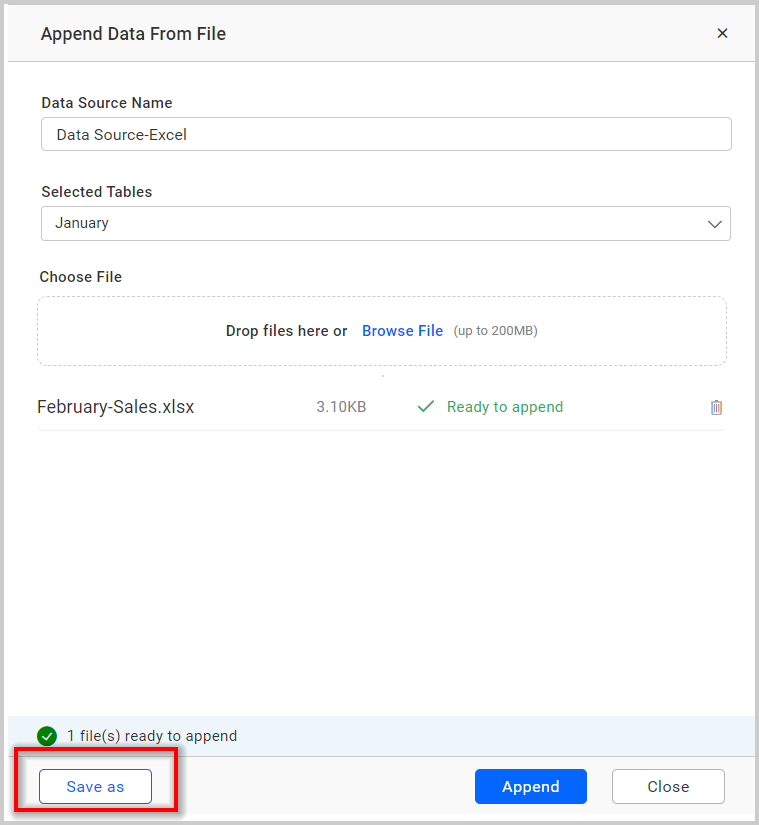
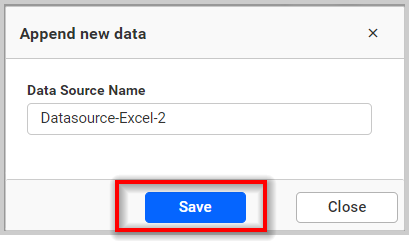
Click the Save As button, provide the new data source name, and click the Save button.
Append:
The Append button will move the selected files’ data to the existing data source table.

Click the Append button.
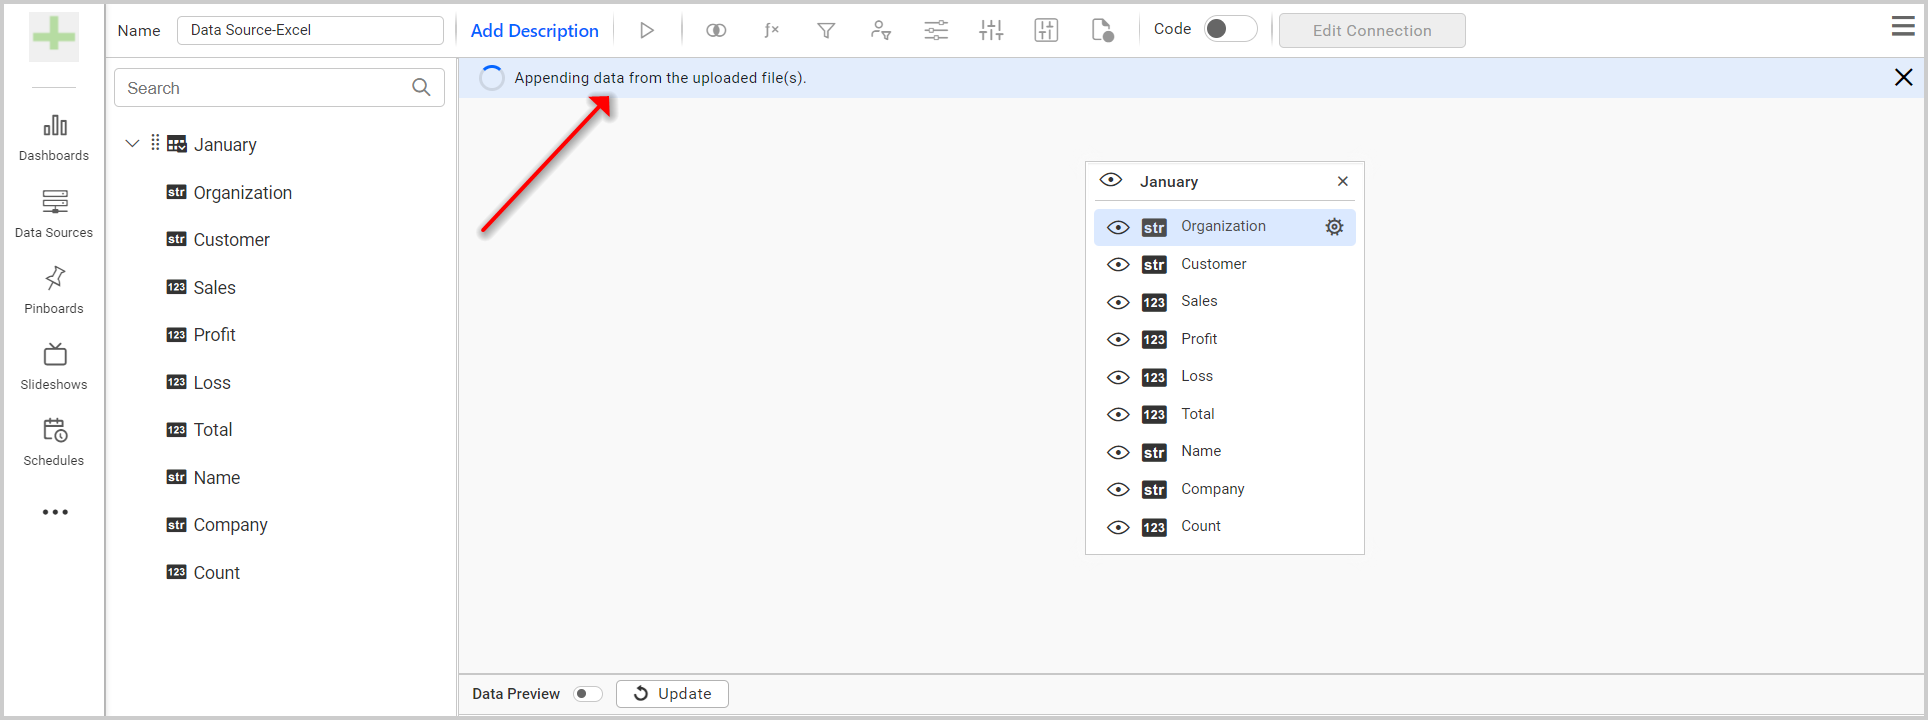
After clicking the Save As or Append button, the append process will be initiated, and the append status will be shown as follows.
Waiting Status:
The Waiting pop-up indicates that the append process has started, as shown in the following image.
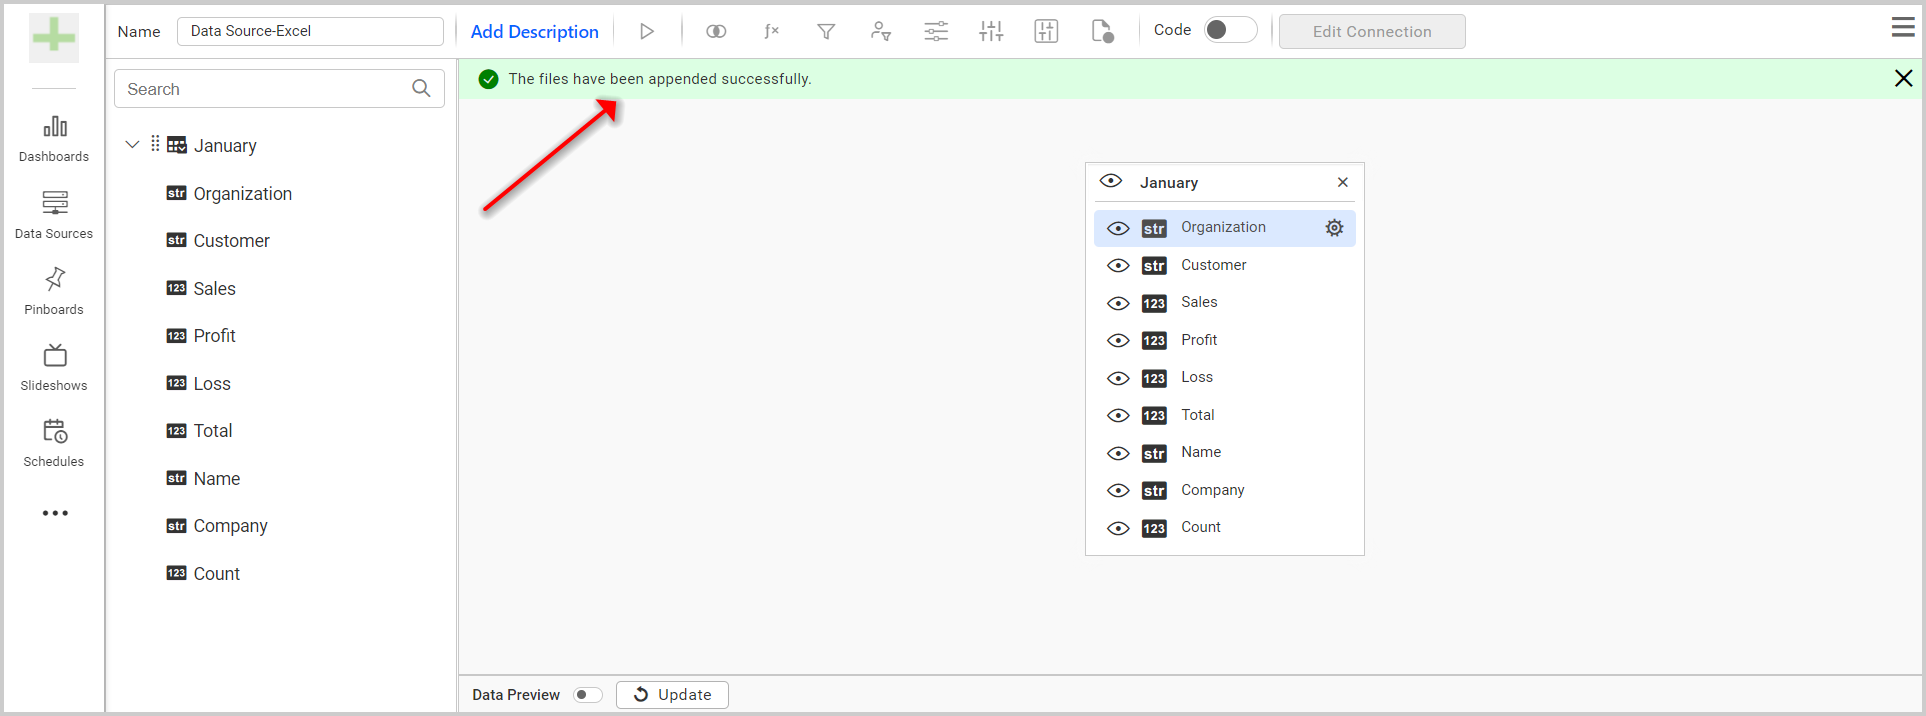
Success Status:
The Success pop-up indicates that the append process has been completed successfully, as shown in the following image.
Failure Status:
The Failure pop-up indicates that the append process has failed, as shown in the following image.

Close Icon:
Click the Close icon to close the notification pop-up after the process completion, as shown in the following image.
![]()