Custom Connector
A custom connector allows you to create a BoldBI connector by yourself. You can create a BoldBI connector for your REST API without having to wait for it to be implemented. To create a custom connector, you need to prepare a JSON file and upload it to Bold BI.
Note: This feature is available in On-Premises Deployment but not in Syncfusion Managed Cloud Server.
Configuring Custom connector
This section explains how to configure a custom connector using a JSON file in Bold BI enterprises.
NOTE : A custom connector can be Only modified by the Administrator of the site.
Add Custom connector
Add a custom connector JSON file by following the given steps:
-
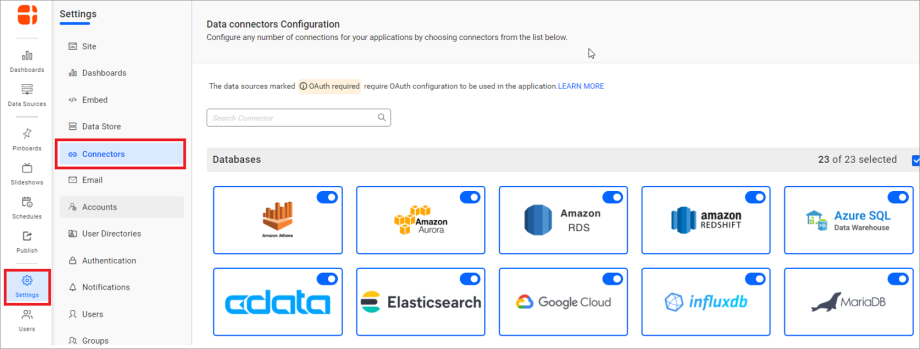
Click the Settings icon in the left panel.
-
Select the Connectors tab. This tab lists the available data sources and custom connectors in Bold BI.
-
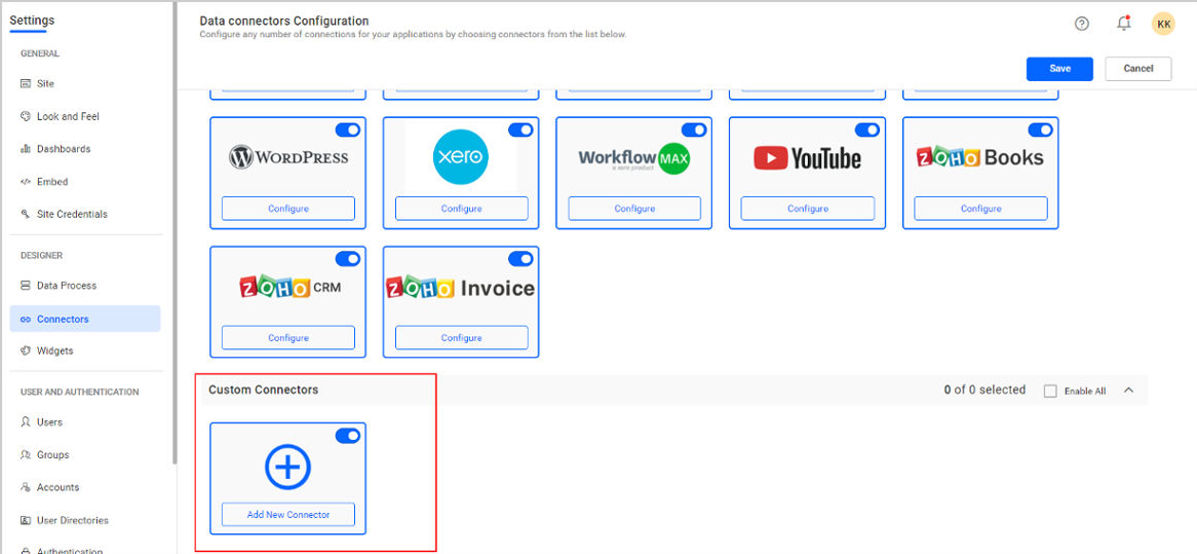
Scroll down the Data Source panel and navigate to the Custom connector panel.
-
Click Add new Connector.
-
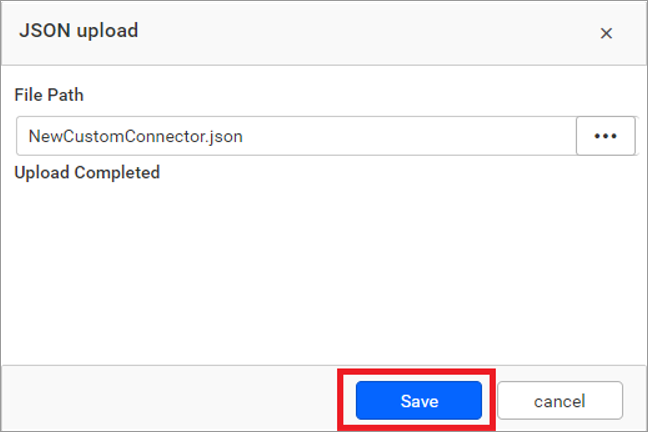
Upload and Save the custom connector by clicking the Save button in the popup.
-
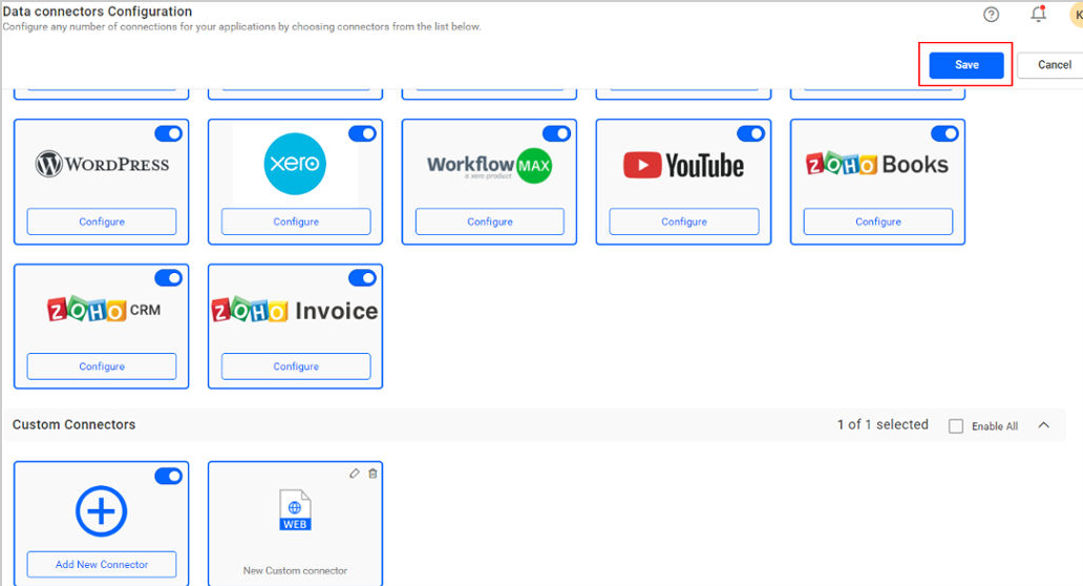
Click the Save button at the end of the custom connector panel. If you proceed without saving the configuration, you will not be able to see your connector(s) in the data source panel.
-
You can create a data source by assuming your custom connector as a data source on the server or designer page.
Edit Custom connector
Edit a custom connector by uploading a new or updated JSON file by following the given steps.
-
Click the Edit icon on the custom connector that needs to be edited.

-
Re-upload the new or updated custom connector JSON file using the corresponding custom connector JSON file upload window.
-
Upload and save your new custom connector by clicking the Save button in the popup.

-
Click the Save button at the end of the custom connector panel. If you proceed without saving the configuration, your new JSON file will not be uploaded.

Delete Custom Connector
You can delete the added Custom connector JSON file by following the given steps:
-
To delete the specified custom connector, click the Delete Icon.

-
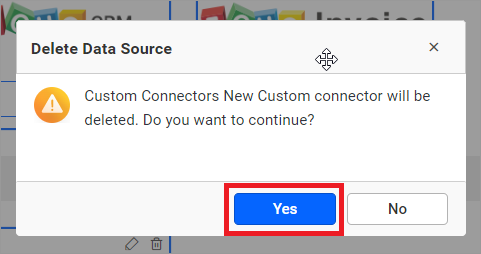
A confirmation popup will open. Click the Yes button to delete the custom connector.
Having trouble getting help?
Contact SupportHaving trouble getting help?
Contact Support