Transformation
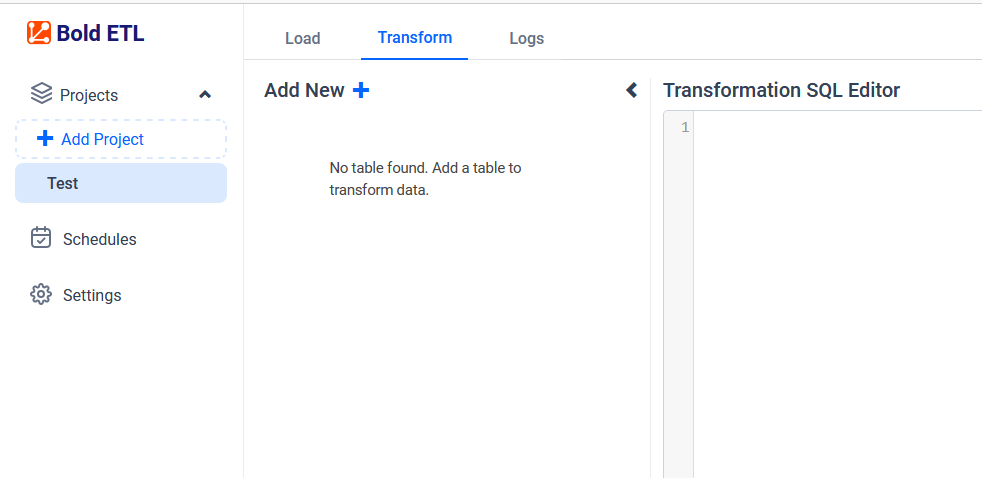
In Tranformation page, convert extracted data into a suitable format for analysis. This stage includes data cleaning, filtering, aggregation, and normalization. Enrich data by integrating it with additional information.
- Once the project data has been successfully transferred to the designated destination database, proceed by choosing a specific project and accessing the Transform tab located within the right side panel.
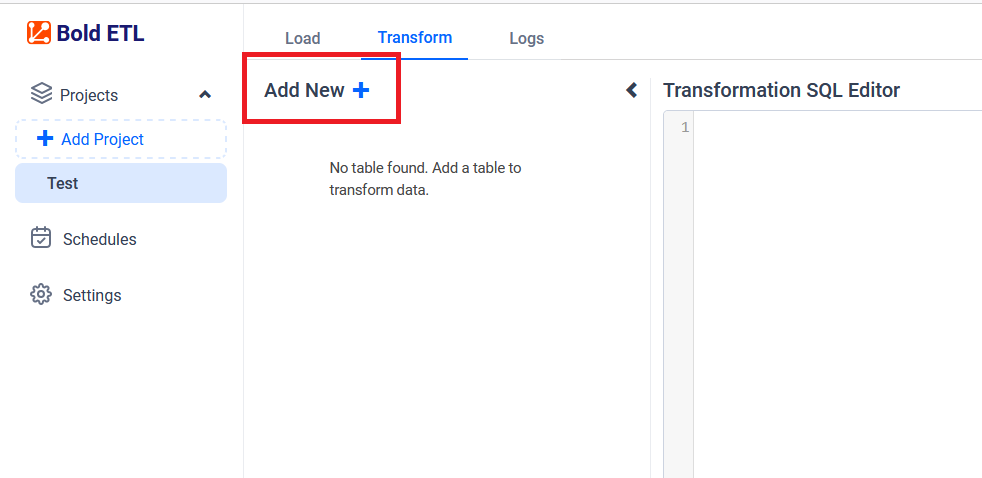
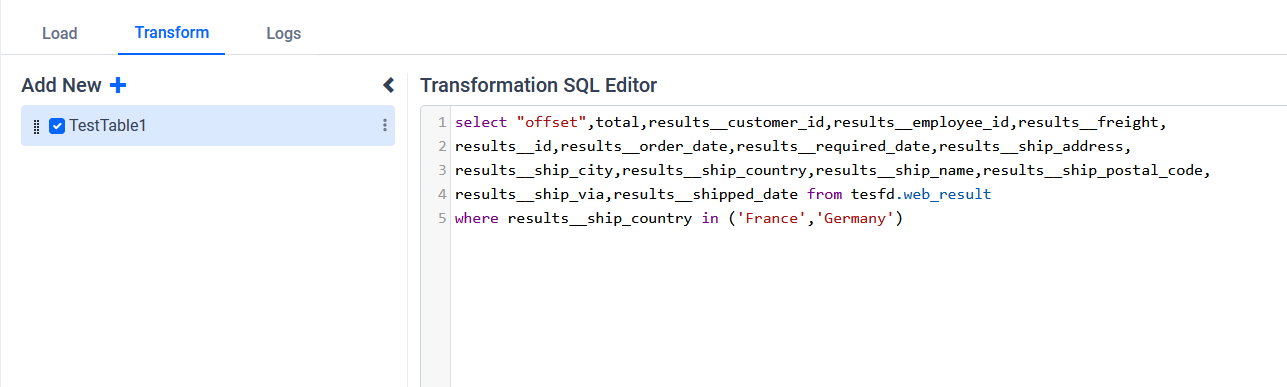
To initiate the creation of a table in the designated location through SQL scripts, select the Add New button.
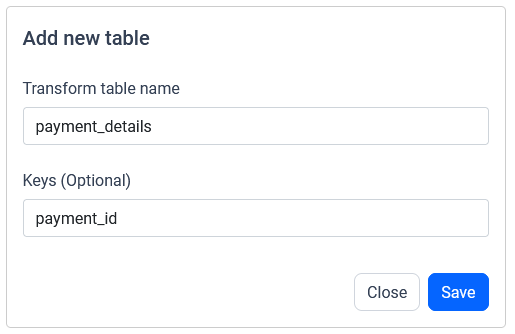
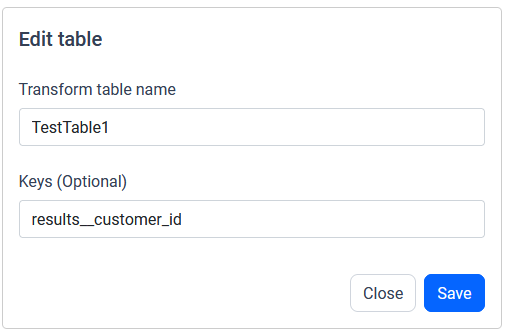
Input the desired table name into the designated field labeled “Transform table name.” If necessary, primary key values can be provided in a comma-separated manner for further customization.
The data will initially be transferred to the DuckDB database within the designated {project_name} schema before undergoing transformation for integration into the target databases. As an illustration, in the case of a project named “test”, the data will be relocated to the test table schema.
Sample Transformation scripts:
select date_part('year',payment_date) as "year", date_part('month',payment_date) as "month", sum(amount) as "TotalAmount" from test.payment
group by date_part('year',payment_date),date_part('month',payment_date)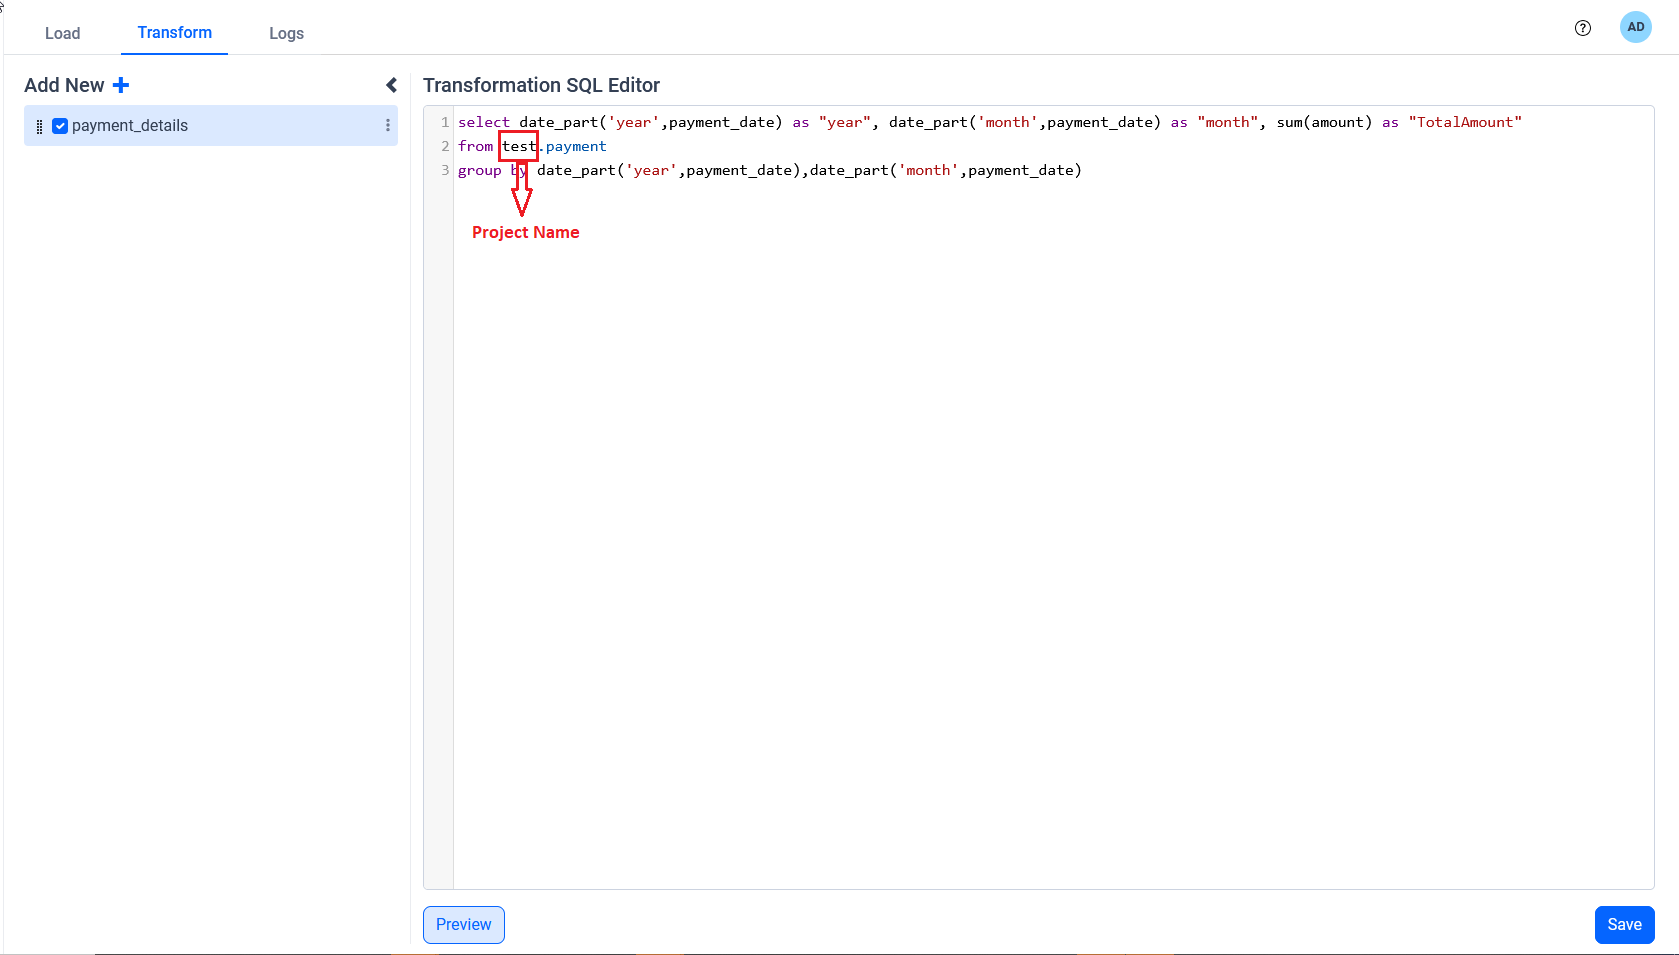
Preview:
Click on Preview to view the data with a limit value of 10.
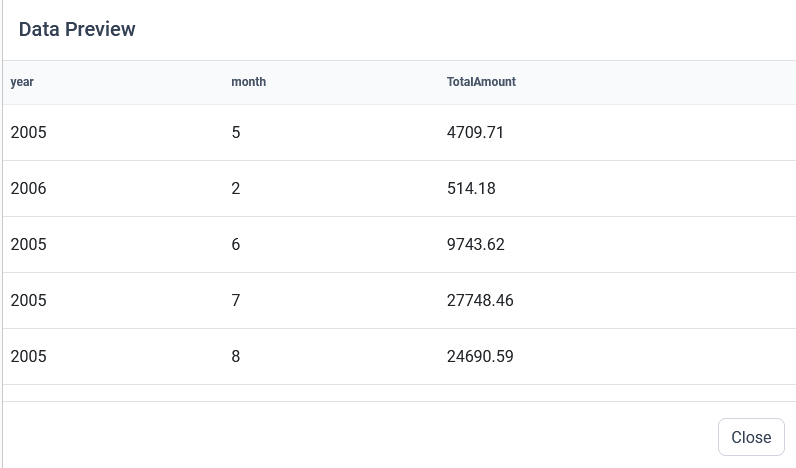
Note: The preview option only works after the source table data has been moved to destination database.
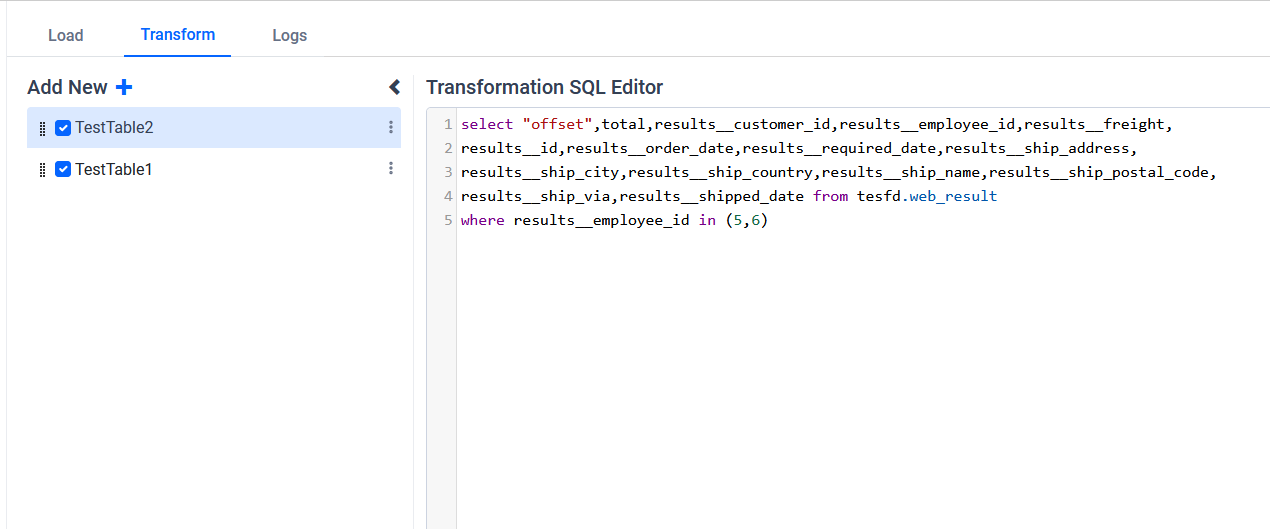
In the Transform section, users have the capability to incorporate multiple tables into their projects. Able to rearrange the sequence in which the transform tables are executed, as well as reuse these tables for future analyses.
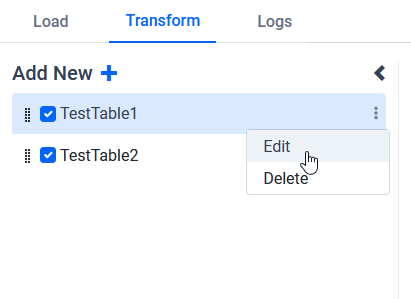
When users desire to incorporate Primary keys into the transform tables, they should input the primary key values during the process of adding or editing the tables.
IMPORTANT: After finishing the transformation, users should click the
Savebutton. To execute the project, navigate to theLoadtab, save the project again, and then select theRun Nowoption on the schedule page. The tables will be transferred to the destination database during this process.