Working with Projects:
This section provides detailed instructions on the process of creating a new project and importing data into the designated connector. Prior to this, it is essential to properly configure the Data Store in order to proceed with the subsequent steps.
Steps for Creating New Project:
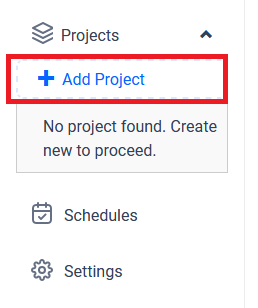
To add a new project, navigate to the left side panel and click on the “Add Project” button
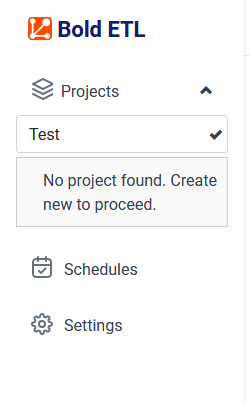
Note: Project name using only alphanumeric characters and click on the
tickicon to confirm and save the project details.
Please input the designated project title and proceed by selecting the confirm icon. Subsequently, select the project name to proceed with further actions.
You will be directed to the Load page where you can configure the settings for the source connector.
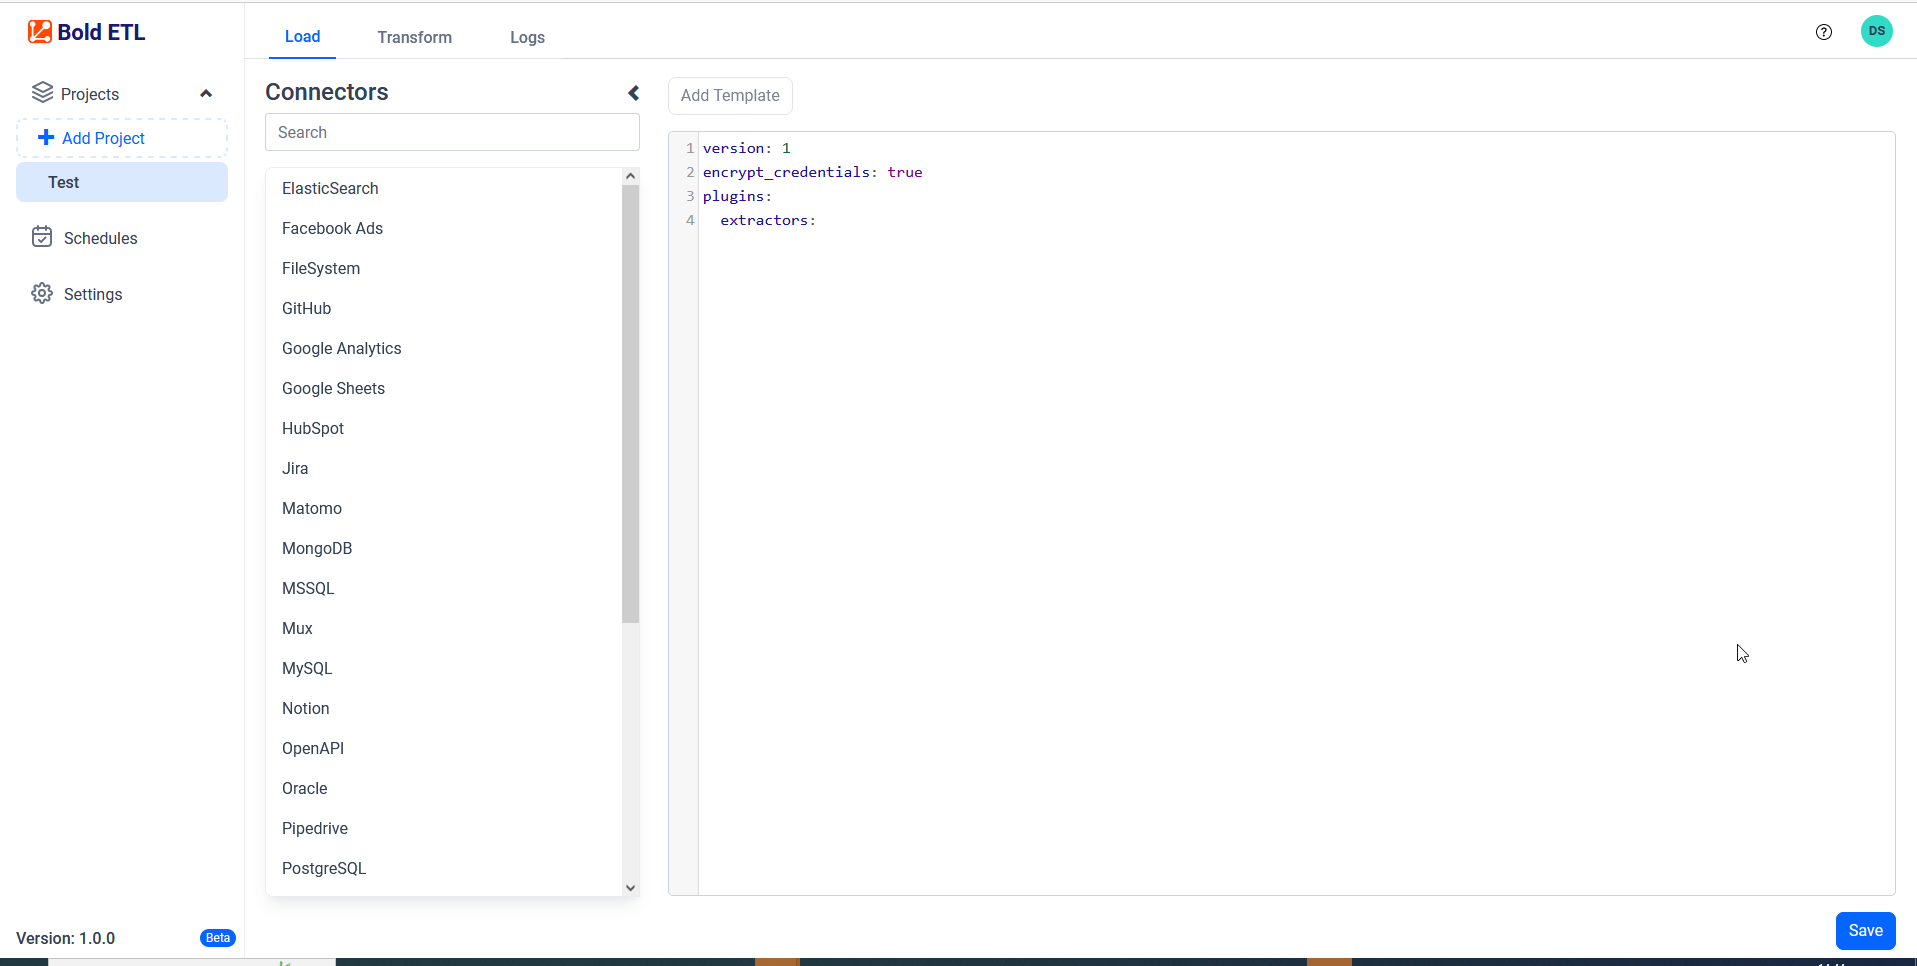
Load:
The source data source connector can be configured in a YAML file format. The data source name is displayed in the Connector list panel, where the user can select the connector name and click on Add Template to access sample configuration details. Multiple connectors can be added to a project to transfer data to a destination database.
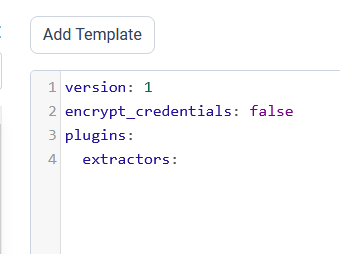
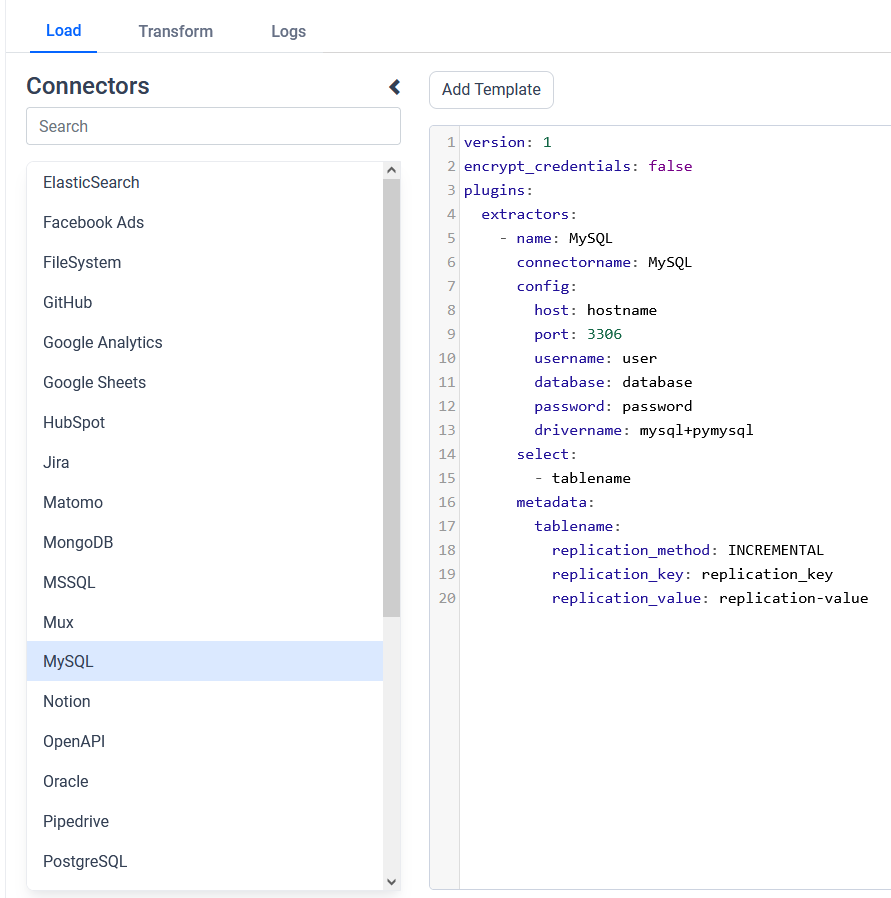
Example: Configuration File
version: 1
encrypt_credentials: false
plugins:
extractors:
- name: MySQL
connectorname: MySQL
schemaname:
config:
host: localhost
port: 3306
username: root
database: sakila
password: +NQCHLZ1l/RaR1L0HK+0jg==
drivername: mysql+pymysql
select:
- inventory
- payment
- name: PostgreSQL
connectorname: PostgreSQL
schemaname: test
config:
host: localhost
port: 5438
username: postgres
database: demo
password: +NQCHLZ1l/RaR1L0HK+0jg==
drivername: postgresql+pg8000
select:
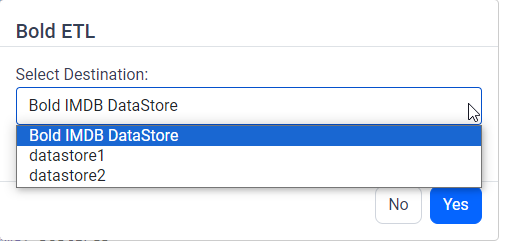
- ticket_metricsAfter clicking the Save button, a popup window will appear. Within this window, locate and click on the dropdown menu labeled Select Destination. From the options provided, choose the specific DataStoreName that has been previously configured in the Data Store settings page.
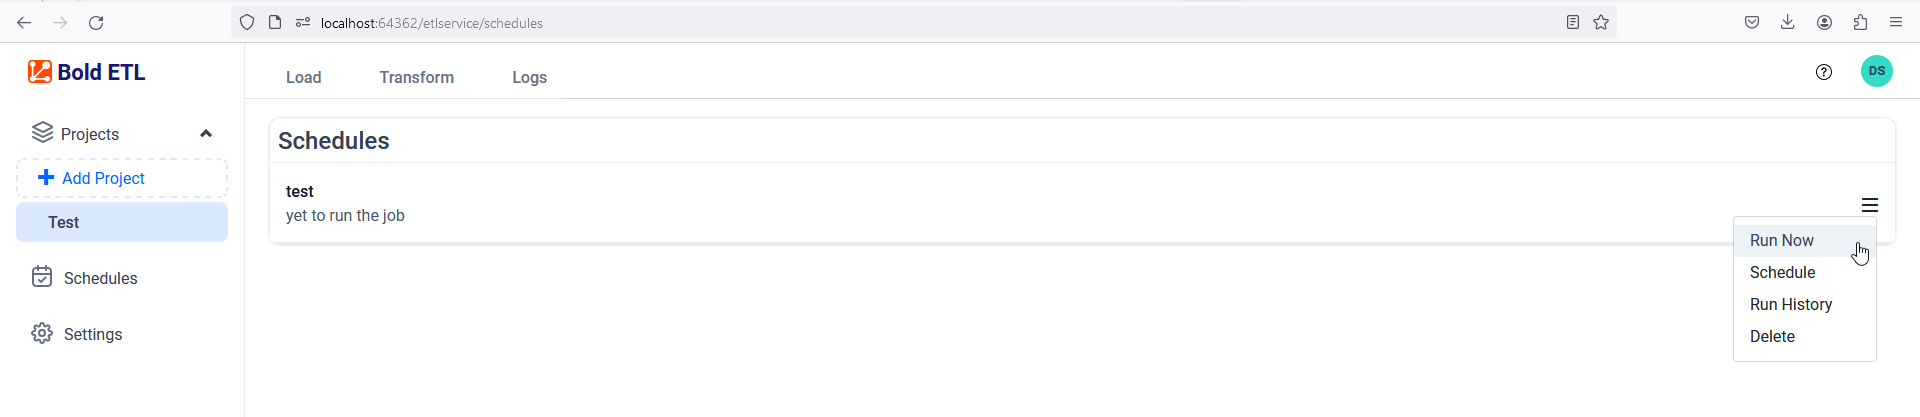
Next, navigate to the “Schedule” page on the platform and select the “Run Now” option to initiate the desired action immediately.
Upon the completion of the project, a data source will be generated within the platforms of “Bold BI” or “Bold Reports.”

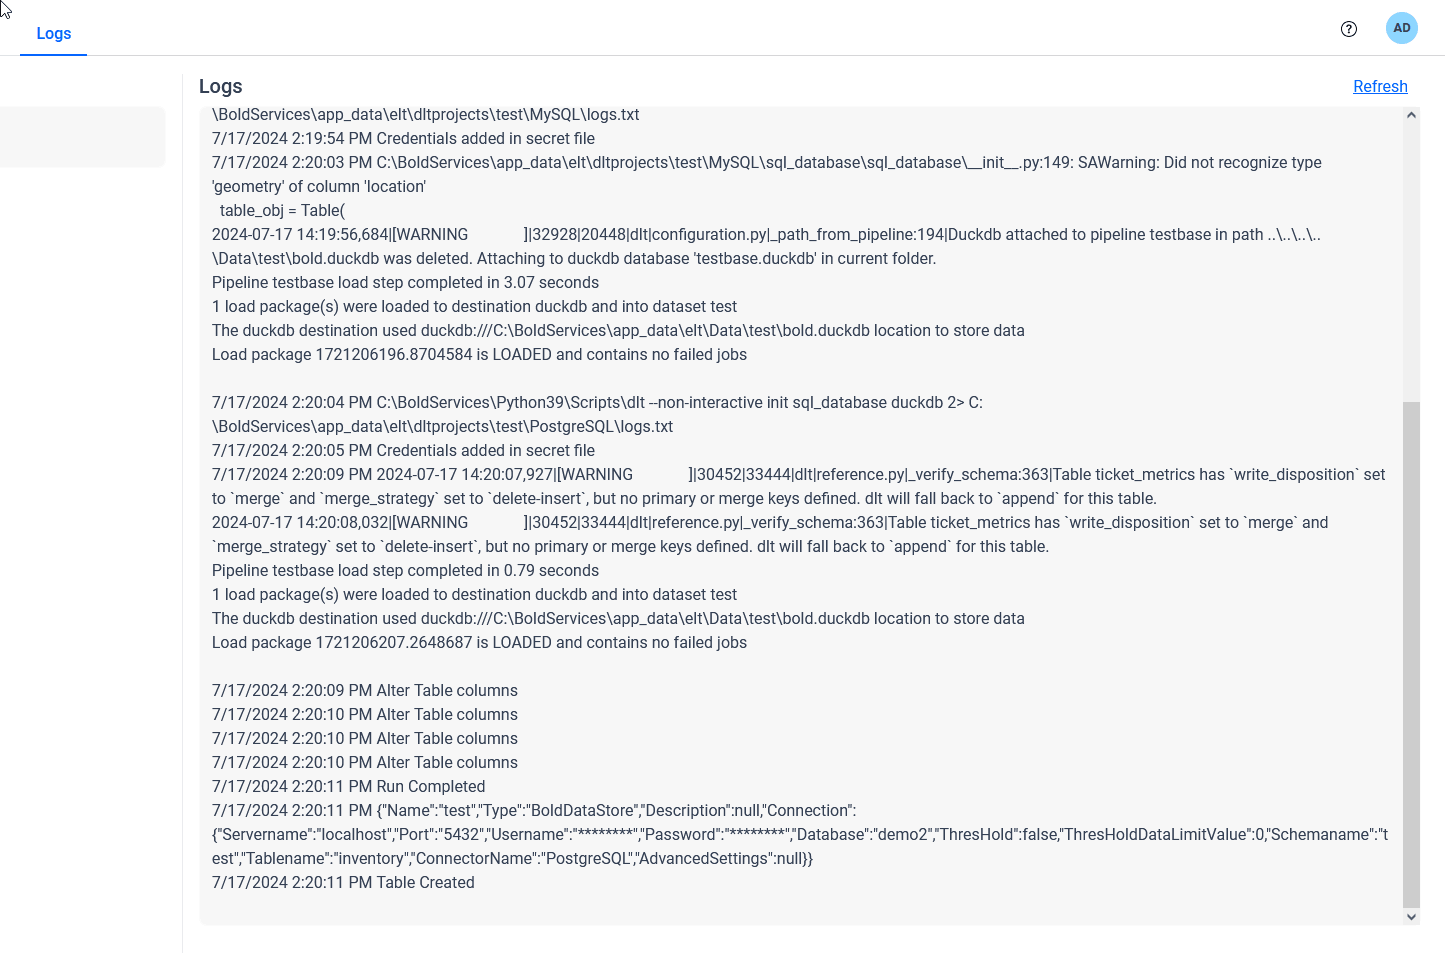
Please refer to the current operational status by accessing the information displayed in the “Logs” tab.