Self-deploy a Bold BI Server on Google Cloud Platform
The following steps guide you through deploying Bold BI on GCP VM instance. Follow the steps according to your instance type.
Deploying Bold BI on a GCP Windows Instance
Set up a GCP Windows Instance
-
Go to Google Cloud Console and log in to your GCP account.
-
Navigate to
Compute Engineand click onVM Instances.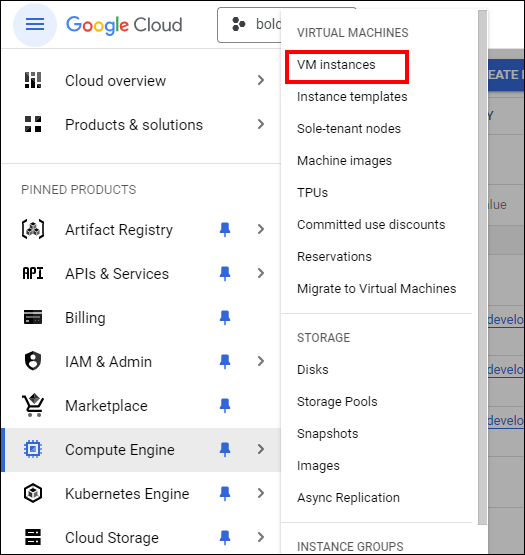
-
On the VM Instances page, click on the
Create Instancebutton to start creating a new VM instance.
-
Enter a
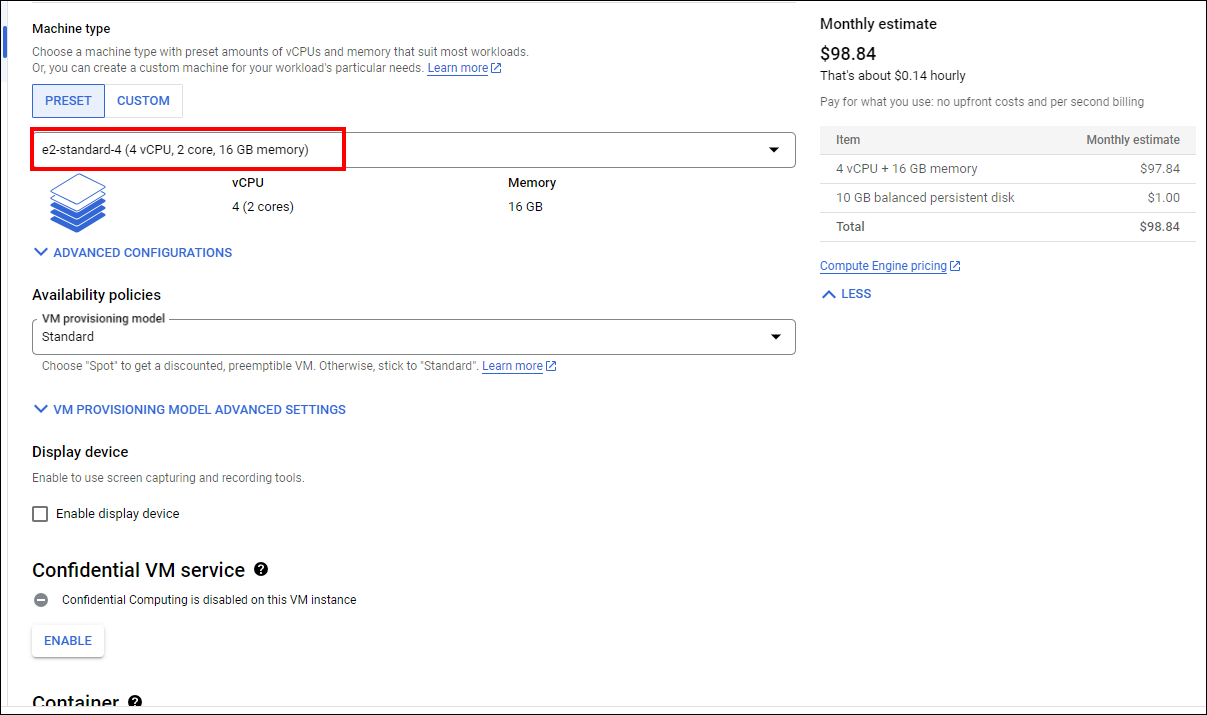
namefor your VM instance. Select theregionandzonewhere you want to create the VM instance. Select themachine typefor your VM instance.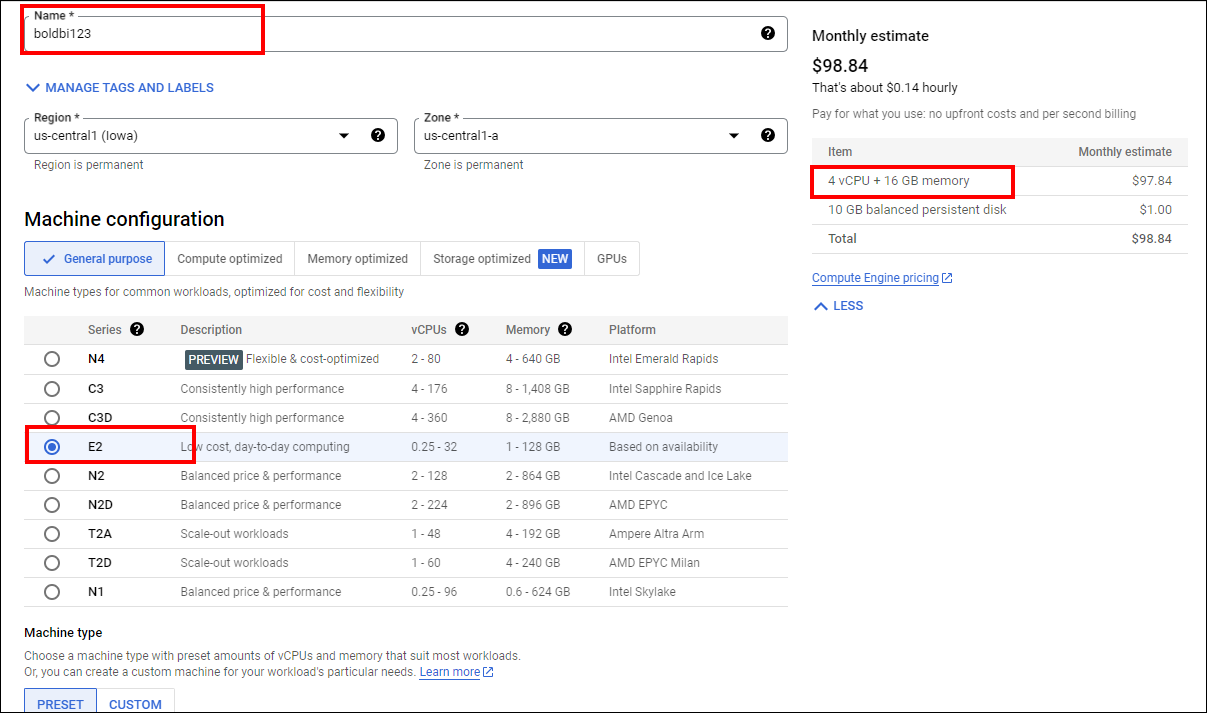
-
Click on
Changein the Boot disk section to begin configuring your boot disk. SelectWindows Serverfrom the Operating system list on the Public images tab. ChooseWindows Server 2019orlaterfrom the Version list. Please refer to this link for system configuration for Bold BI application. Click onSelect.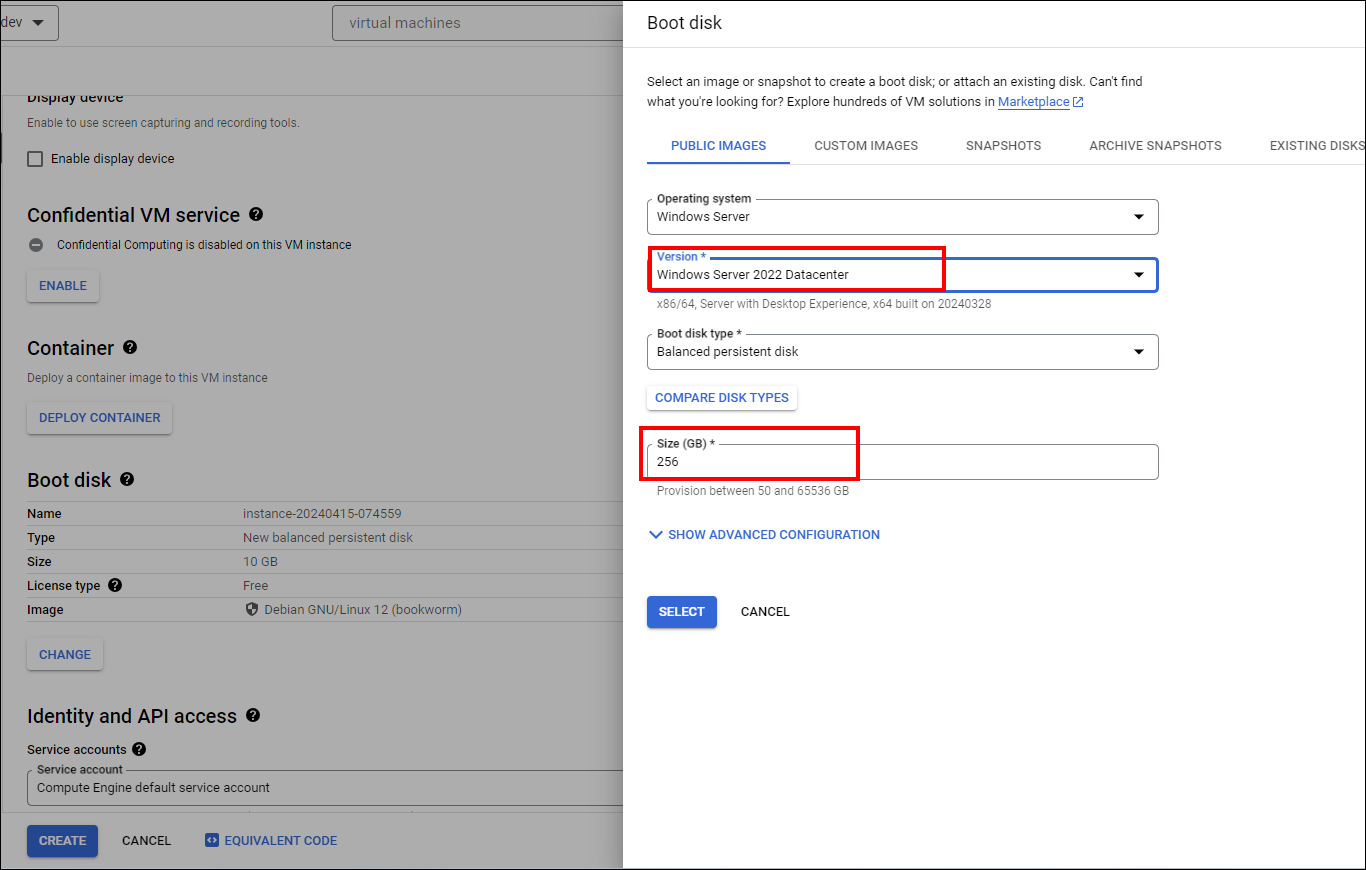
-
Within the Firewall section, allow specific network traffic. Then click on
Createto create the VM.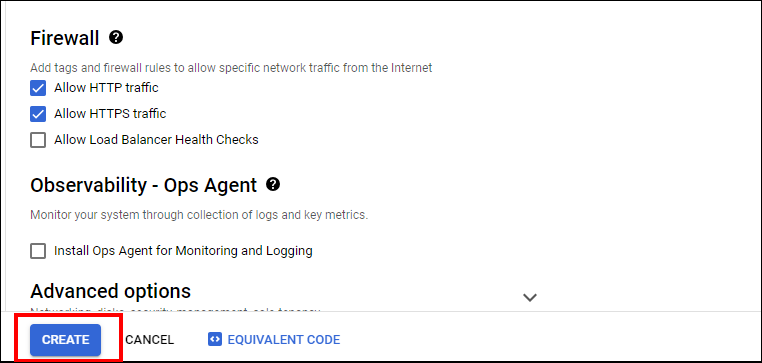
-
Wait a short while for the VM instance to start. Once it’s ready, its status will change to
running.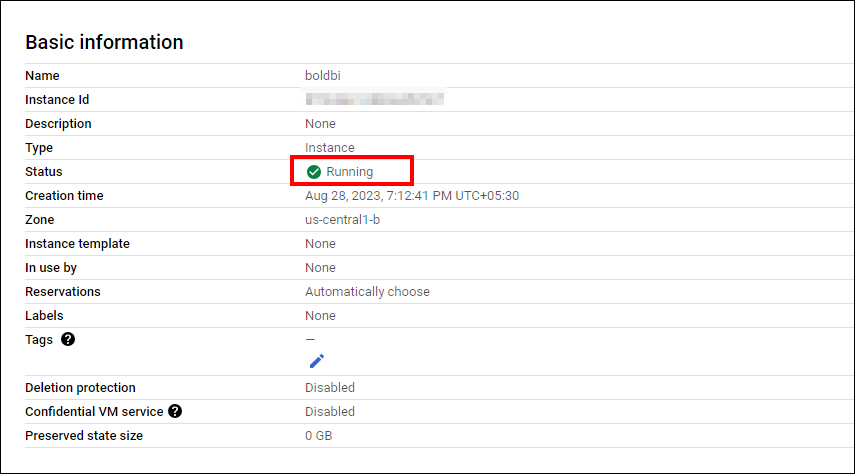
Connect to Windows Instance using RDP
-
Find your Windows VM instance and make note of its external IP address.
-
On your local machine (Windows), search for
Remote Desktop Connectionin the Start menu and open the application. -
In the
Remote Desktop Connectionwindow, enter the external IP address of your Windows VM. ClickConnectto establish the RDP connection.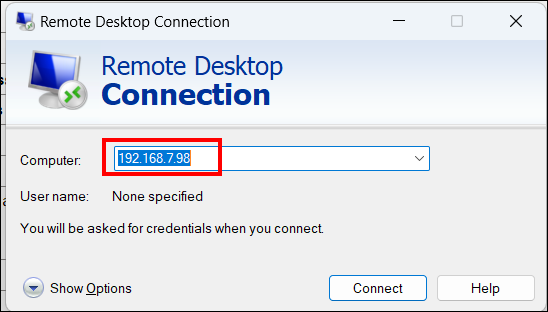
-
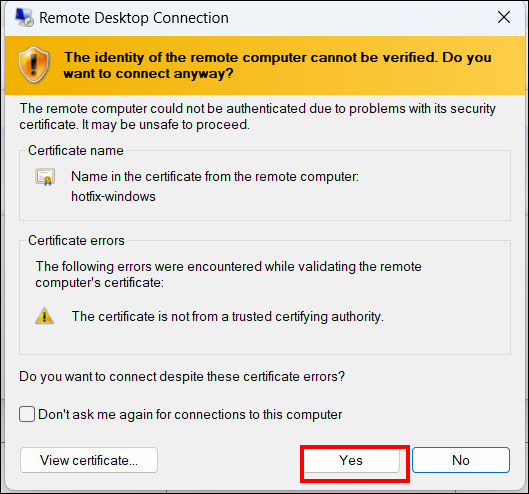
You may be prompted for credentials, so enter the username and password for the Windows user account on the VM, then click
Yesin the prompted window.
-
Once connected, you will see the Windows desktop of your VM, allowing you to interact with it as if you were using a local Windows machine.
-
Other methods are available for connecting to your Windows instance. Please refer to this Connecting windows
Installing and Running the Bold BI Server on Windows
This section provides instructions on how to install and run the Bold BI server in a virtual machine (VM).
-
Install the Bold BI server on the created Windows virtual machine (VM) in the GCP portal using help link
-
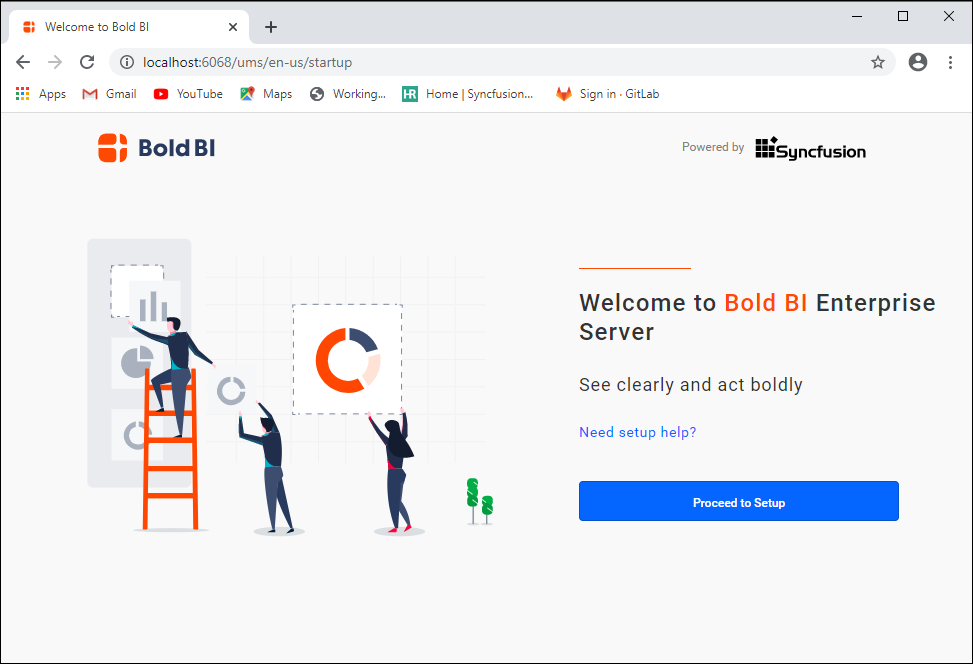
Launch your application either by default or through your Desktop shortcut menu item. For example, Start Bold BI in IIS.
-
Follow the steps in the link to do the application startup.
Deploying Bold BI on a GCP Linux Instance
Set up a GCP Linux Instance
-
Go to Google Cloud Console and log in to your GCP account.
-
Navigate to
Compute Engineand click onVM Instances.
-
On the VM Instances page, click on the
Create Instancebutton to start creating a new VM instance.
-
Enter a
namefor your VM instance, select theregionandzonewhere you want to create the VM instance, and choose themachine typefor your VM instance.

-
Click on
Changein the Boot disk section to begin configuring your boot disk. Under the Public images tab, chooseUbuntufrom the Operating system list. SelectUbuntu 20.04 LTSfrom the Version list. Refer to the Recommended System Configuration for system configuration for Bold BI application. Click onSelect.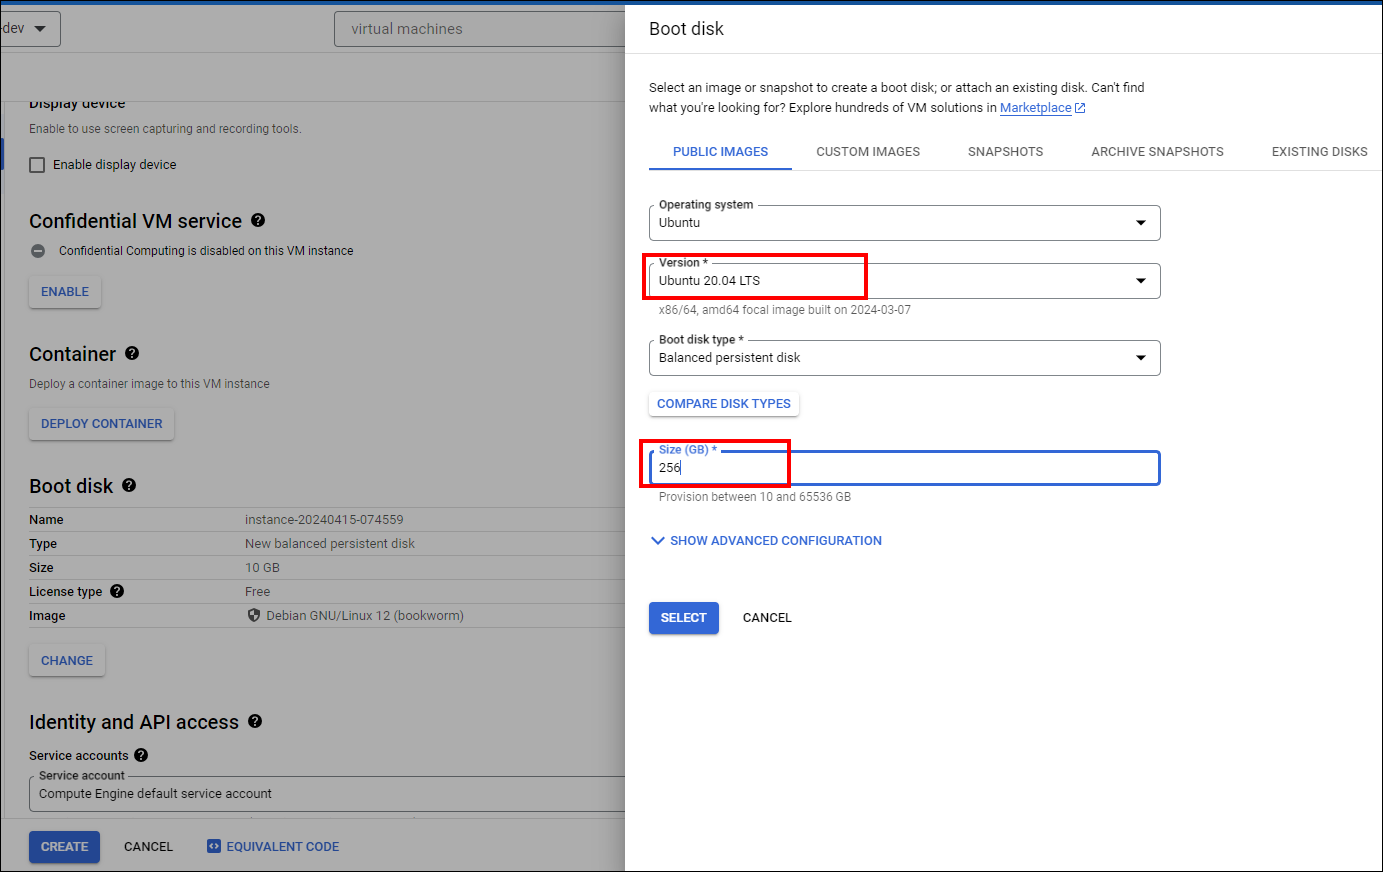
-
Within the Firewall section, allow specific network traffic. Then click on
Createto create the VM.
-
Wait a short while for the VM instance to start. Once it’s ready, its status will change to
running.
Connect to Linux Instance SSH
-
Navigate to the
VM instancespage. -
Locate the VM instance you want to connect to and click on the
SSHbutton next to it. Click onOpen in browser window. This will open a new browser window with an SSH connection to your VM.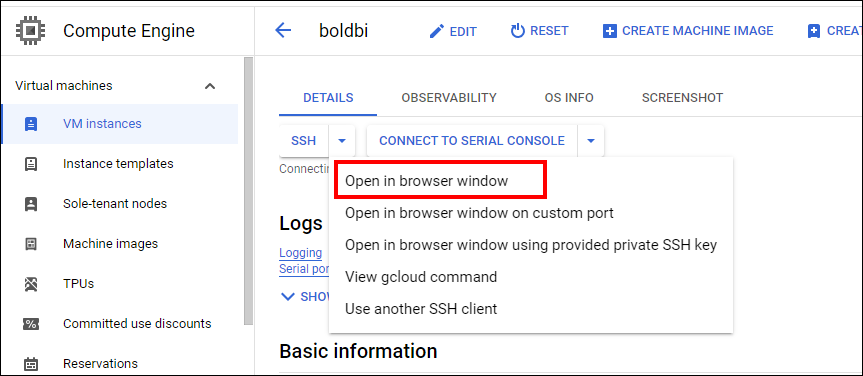
-
When connecting to the VM instance for the first time, SSH will prompt you to confirm the connection by typing
yesand then entering the password for the user specified during VM creation.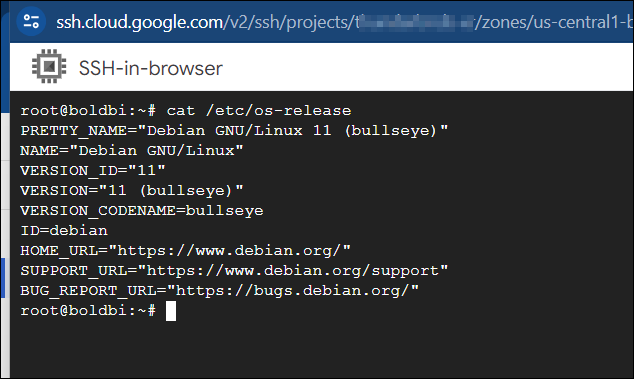
-
Once connected, you will have a terminal window open that allows you to interact with your Linux VM.
-
Other methods are available for connecting to your Linux instance. Please refer to the Connect to Linux VM
Installing and Running the Bold BI Server on Linux
This section provides instructions on how to install and run the Bold BI server on a Linux virtual machine (VM).
-
Install the Bold BI server on the created Linux virtual machine (VM) in the GCP portal using help link.
-
After the installation, when you access the IP address or domain name in the web browser, you will see the same interface as shown in the image below.

-
Follow the steps in the link to do the application startup.
- Deploying Bold BI on a GCP Windows Instance
- Set up a GCP Windows Instance
- Connect to Windows Instance using RDP
- Installing and Running the Bold BI Server on Windows
- Deploying Bold BI on a GCP Linux Instance
- Set up a GCP Linux Instance
- Connect to Linux Instance SSH
- Installing and Running the Bold BI Server on Linux