Azure Active Directory Settings
This section explains the Azure Active Directory details needed and how to configure Azure Active Directory with Bold BI to import users and groups from Azure Active Directory.
NOTE: This feature is available in On-Premises Deployment but not in Syncfusion Managed Cloud Server.
Steps to register Bold BI application in Azure Active Directory to import users and groups
-
Login to the Azure Portal.
-
Go to the respective Azure Active Directory. Click on
App registrationsin the left side menu and then click onNew registrationto add a new application.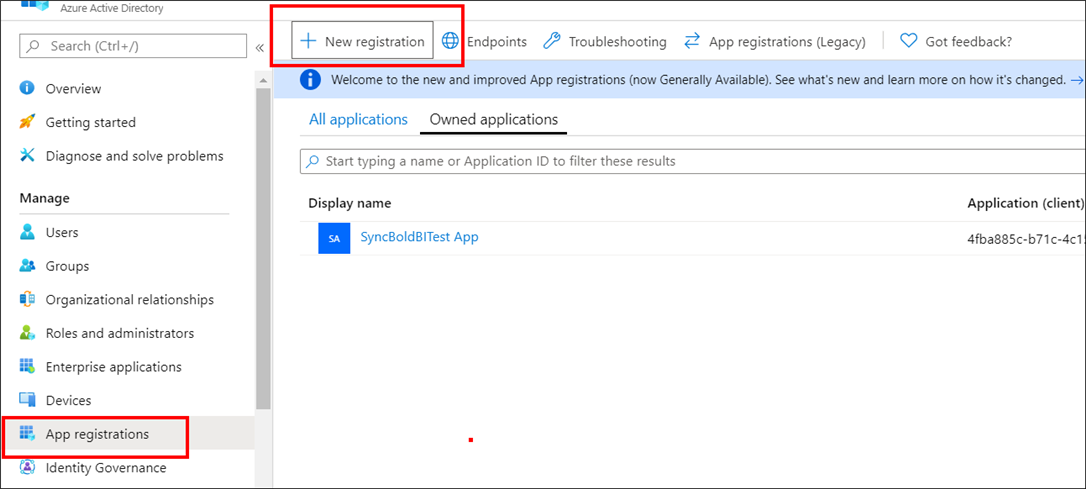
-
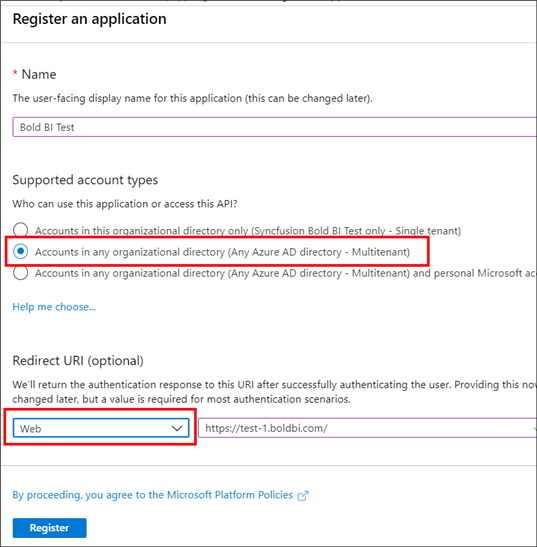
Enter the name of the application and choose the following options:
- Accounts in any organizational directory (Any Azure AD directory - Multitenant) as
Supported account types. - Web under the
Redirect URI (optional)section for Bold BI web and Public client/native (mobile & desktop) for the Bold BI mobile application. Enter the Redirect URI and then click onRegister.
The application will be added to the directory and you can view the details of the application in the
App registrations. - Accounts in any organizational directory (Any Azure AD directory - Multitenant) as
-
Select
Brandingin the left side menu, enter theHome page URL, and clickSave.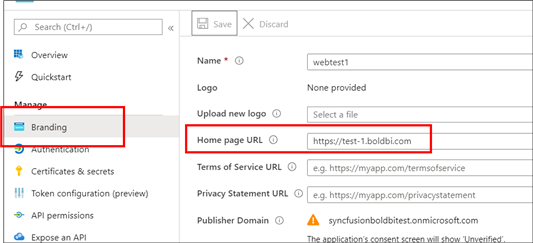
-
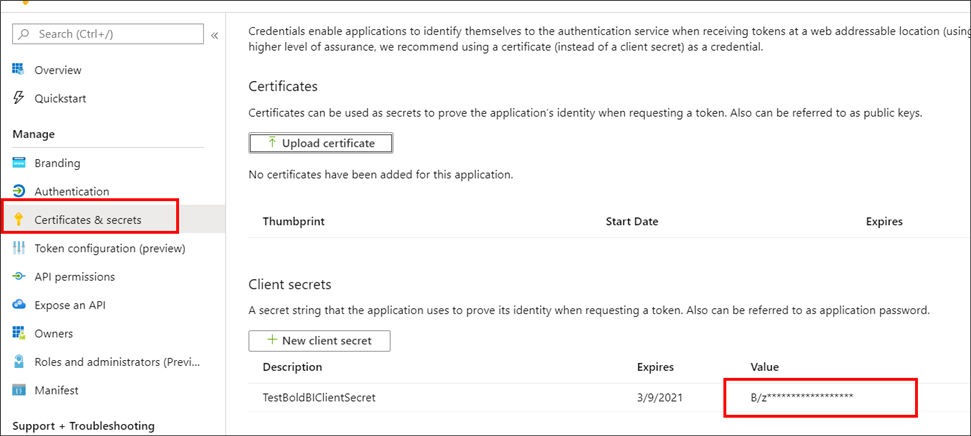
Select
Certificates & secretsto add a client secret by clicking onNew client secretas shown in the following screenshot.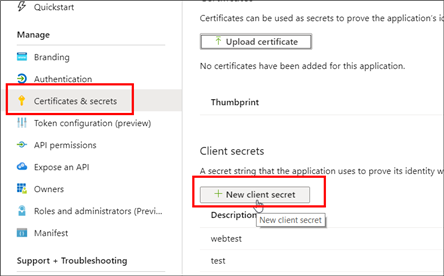
NOTE: Save the client secret value generated.
-
Go to
API permissions,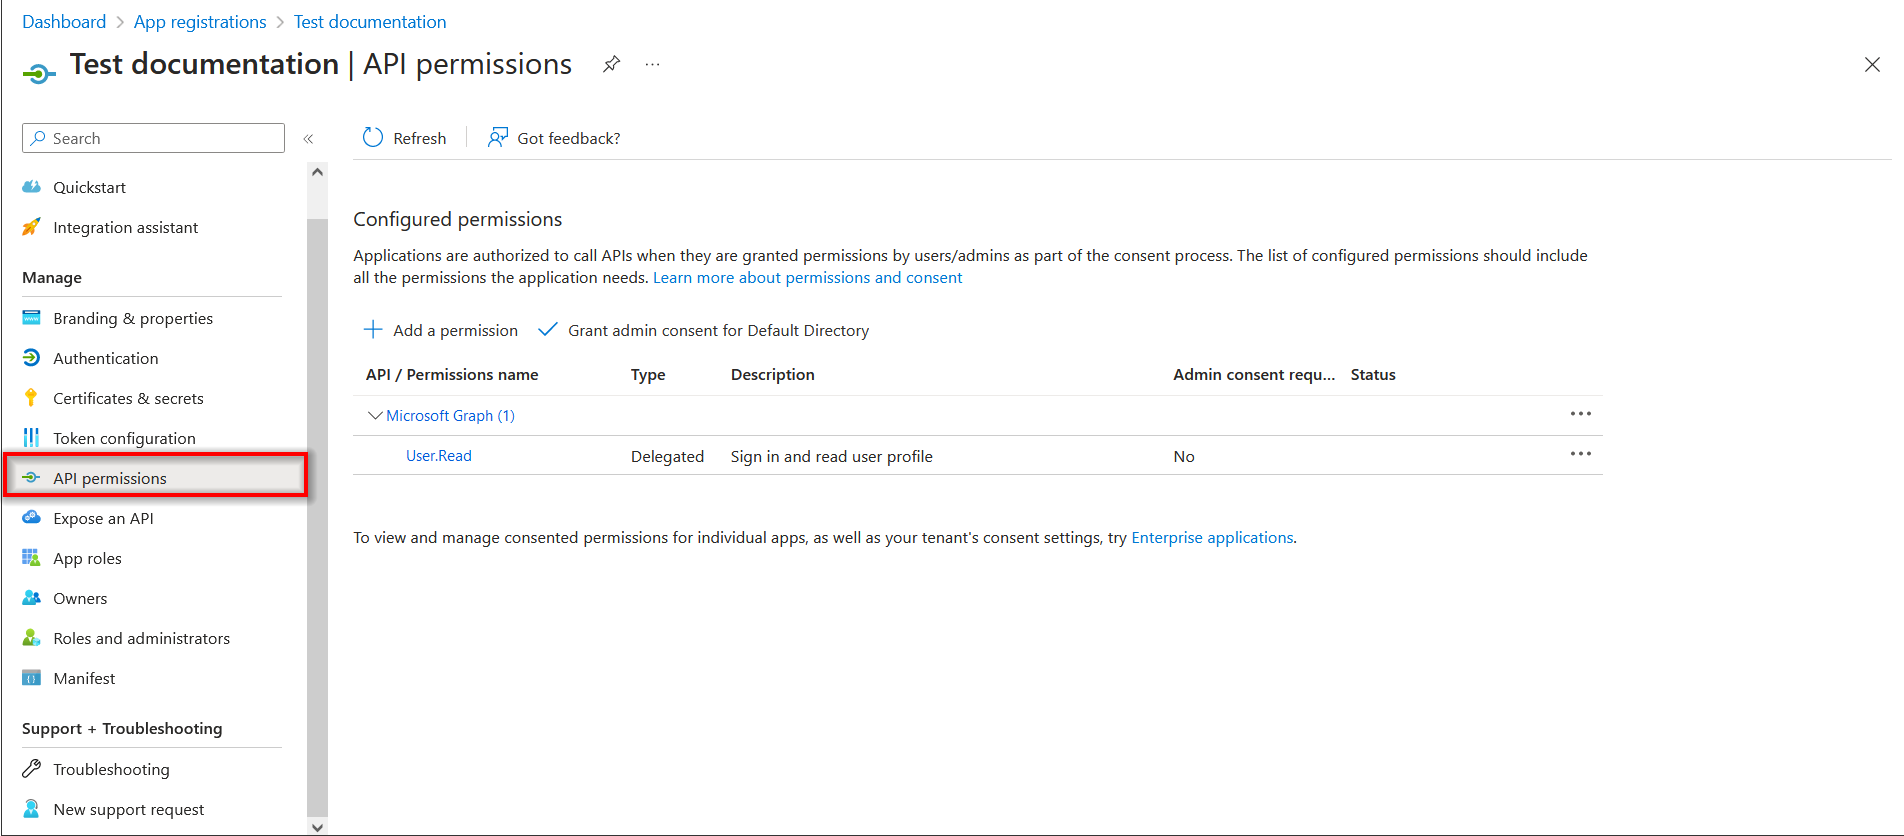
click on
Add a permission,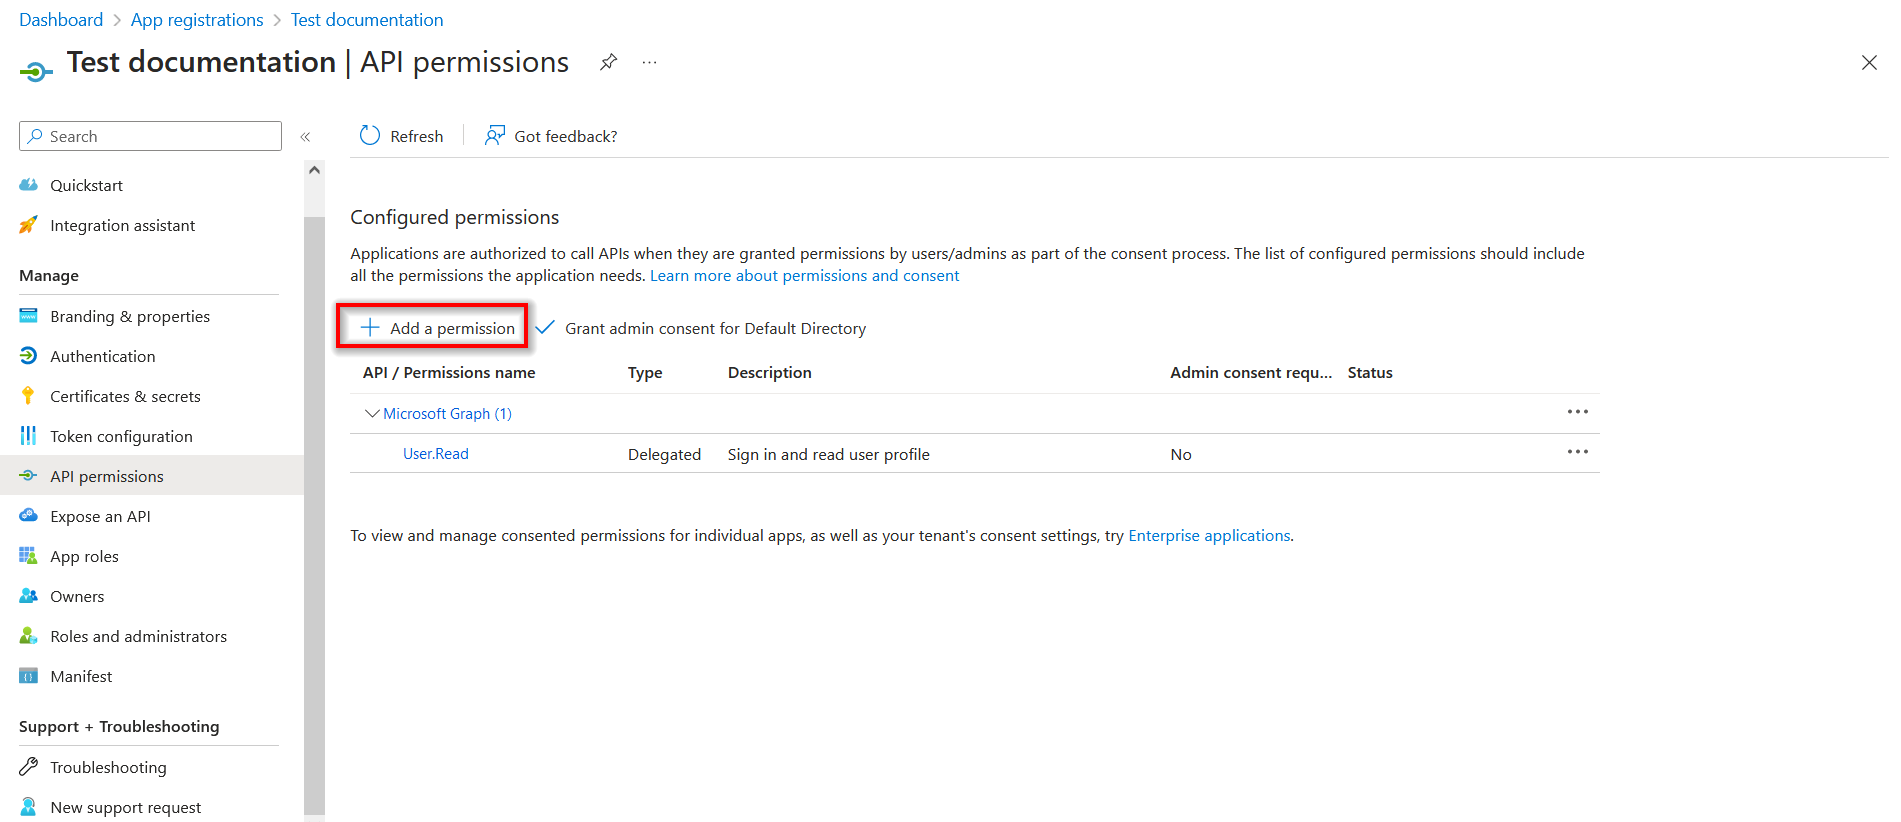
select the
APIs my organization uses, and click onMicrosoft Graph.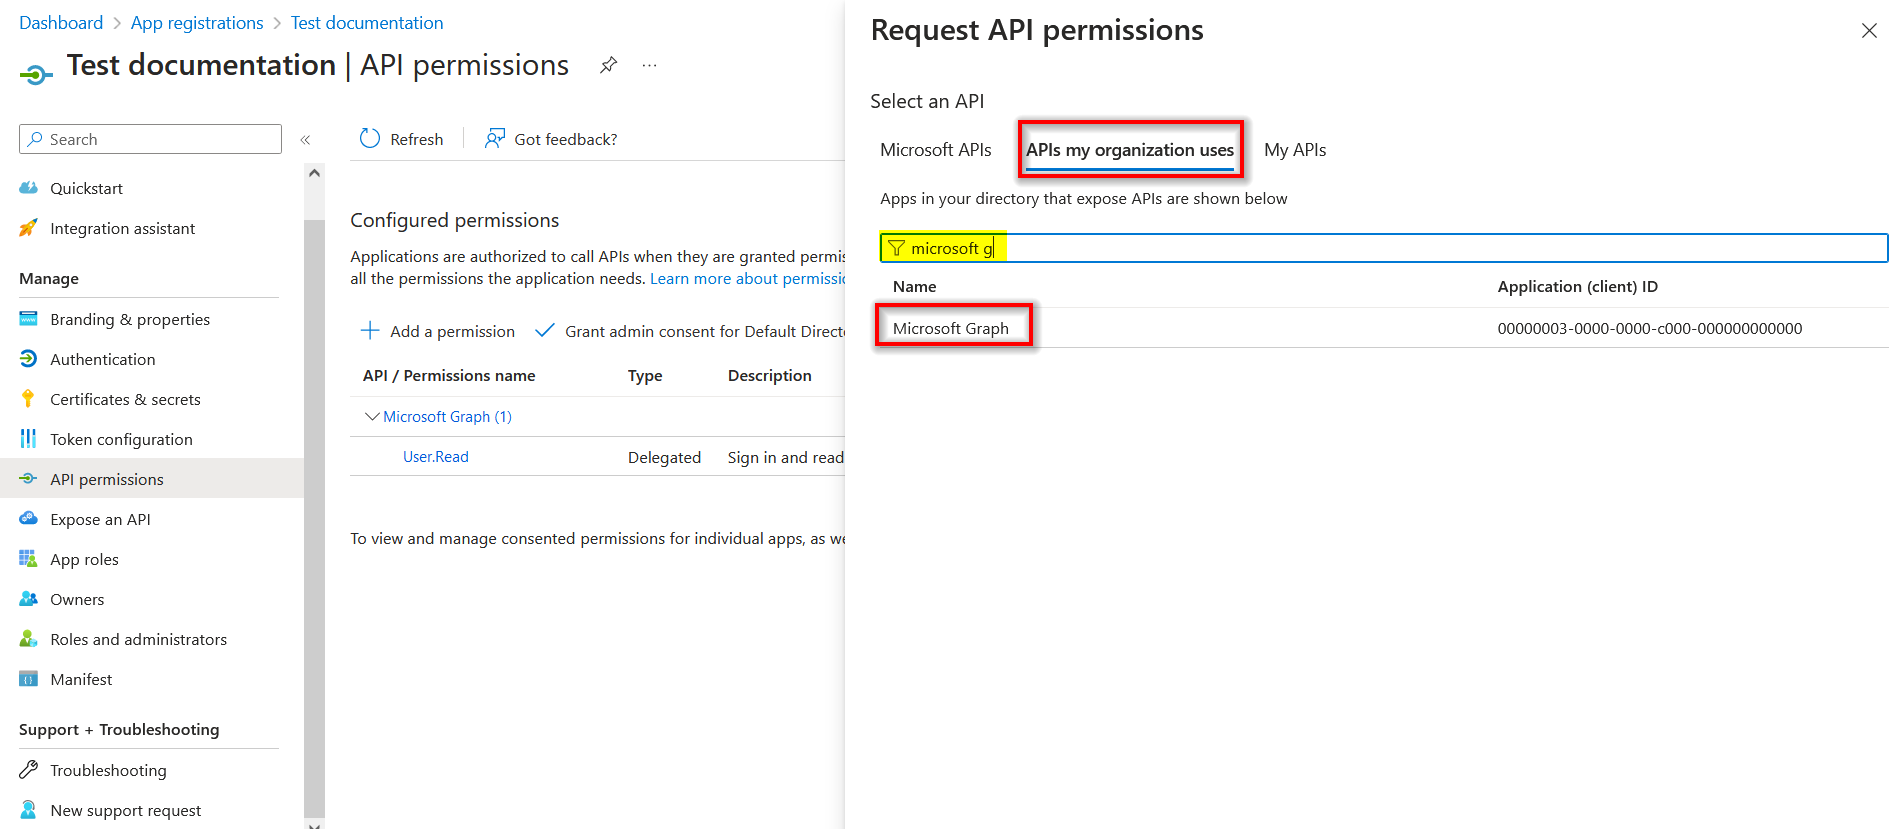
-
In
Microsoft Graph, click onApplication Permissions.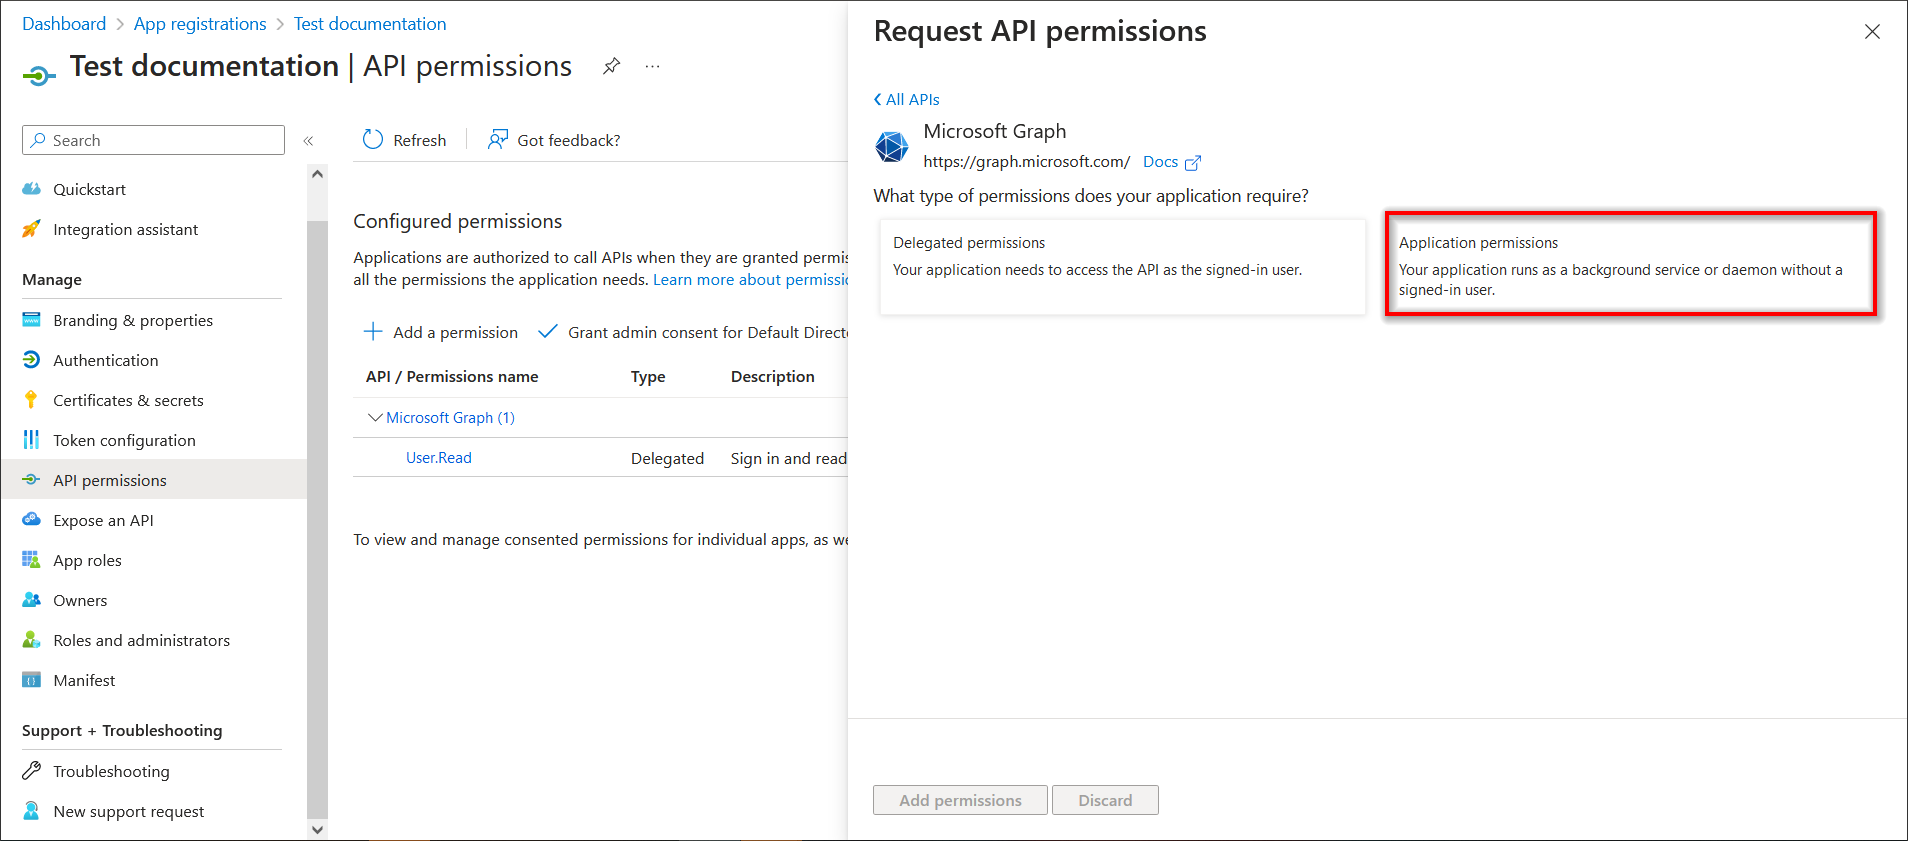
In search option, find the
Directory, expand theDirectoryoption, and selectRead directory data.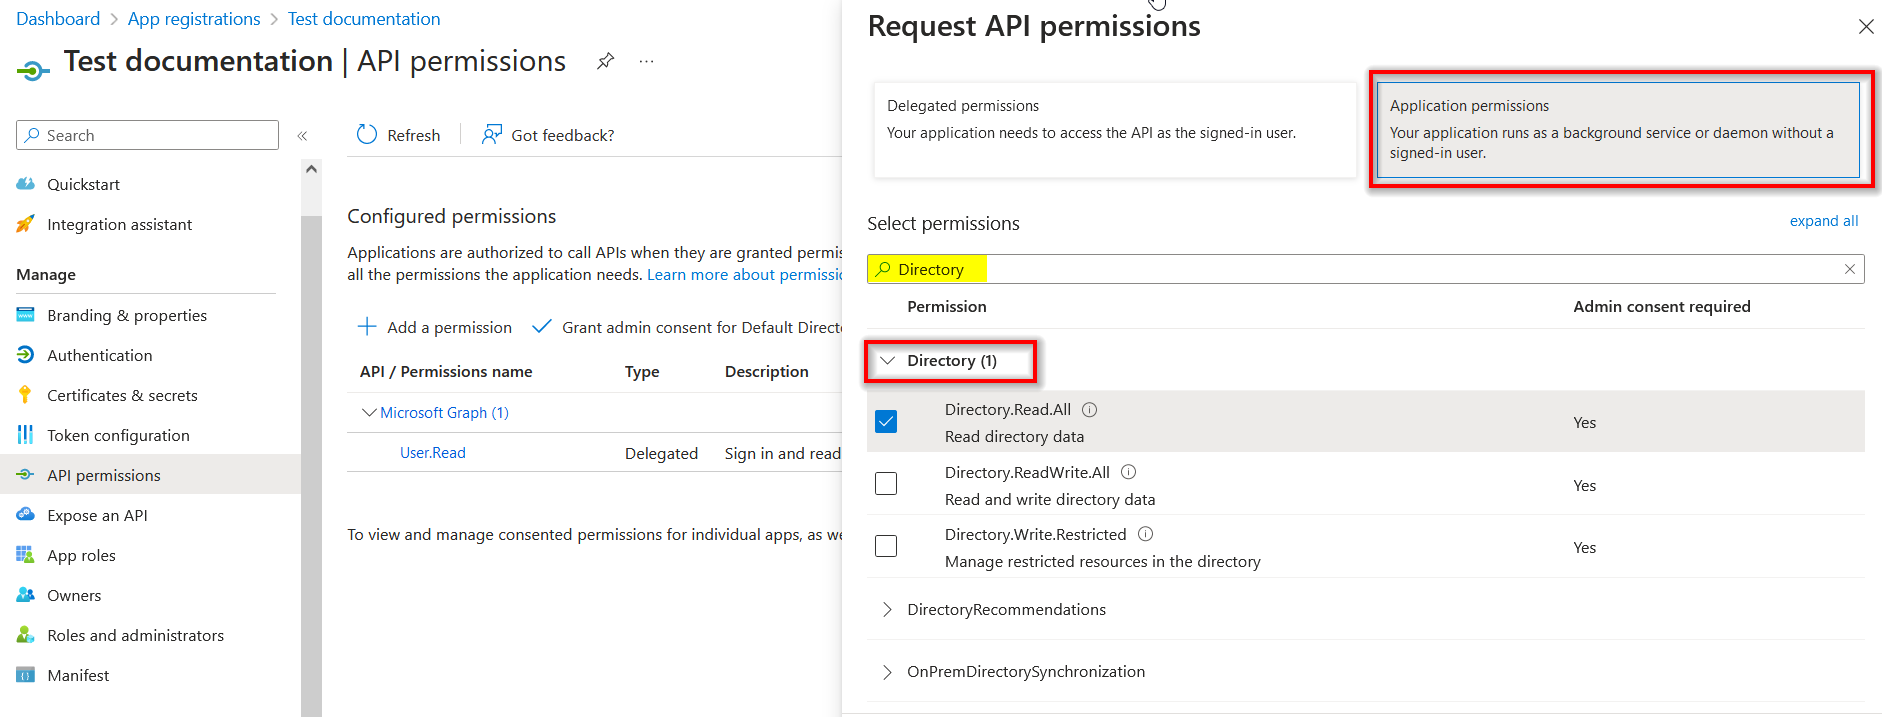
-
Click
Delegated Permissions, find theDirectory, and expand theDirectoryoption, and selectRead directory dataandAccess directory as the signed in user.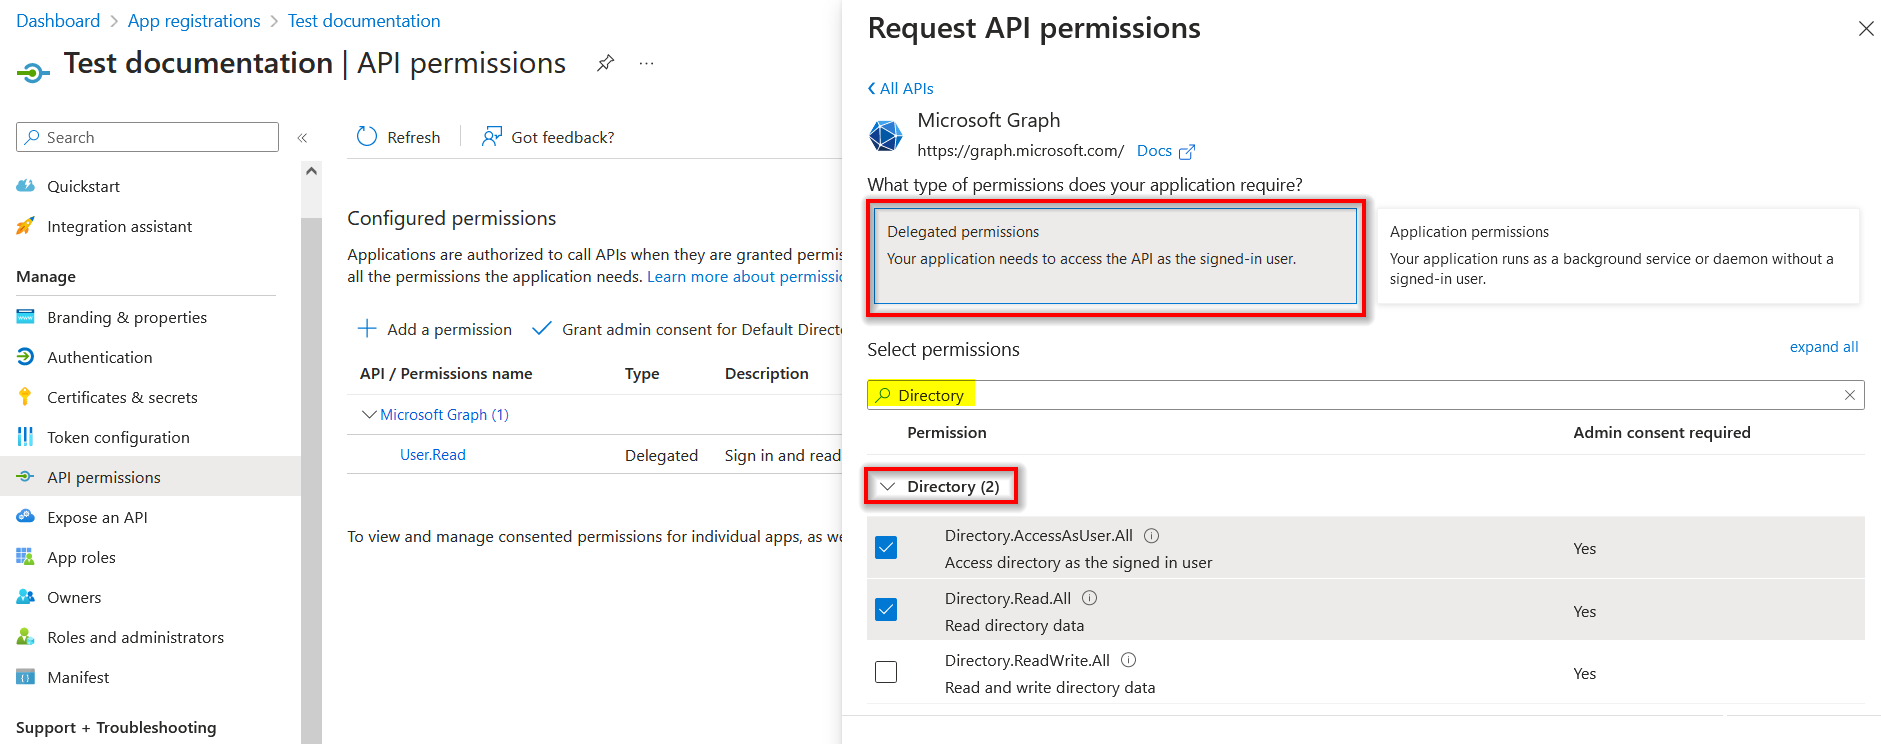
After that, find the
Group, expand theGroupoption, and selectRead all groups.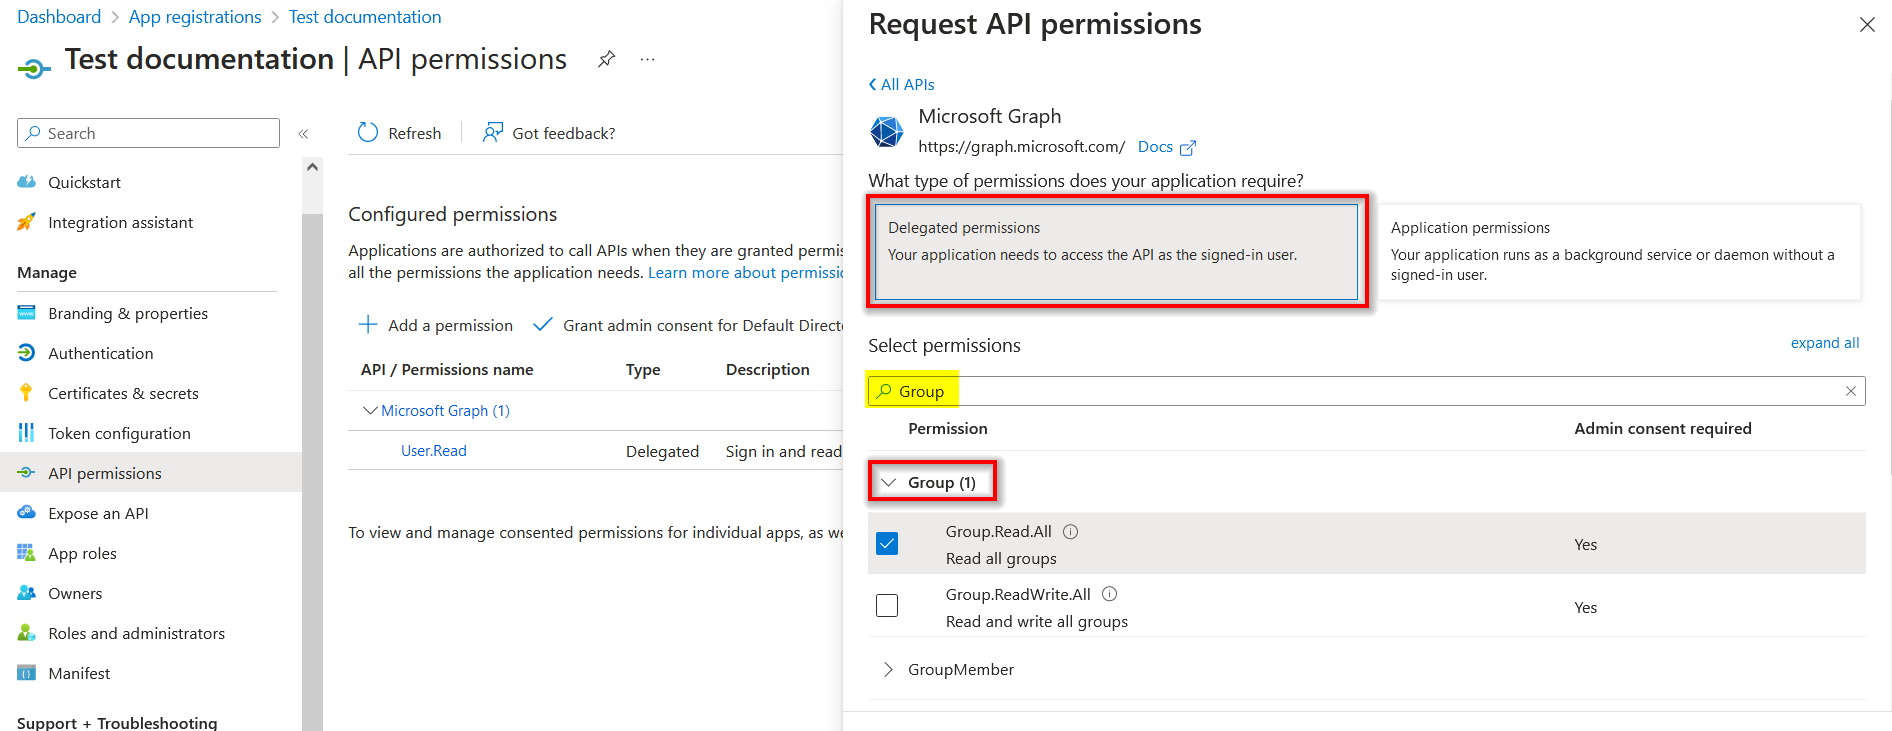
After that, find the
User, expand theUseroption, and selectRead and write access to user profile.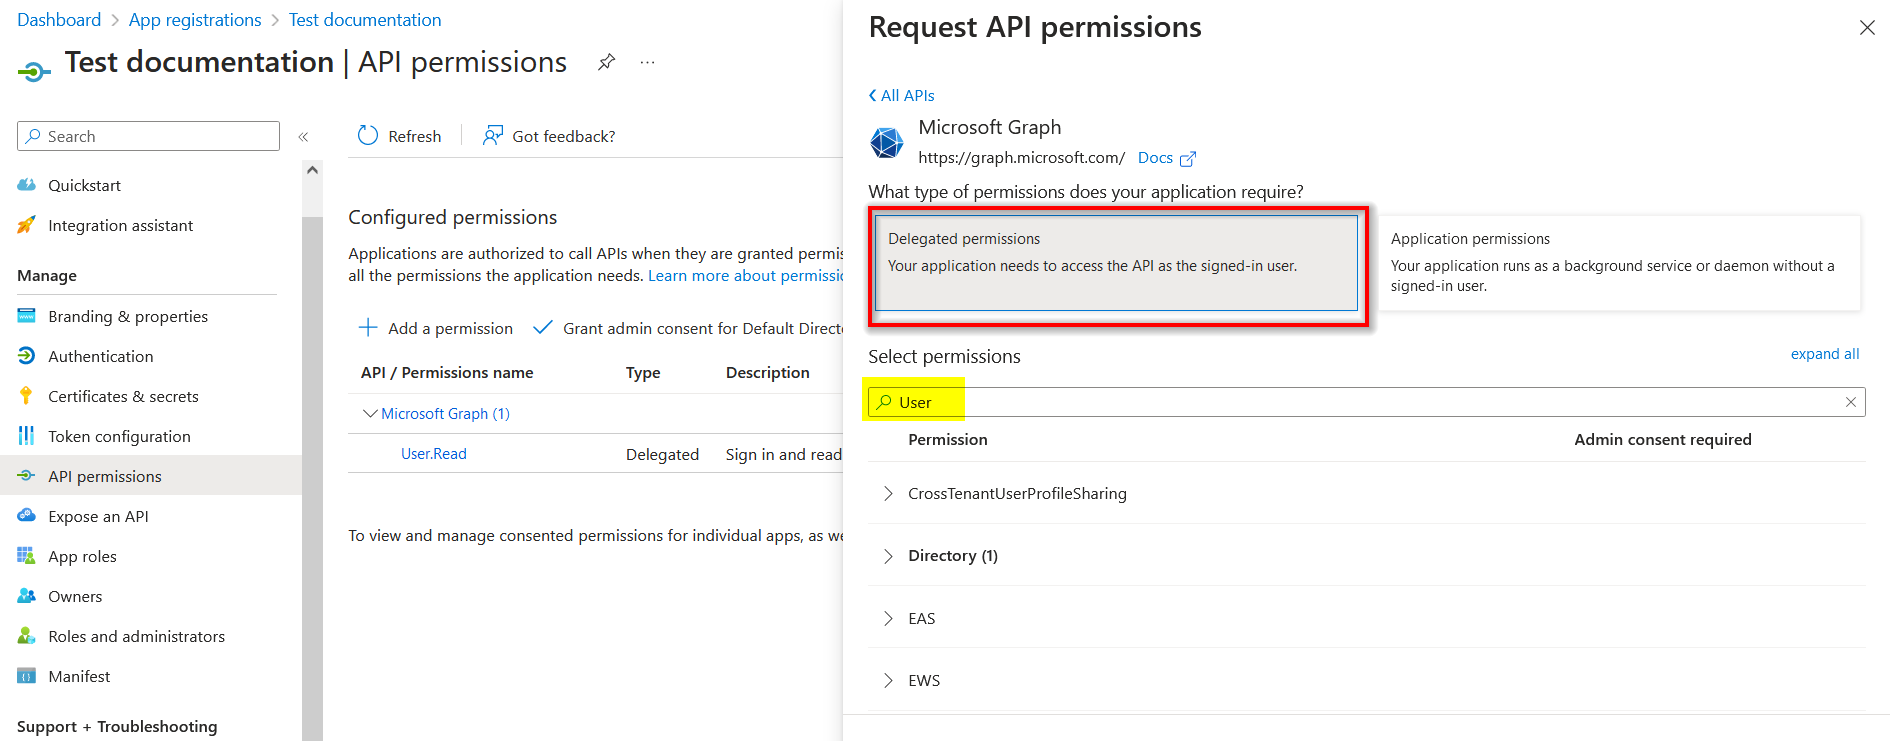

After that, find the
OpenId permissions, expand theOpenId permissionsoption, selectView user's basic profile, and finally click on theAdd permissions.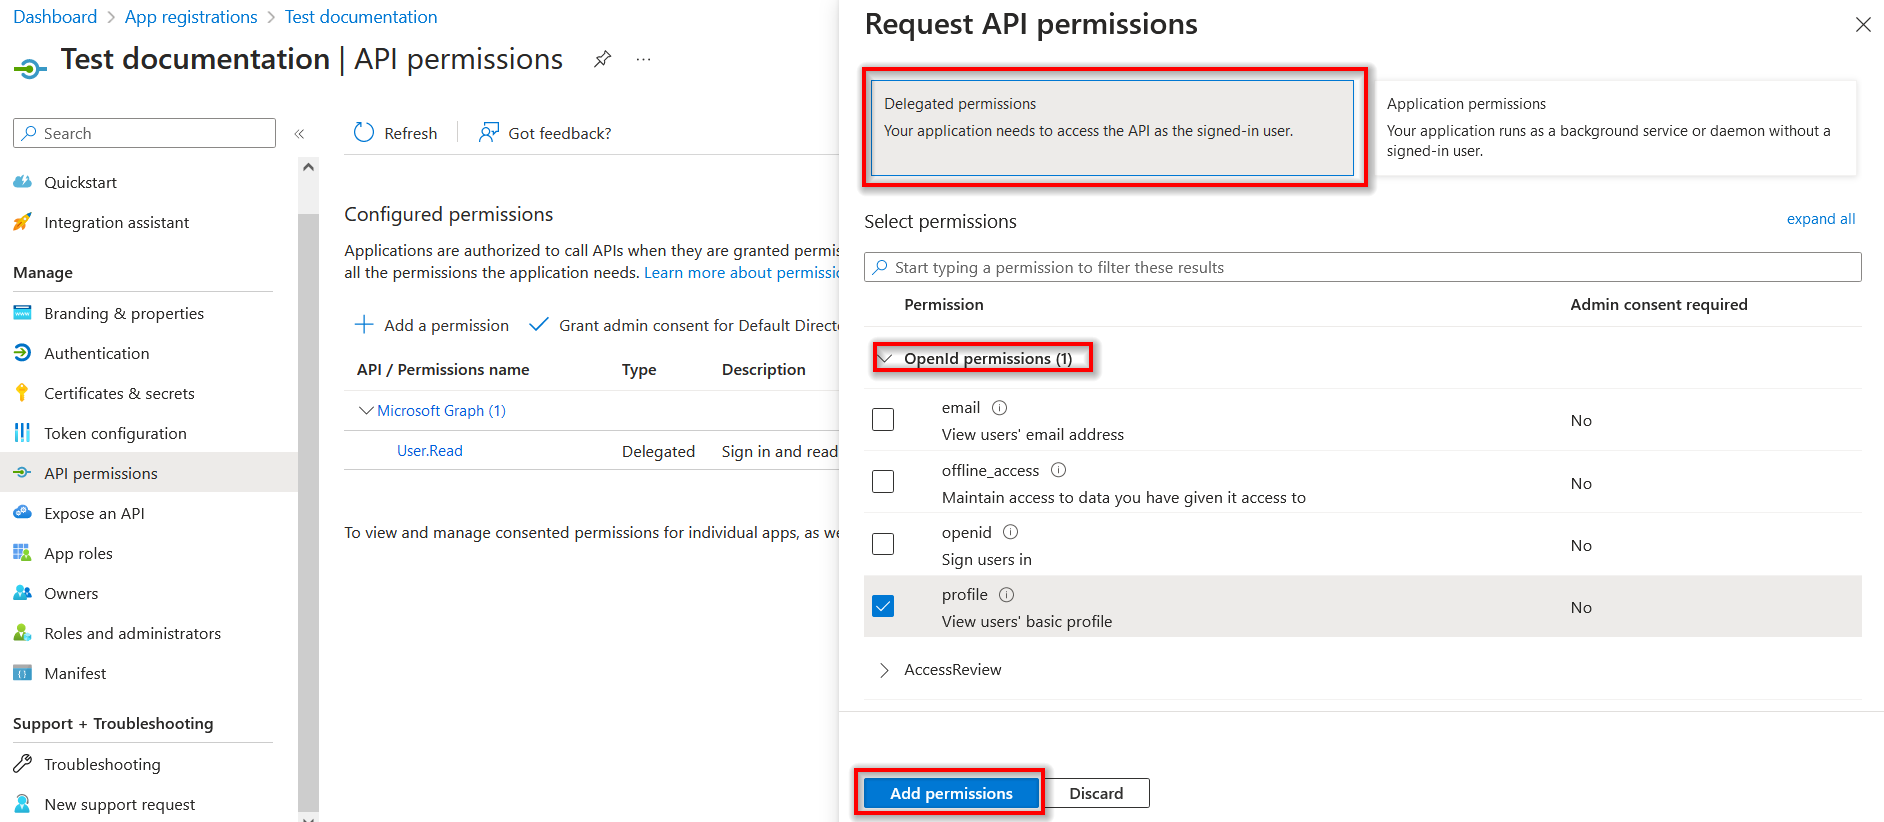
-
After adding the permissions, click on
Grant admin consentto grant admin consent for the same.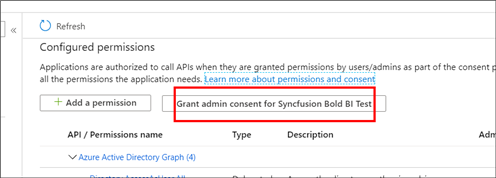
Configure Azure Active Directory details in Bold BI to import users and groups
You will need the following Azure Active Directory details to configure Bold BI with your Azure Active Directory.
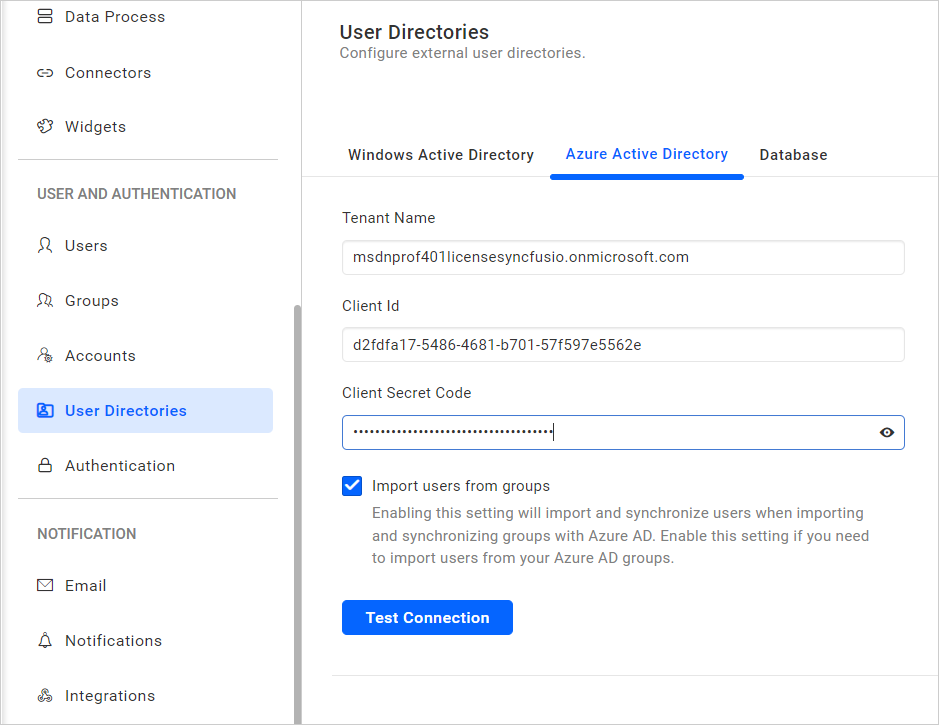
NOTE: Enabling the
Import users from groupssetting will import and synchronize users when importing and synchronizing groups with Azure AD. Enable this setting if you need to import users from your Azure AD groups.
-
Tenant Name: It is the default domain name of your Active Directory. Go to the created
Azure Active Directoryand copy the domain name.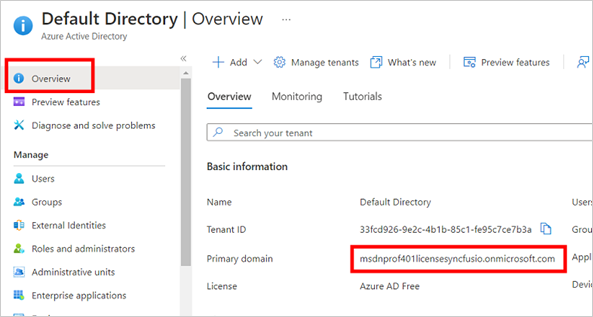
-
Client ID: It is the Client Id of the Bold BI application in your Azure Active Directory. Go to the registered application and copy the
Application Idin theOverviewand paste it here.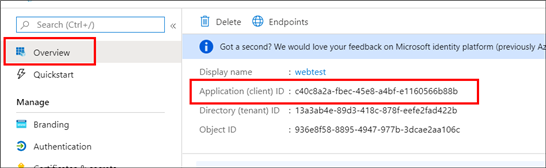
-
Client Secret Code: It is the secure key of the Bold BI application you created in your Azure Active Directory. Go to
Certificates & secretsand search for the Keys you saved for the application, then choose theValue.