Exporting widget to Image
You can export the widget view in the form of an image by clicking on Export to Image in the drop-down menu at the right corner of the title section.
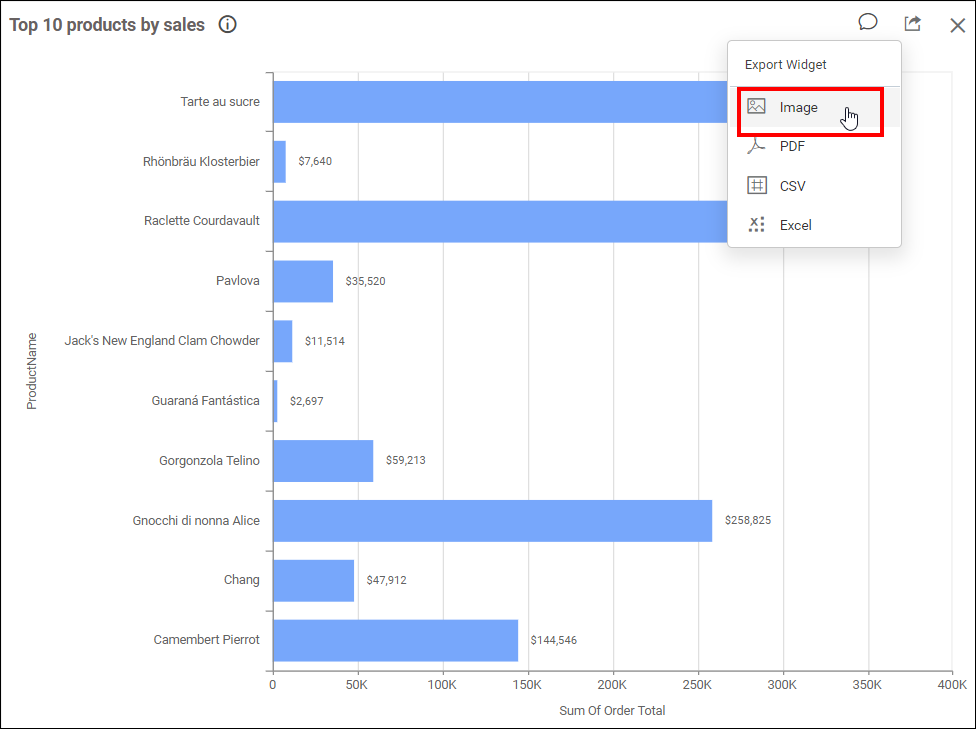
By clicking on Export to Image, a pop-up will be shown as follows.
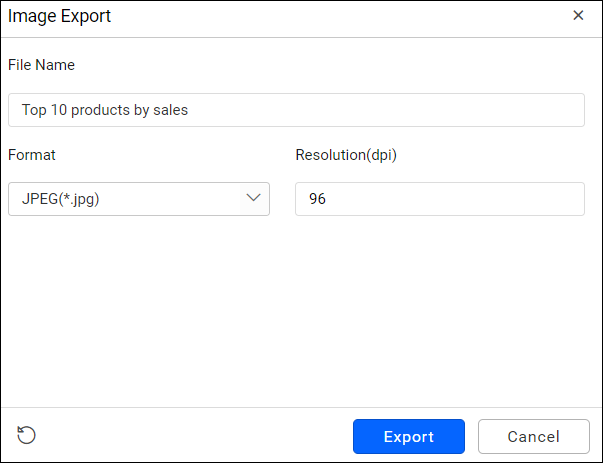
Enter the File Name field with the preferred value to replace the default one.
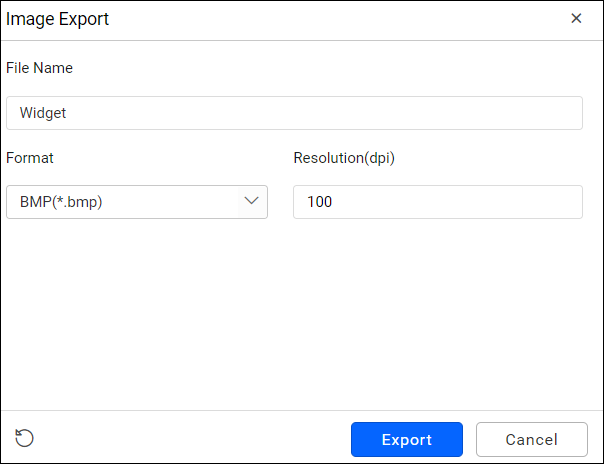
The default and minimum value for Resolution is 96 dpi (dots per inch). The maximum value allowed to be set is 1790 dpi.
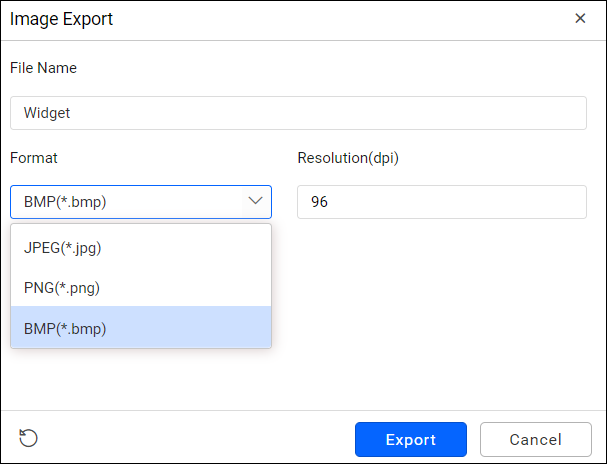
You can choose the image Format as JPEG (.jpg), PNG (.png), or BMP (*.bmp).
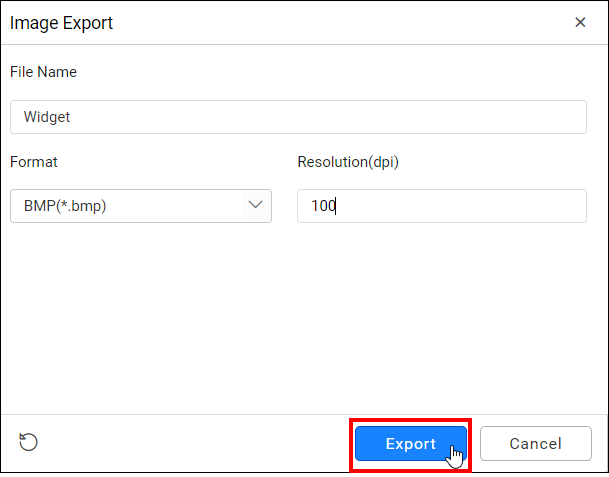
Click Export to display the current view of the widget in the chosen image format with the applied settings.
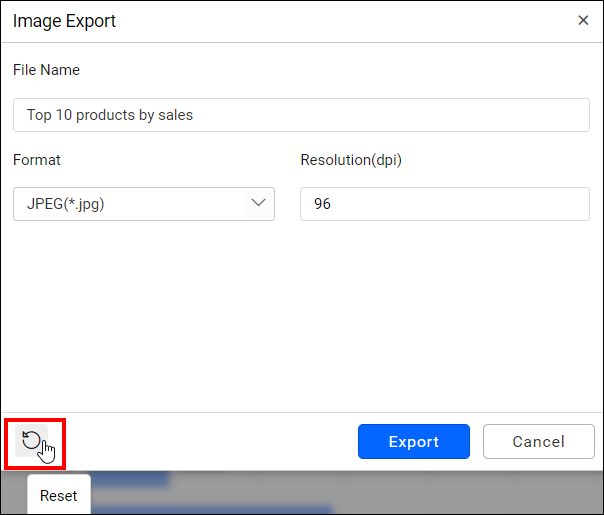
After clicking Export, a notification pop-up will be shown as follows.
After the dashboard or widgets have been exported, a success notification pop-up will be shown with an included link to manually download the files.
Click Reset to restore the default values in the pop-up.
NOTE: In Windows, Safari browser does not support the
Export to Imagefunctionality. Mac OS or iOS, with Safari browser version 6+ support this functionality.
Exporting widget to PDF
You can obtain the data showcased in the widget by exporting it in PDF format. This can be achieved by clicking on Export to PDF in the drop-down menu at the right corner of the title section.
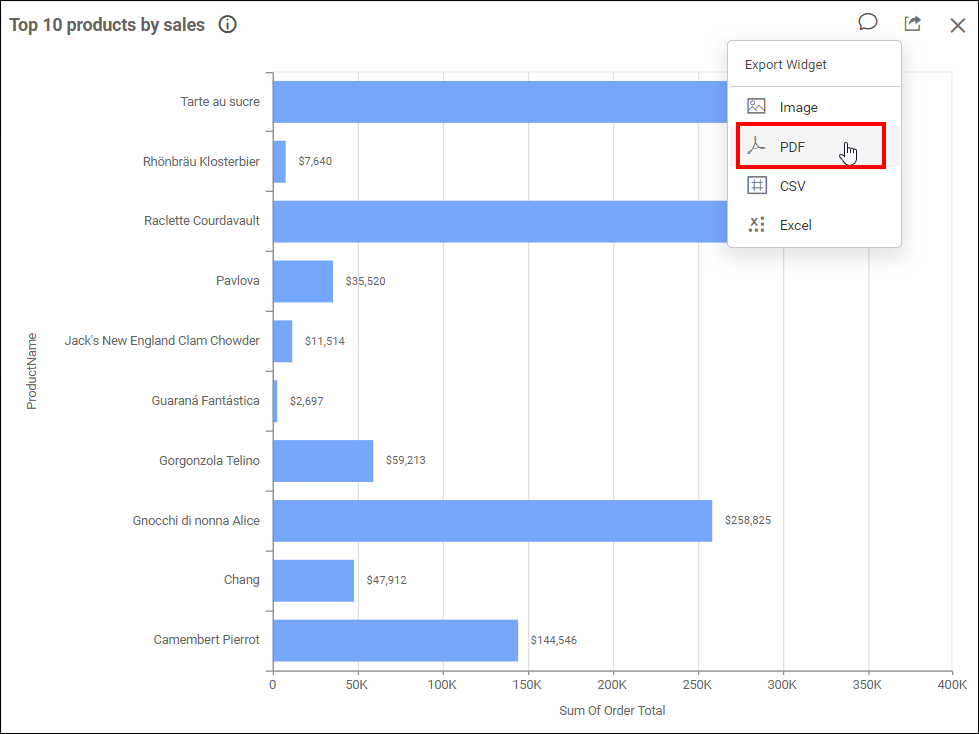
When you click on Export to PDF, a pop-up will appear.
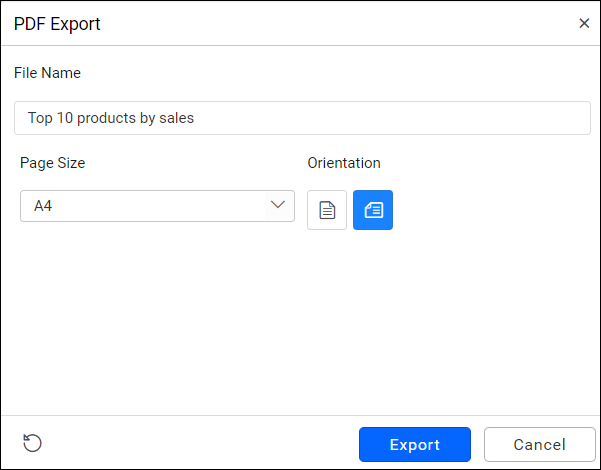
Set the File Name field with your preferred value to replace the default one.
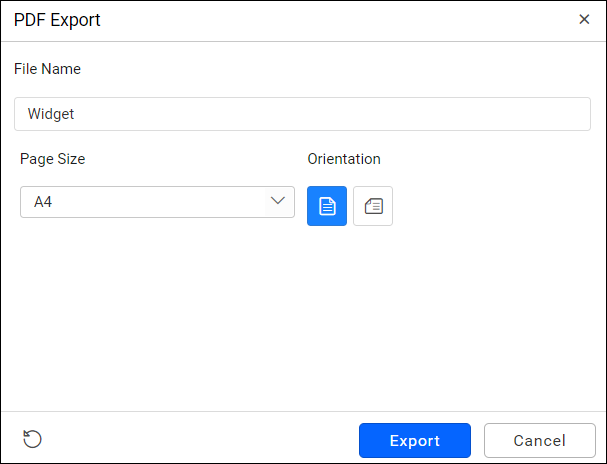
Choose the preferred Page Size of the PDF file.
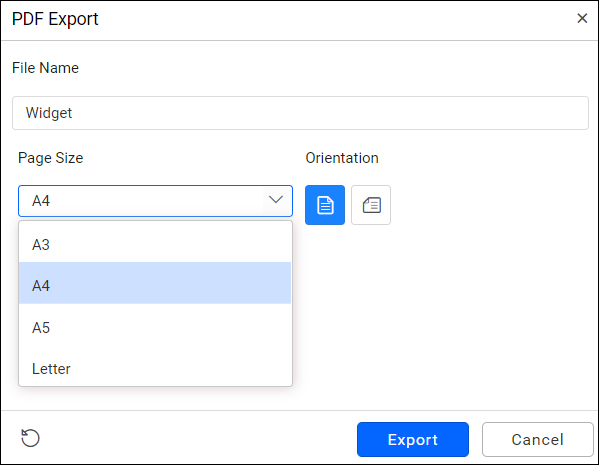
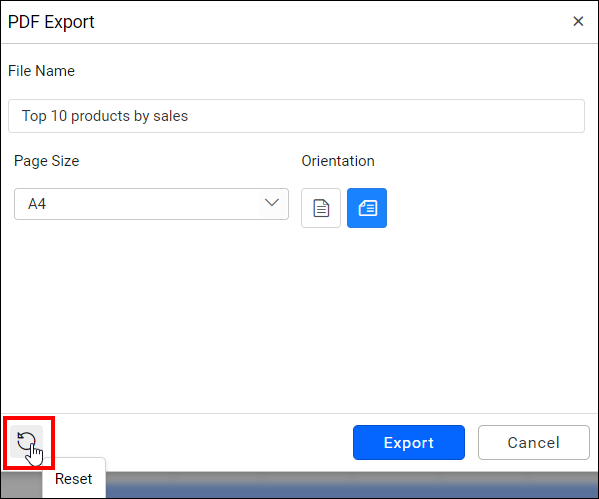
Select the Orientation of the page as either Portrait or Landscape mode.
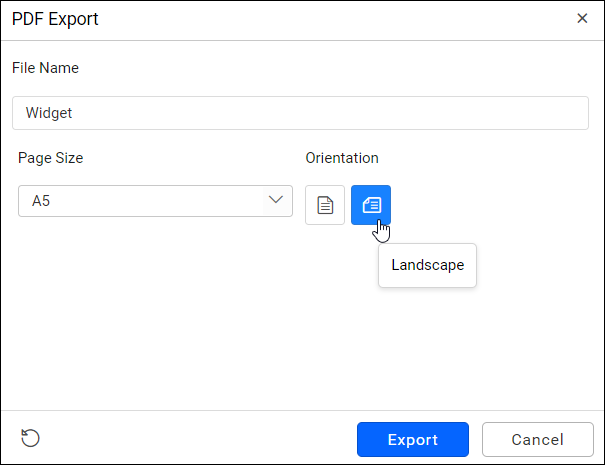
Click Export to display the data in the widget in PDF file format.
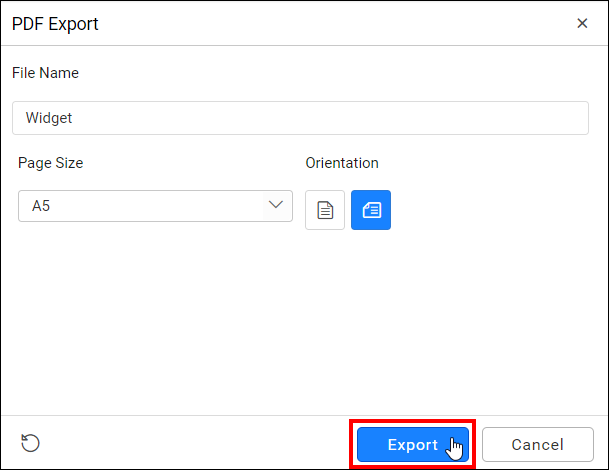
After clicking Export, a notification pop-up will appear.
Once the dashboard or widgets have been exported, a success notification pop-up will appear with a link to manually download the files.
Click Reset to restore the default values in the pop-up.
Exporting widget to PowerPoint
You can export the widget view as a PowerPoint presentation by clicking on Export to PowerPoint in the drop-down menu at the right corner of the title section.
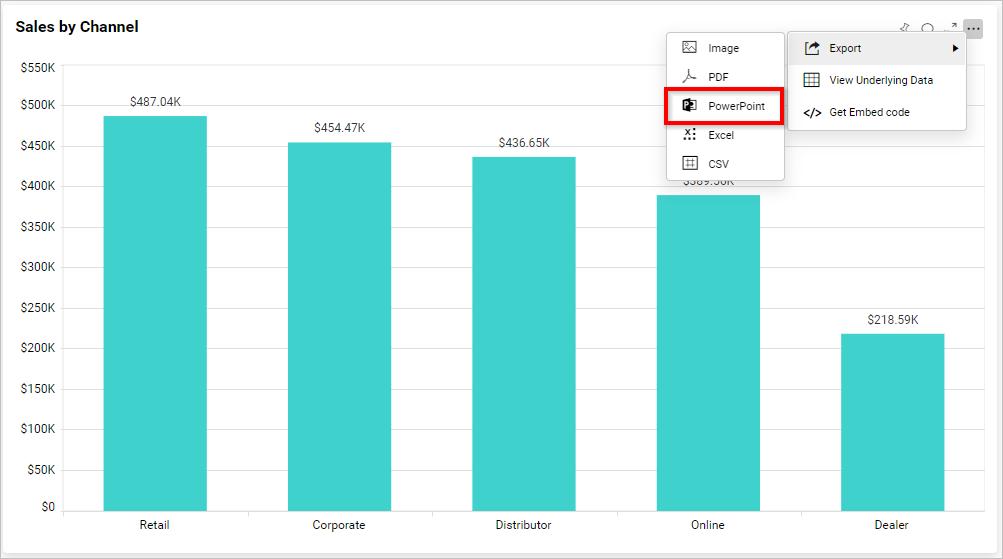
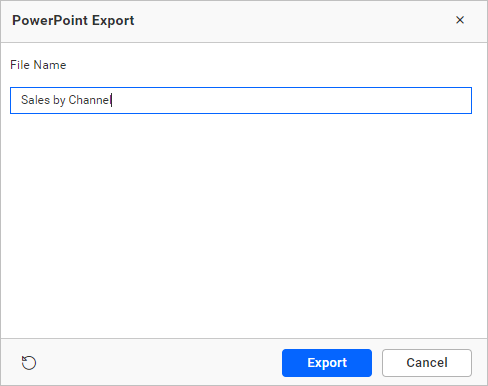
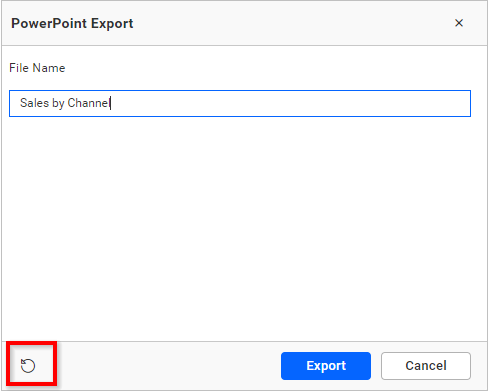
When you click on Export to PowerPoint, a pop-up will appear. Set the File Name field with your preferred value to replace the default one.
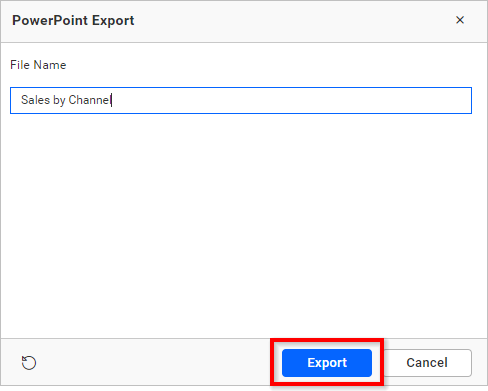
Click Export to display the current view of the widget in the PowerPoint format with the applied settings.
After clicking Export, a notification pop-up will appear as shown below.
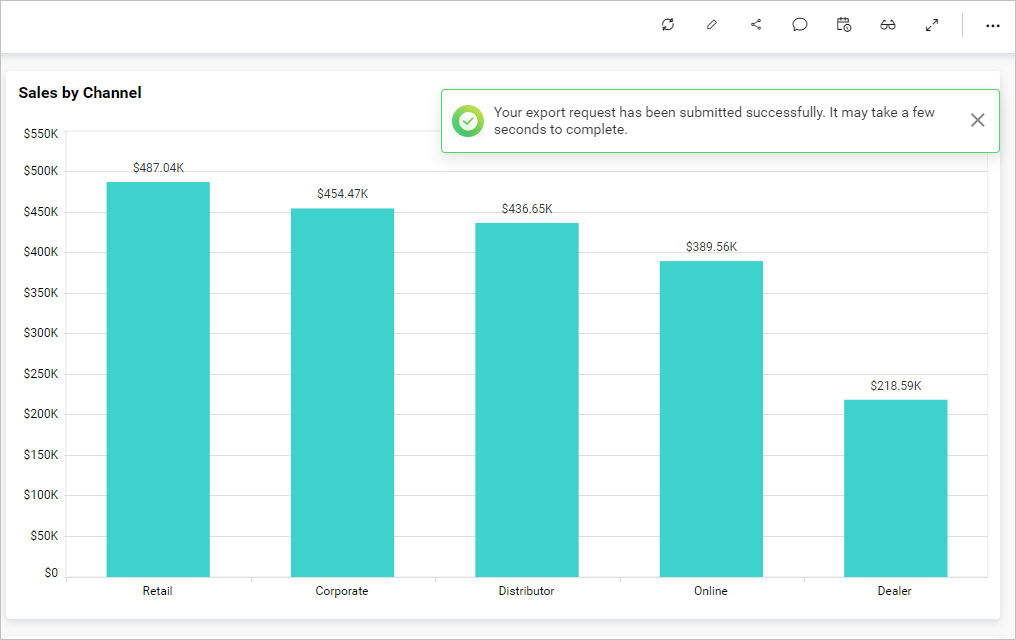
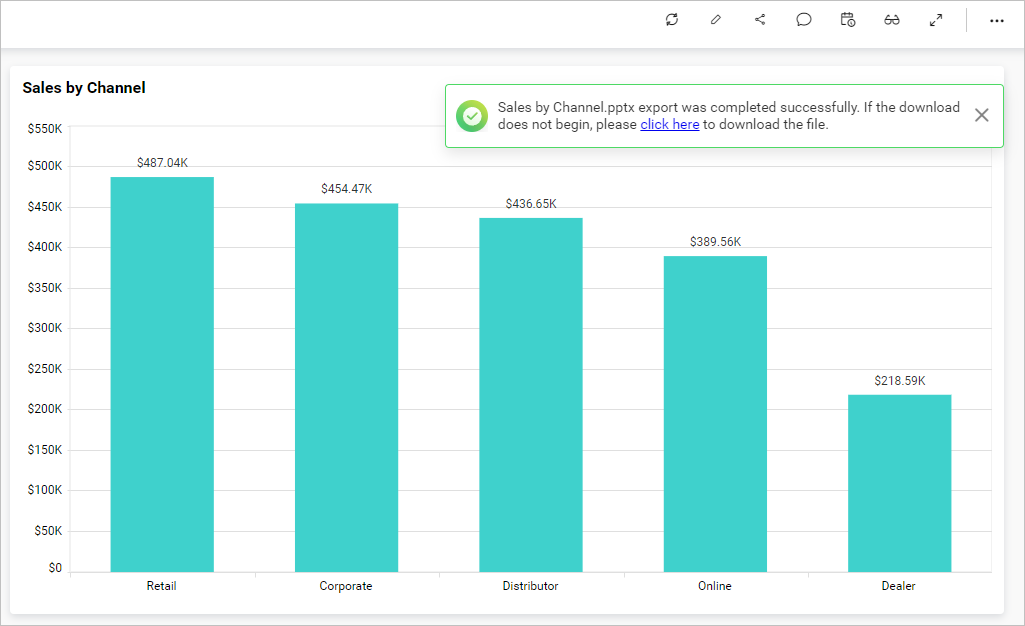
Once the widget has been exported, a success notification pop-up will appear, including a link to manually download the files.
Click Reset to restore the default values in the pop-up.
Exporting widget to CSV
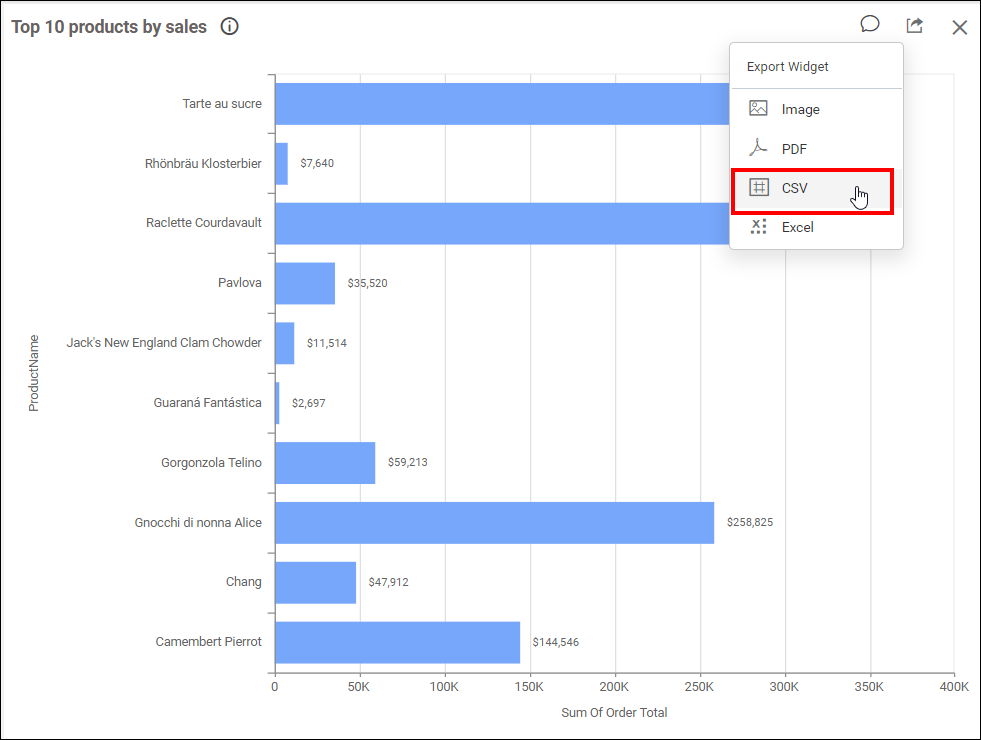
You can obtain the aggregated data showcased in the widget by exporting it to CSV format. This can be achieved by clicking Export to CSV in the drop-down menu at the right corner of the title section.
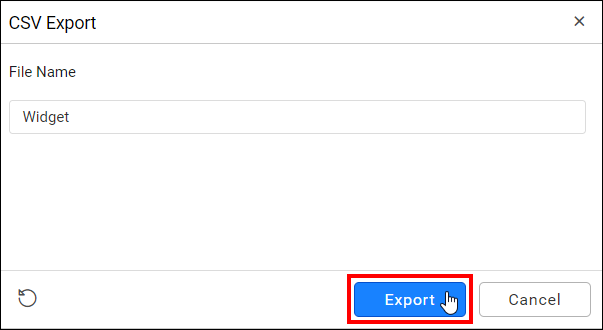
Set the File Name field with a preferred value to replace the default one.
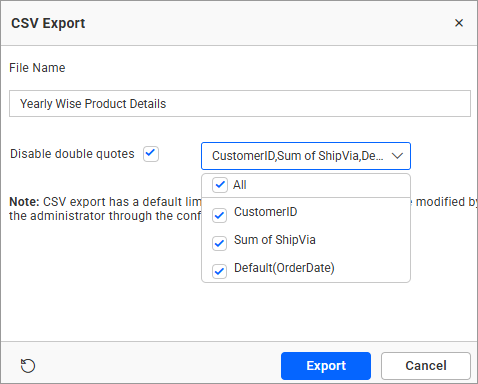
By enabling Disable Double Quotes, a dropdown will appear displaying the column names that bound in the widget. Based on the selected columns, double quotes will be excluded from those fields in the exported file.
Click Export to display the data in the widget in the chosen CSV format.
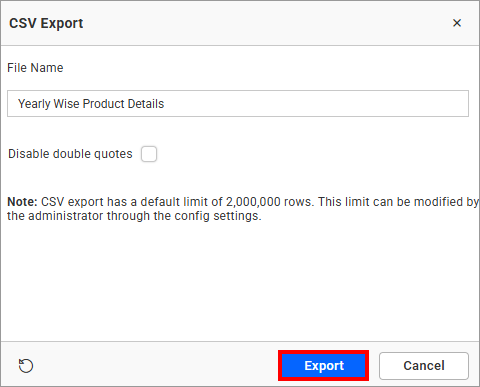
After clicking Export, a request notification pop-up will be shown.
After the dashboard or widgets have been exported, a success notification pop-up will be shown with an included link to manually download files.
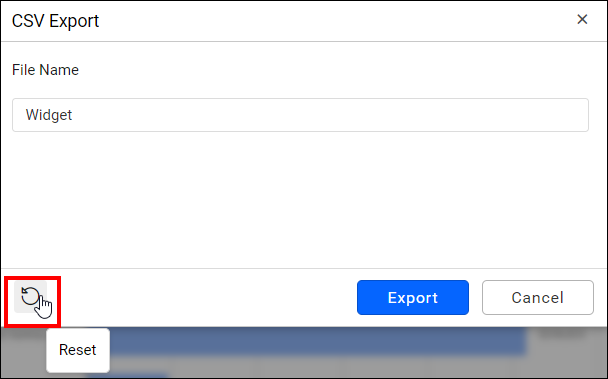
Click Reset to restore the default values in the pop-up.
Exporting widget to Excel
You can export the widget in the form of Microsoft Excel by clicking on Export to Excel in the drop-down menu at the right corner of the title section.
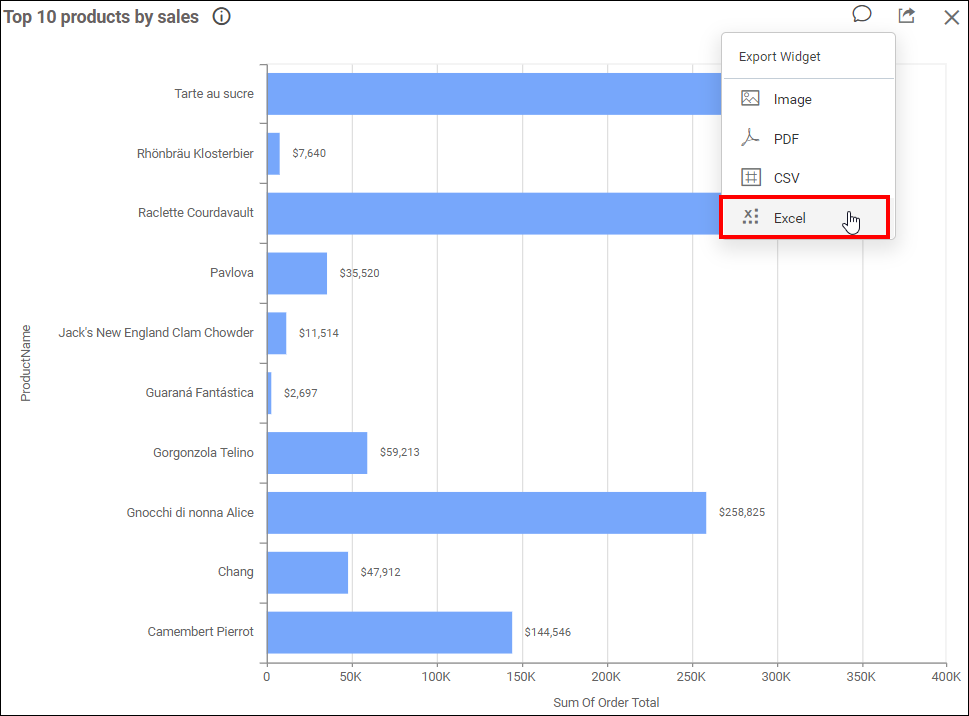
By clicking on Export to Excel, a pop-up will be displayed as follows.
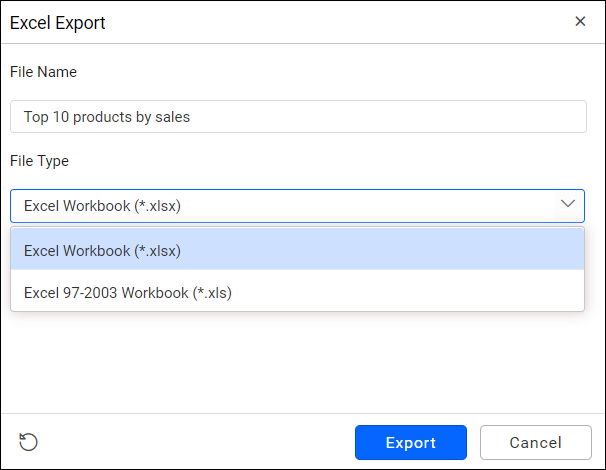
Set the File Name field with your preferred value to replace the default one.
Choose the Format as either Excel 97-2003 Workbook (.xls) or Excel Workbook (.xlsx).
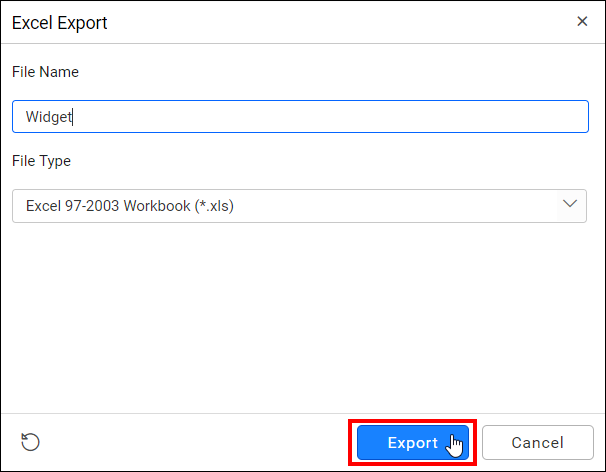
Click Export to display the data from the widget in Excel format.
After clicking Export, a notification pop-up will be shown as follows.
Once the dashboard or widgets have been exported, a success notification pop-up will be displayed with a link included to manually download the files.
After clicking Export, a notification pop-up will be shown as follows.
After the dashboard or widgets have been exported, a success notification pop-up will be shown with an included link to manually download files.
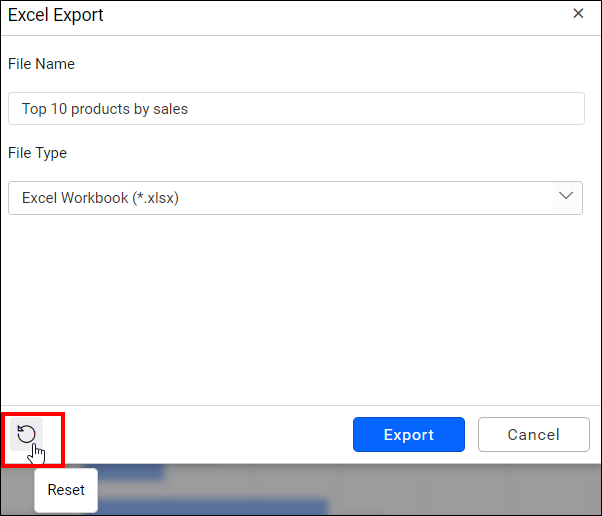
Click Reset to restore the default values in the pop-up.
Exporting restriction
You can explore the exporting restriction in detail here,
- Exporting widget to PDF
- Exporting widget to PowerPoint
- Exporting widget to CSV
- Exporting widget to Excel
- Exporting restriction
Having trouble getting help?
Contact Support- Exporting widget to PDF
- Exporting widget to PowerPoint
- Exporting widget to CSV
- Exporting widget to Excel
- Exporting restriction
Having trouble getting help?
Contact Support


