Bold BI Dashboards embedding in Java Servlet using Embedded SDK
A GitHub link has been provided to get the sample application, which demonstrates the rendering of the dashboard available on your Bold BI server. This is followed by steps to create a new embedding application in Java Servlet on your own.
NOTE: The best way to get started would be to read the Getting Started section of the documentation. The
Getting Startedguide provides you with enough information that you need to know before working on the sample.
Prerequisites
- Eclipse IDE
- Apache Tomcat
How to run the sample
-
Please get the Java Servlet project from this link.
-
Please ensure that you have enabled embed authentication on the
embed settingssettings page. If it is not currently enabled, please refer to the provided image or detailed instructions to enable it.
-
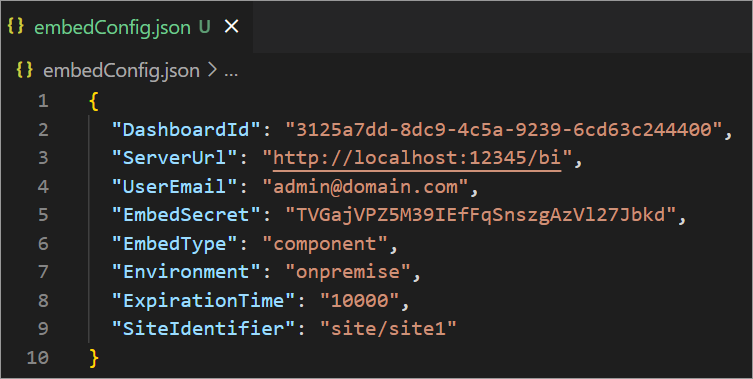
To download the
embedConfig.jsonfile, please follow this link for reference. Additionally, you can refer to the image below for visual guidance.
-
Please copy the downloaded
embedConfig.jsonfile and paste it into the designated location within the application. Make sure that you have placed it correctly in the application, as shown in the image.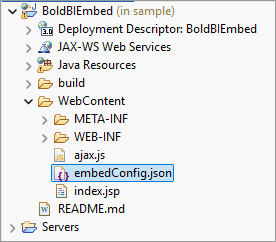
ServerUrl Dashboard Server BI URL (ex: http://localhost:5000/bi, https://demo.boldbi.com/bi) SiteIdentifier For the Bold BI Enterprise edition, it should be like site/site1. For Bold BI Cloud, it should be an empty string. UserEmail UserEmail of the Admin in your Bold BI, which would be used to get the dashboard list. EmbedSecret Get your EmbedSecret key from the Embed tab by enabling the Enable embed authenticationin the Administration pageEnvironment Your Bold BI application environment. (If it is a cloud analytics server, use `BoldBI.Environment.Cloud`; if it is your server, use `BoldBI.Environment.Enterprise`) DashboardId Item ID of the dashboard to be embedded in your application. ExpirationTime Token expiration time. (In the EmbedConfig.json file, the default token expiration time is 10000 seconds) -
Import the Java Servlet project in Eclipse.
-
Run the project by Right‑clicking it then
Run As → Run on Server.
How this sample works
-
The
embedSamplemethod will be invoked based on the configured embedConfig values in theindex.jspfile.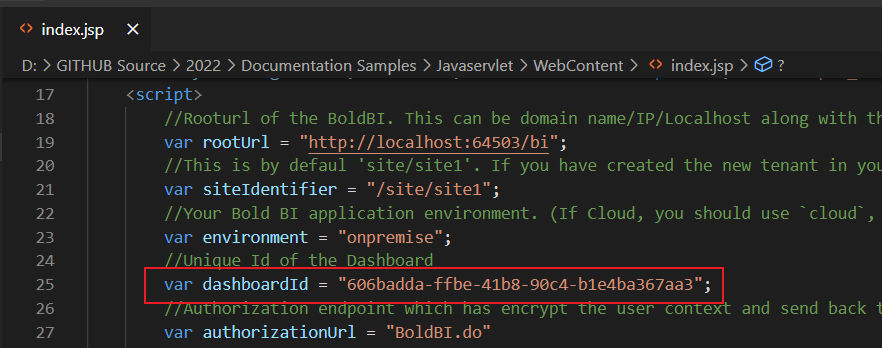
-
Before rendering, call the
BoldBI.do, which redirects to the token generation action in theBoldBI.java. This action generates the access token using the providedembedDetails.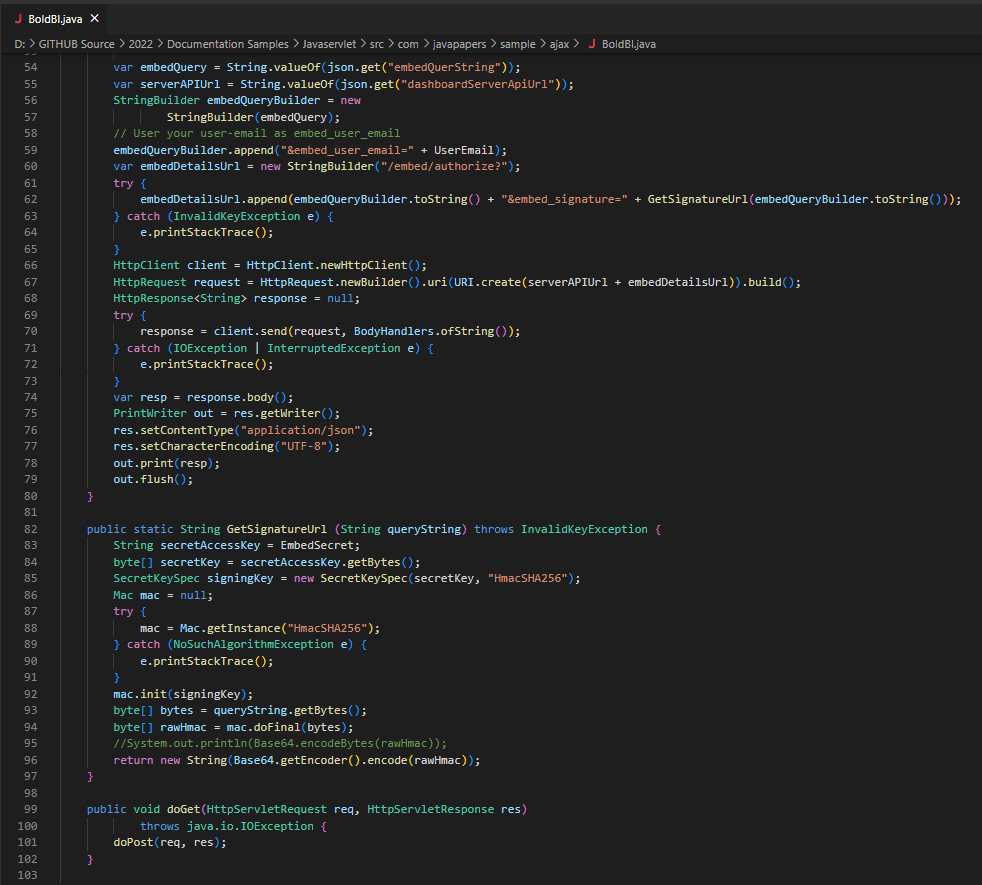
-
Once the token is generated, it will be returned to the
index.jspfile and the dashboard will start to render it.