Auto-save the filters of the dashboard
The filters applied in the dashboard can be saved automatically, and the dashboard can be rendered with the last applied filters using the auto-save filter option.
The following steps explains how Auto-save filter works
-
Enable the
Auto-save filterand disable thedefault viewsas shown in the image.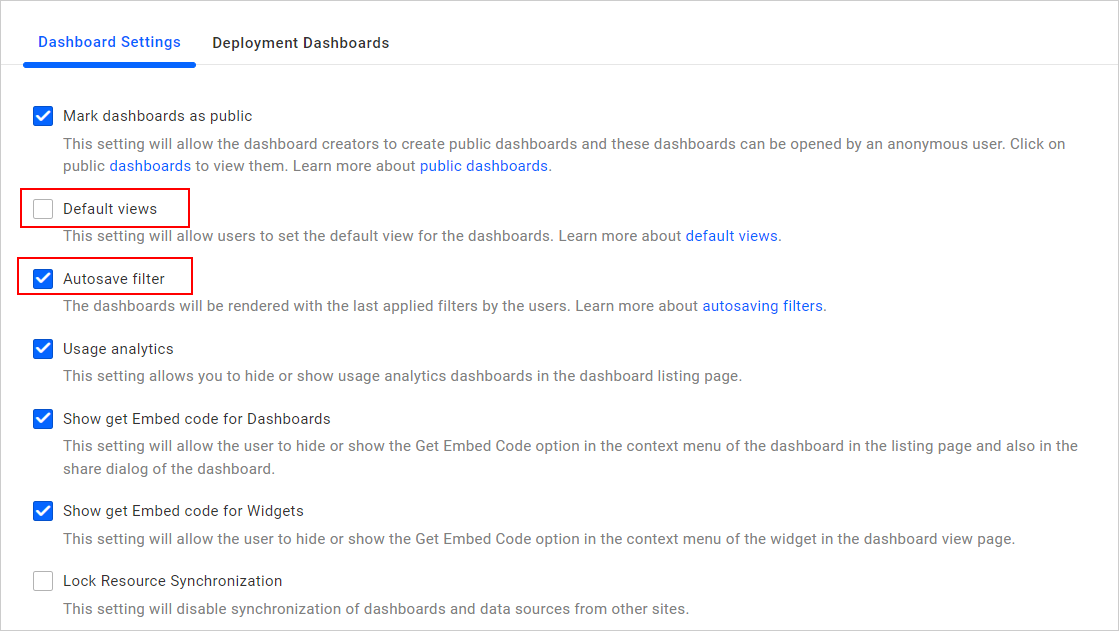
-
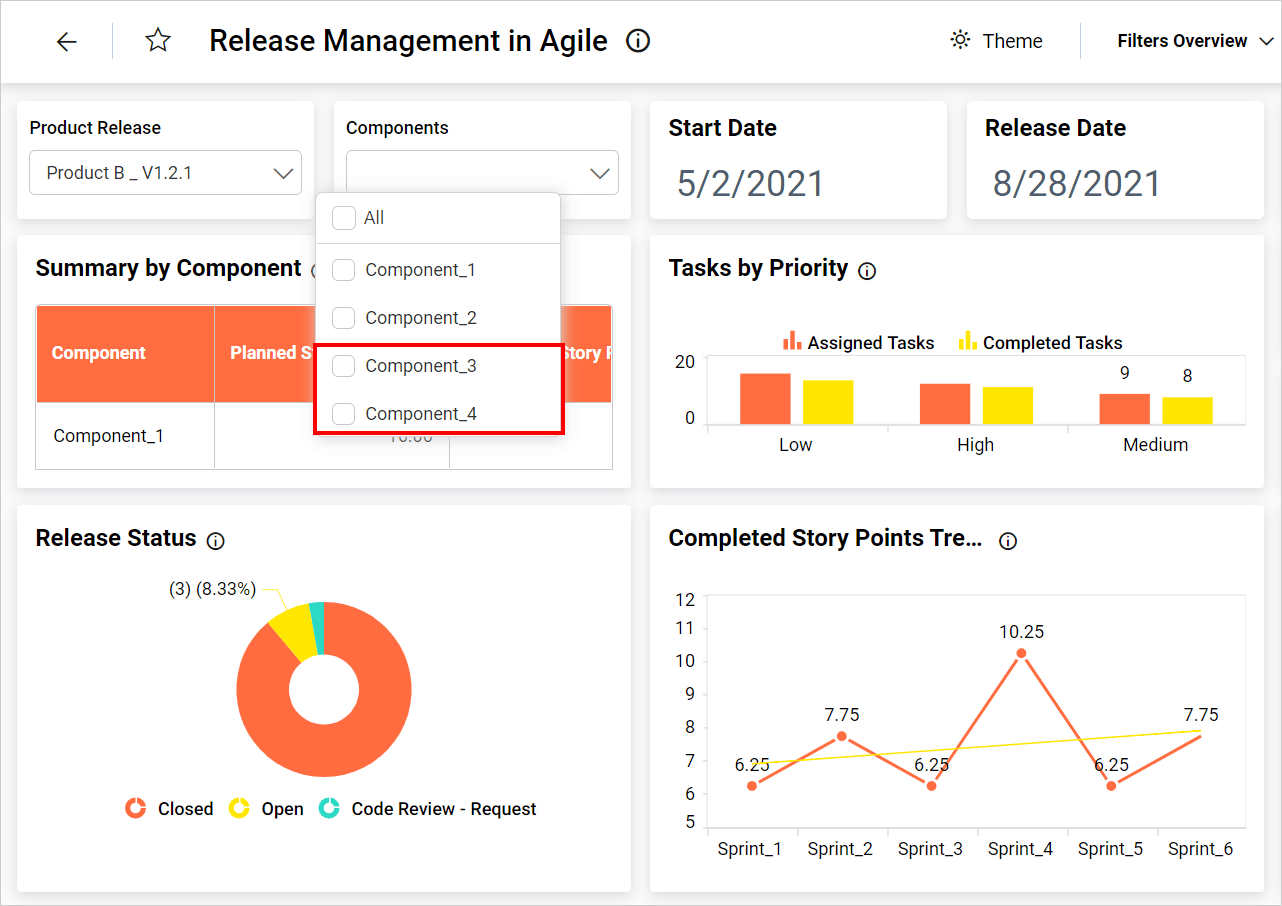
Open a dashboard.
-
Apply any filter and view the dashboard.
-
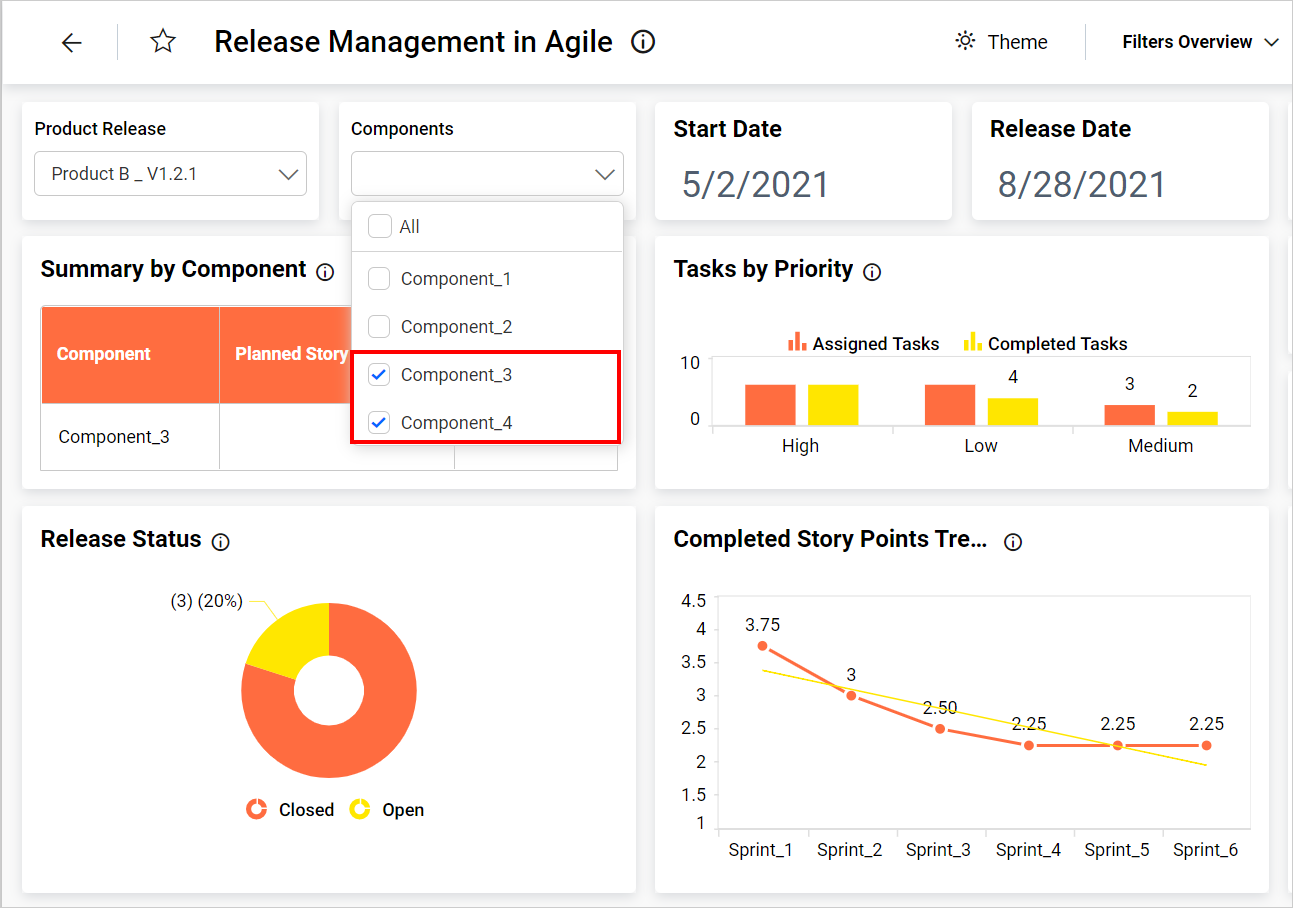
Open the dashboard again, and it will be rendered with the last applied filter.
The auto-save filters can be controlled by both the administrator and the user. The following sections explain how:
Administrator control over auto-save filters
The administrator can globally control the auto-save filters of the dashboard using the Dashboard Settings tab on the settings page. If the administrator enables the Auto-save filter in the Dashboard Settings page, the user can control the action of saving the filters applied to the dashboard on the profile page.

User control over auto-save filters
The user can control the auto-save filters of the dashboards using the Dashboard Settings on the user profile page. If the administrator has restricted the option, the user cannot control the action of saving the filters applied to the dashboard. For more details, please visit here.
NOTE: If a dashboard has default views, it will not be rendered with the last applied filter. Therefore,
Default viewsmust be disabled in the Dashboard Settings page.