Connecting Bold BI to the Amazon MWS Database
The Bold BI dashboard designer supports connecting to the Amazon MWS web services using the REST API.
Choose Amazon MWS data source
To choose the Amazon MWS data source and configure it, follow these steps:
-
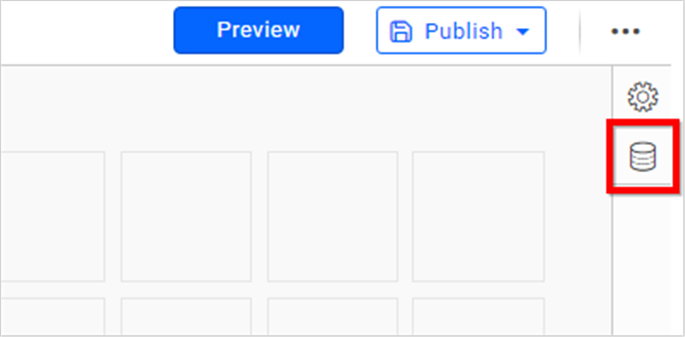
Click the Data Sources button in the configuration panel to add a new data connection.
-
Click CREATE NEW to launch a new connection from the connection panel.
-
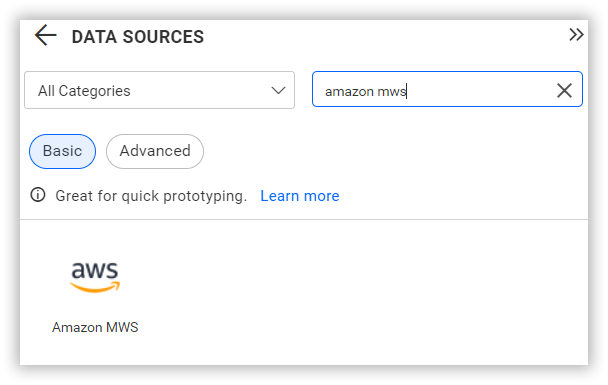
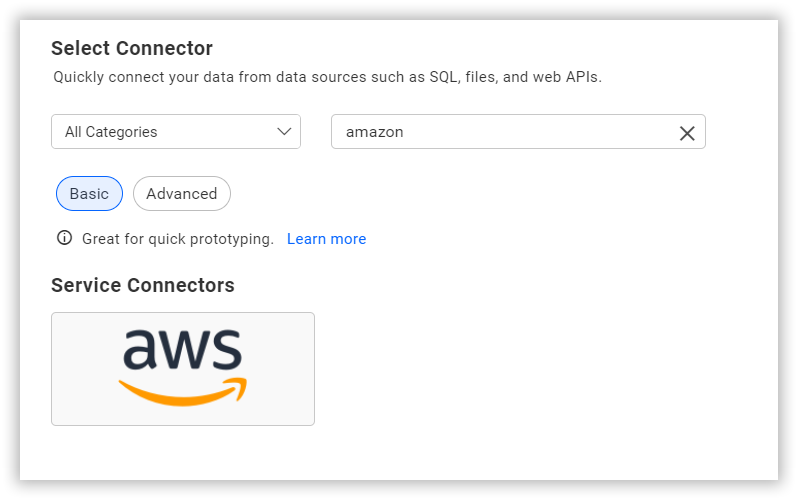
Select the Amazon MWS connection in the connection panel.
NOTE: You can also create a data source from the home page by clicking the Data Sources menu from the left menu panel and selecting Create Data Source.
You can edit the connection information set here using the Edit Connection option.
Create Amazon MWS data source
Once you click the data source, the NEW DATA SOURCE configuration panel will open. Follow these steps to create an Amazon MWS data source:
-
Enter a name and description (optional) for the data source.
-
Choose the region for your account accessing the market place.
-
Select the operation that depends on your data needs, and you can also use a custom URL for the data source connection.
Example Custom Order API:
https://mws.amazonservices.ca/Orders/2013-09-01?AWSAccessKeyId=<:MWSaccesID>&Action=ListOrders&CreatedAfter=2020-04-30T18%3A30%3A00Z&MWSAuthToken=<:yourmwsauthtoken>&MarketplaceId.Id.1=ATVPDKIKX0DER&SellerId=<:sellerId>&SignatureMethod=HmacSHA256&SignatureVersion=2&Timestamp=2020-05-27T09%3A59%3A36Z&Version=2013-09-01 -
Select the POST method for the REST API in the Method combo box.
-
In the Max Rows field, enter the maximum number of rows to be fetched from the Amazon MWS data source. This value is used to fetch the data from the Amazon MWS data source using pagination.
-
Choose a time interval for the Refresh Settings using the combo box to trigger the Rest API request periodically to keep the data in sync with your dashboard.
-
Select the XML data type in the Data Format combo box.
-
Enter a valid SellerID, MWSAuthToken, AWS accesskeyId, and SecretKey to access the endpoint in your account.
Connecting using Custom URL details
-
Open the Scratchpad URL
-
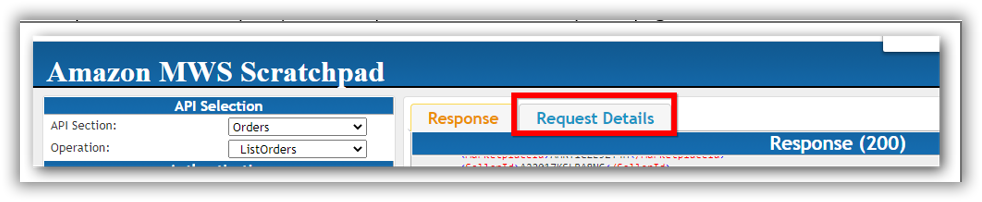
Select the API Section, Operation, and provide authentication values.
-
Once you submit the request, click on Request Details from the response page.
- Copy the values from String to Sign, excluding the Request Method Type. Form the values using https:// and generate a request without altering any values in String to Sign.
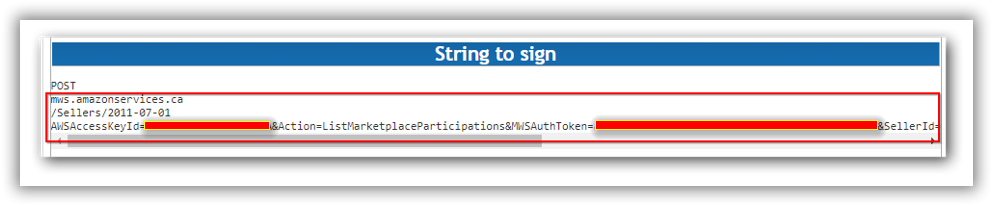
- The constructed URL can be utilized in the Bold BI Amazon MWS connector’s custom URL text box.

Additional information
| Max Rows | Most REST APIs return only a limited amount of data on a single API request. To retrieve the necessary amount of data, you can set a value in this field. Pagination is handled internally and will fetch the required data. |
| Refresh Settings | The period of time before the next refresh call is triggered. This will automatically trigger a call to the API configured in the data source to keep the data up to date. If you do not want to sync your new data, choose ‘Never’. |
Setting up the URL
-
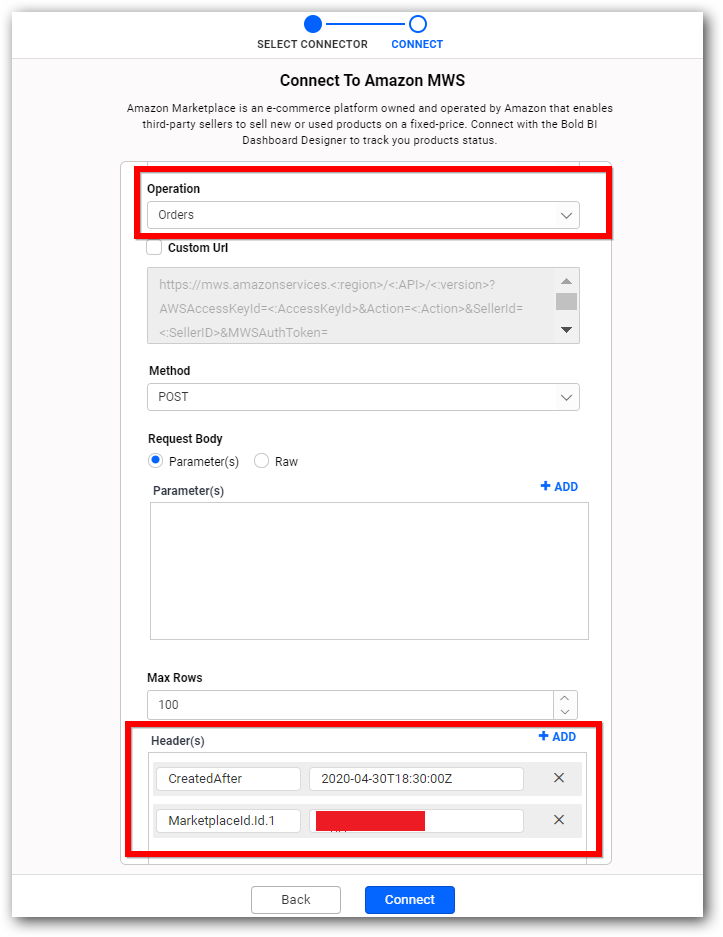
When using the Orders API, you must enter the CreateAfter and MarketplaceId parameters in the header.
-
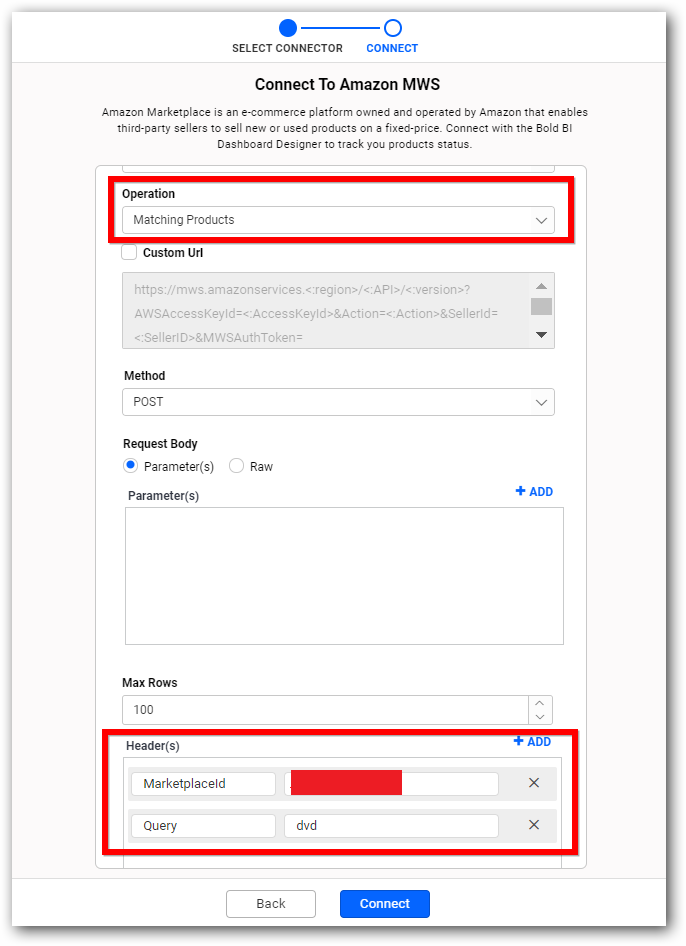
When using the MatchingProducts API, you need to enter the marketplaceId and Query parameters in the header.
-
You can create a custom URL using the Amazon Scratchpad.
For more information on the API endpoints available for this data source, refer to their official API Documentation
Preview and data import
-
Click Preview & Connect to establish a connection with the configured settings.
-
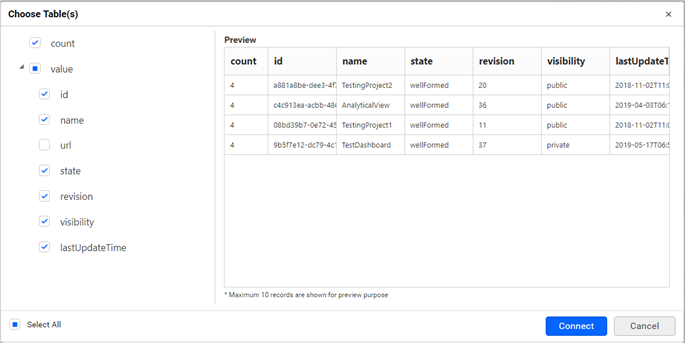
The Choose Schema(s) dialog will appear, displaying a list of schemas in the treeview and their corresponding values in the grid for preview. Select the required schema(s) from the treeview to use in the designer and click Connect.
-
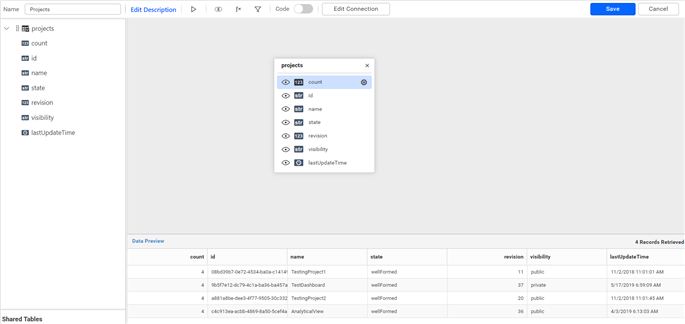
The data design view page with the selected table schema will now open. Drag and drop the table as needed.
-
Click Save to save the data source with a relevant name.