Connecting Bold BI to Trino data source Via Presto
The Bold BI dashboard designer supports connecting to the Trino database through SQL Live Query (REST API). It is available in the Presto category type.
Choose Trino data source
To configure the Trino data source Via Presto, follow the below steps:
-
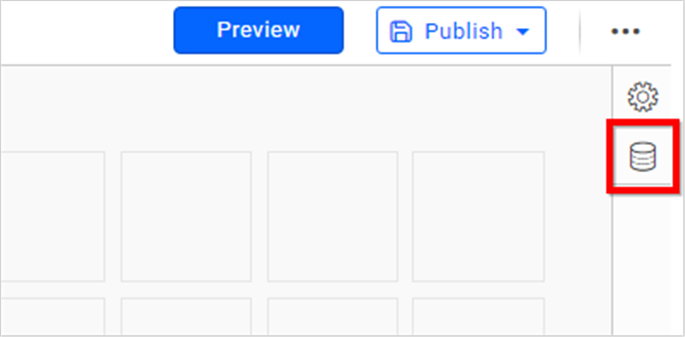
Click on the Data Sources button in the configuration panel to add a new data connection.
-
Click CREATE NEW to launch a new connection from the connection panel.
-
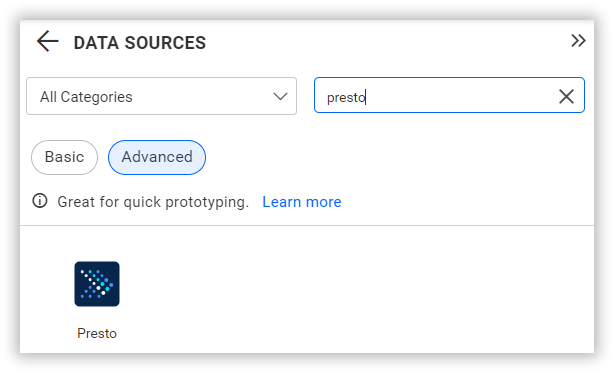
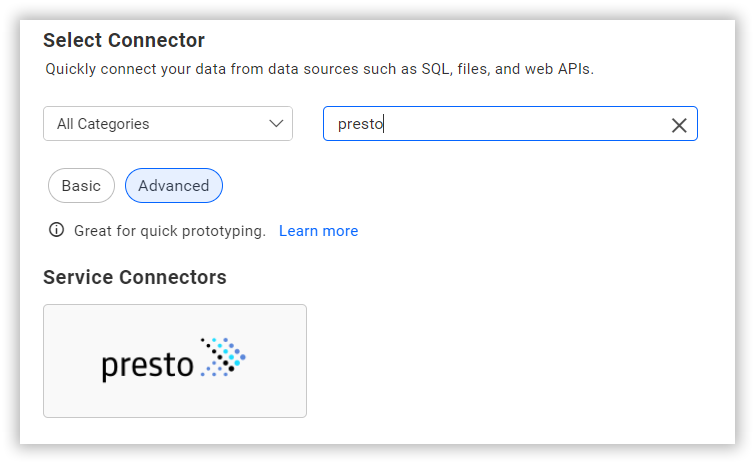
Select the Presto connection in the connection panel.
NOTE: You can also create a data source from the home page by clicking on the Data Sources menu on the left menu panel and selecting Create Data Source from the data sources page.
Connect to Trino
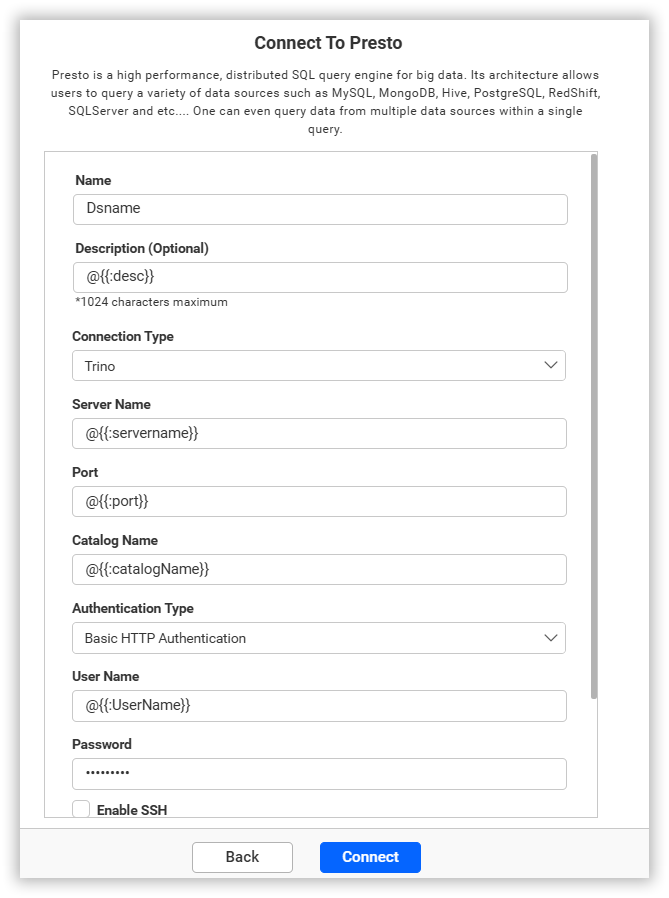
Create Trino data source Via Presto
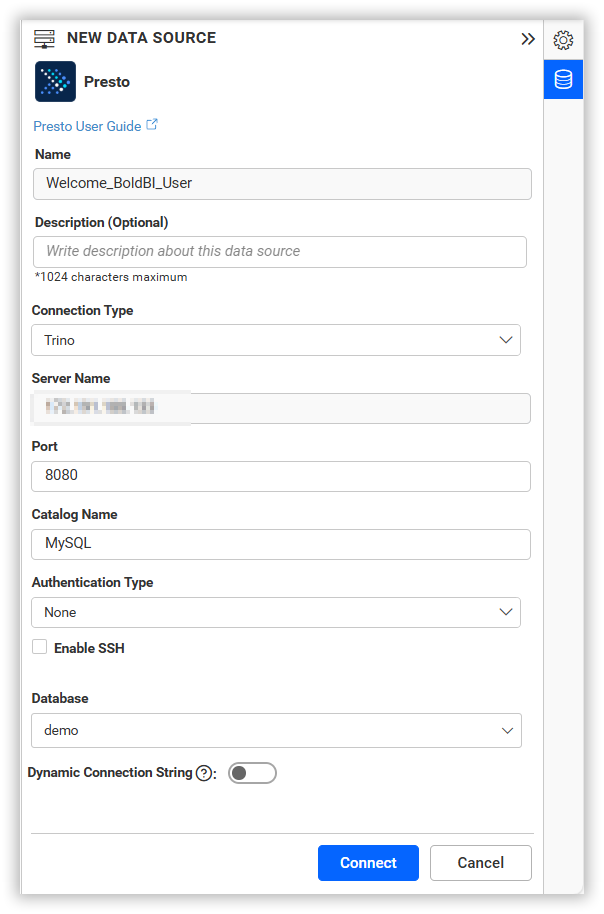
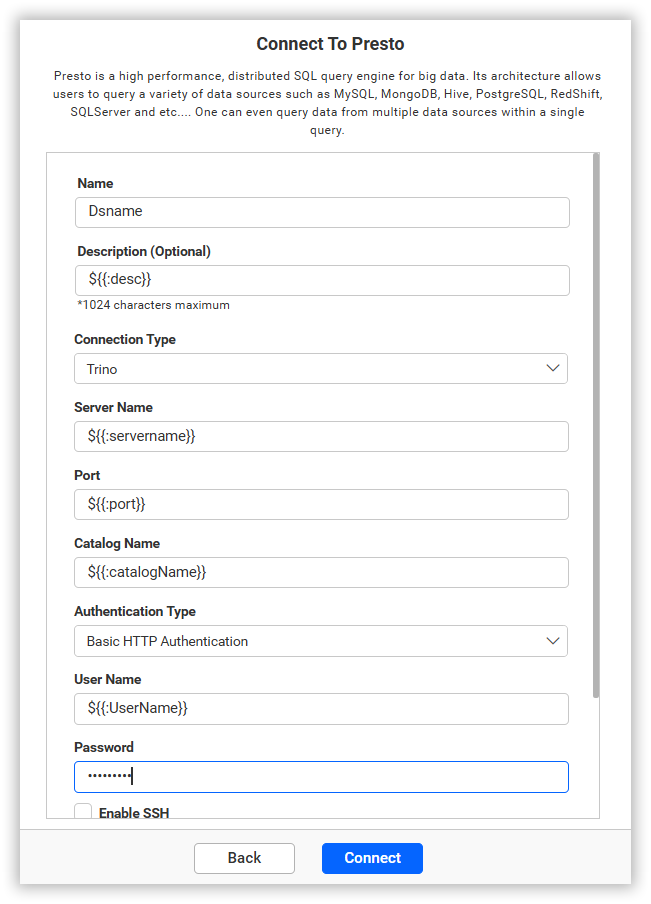
After clicking the data source, the NEW DATA SOURCE configuration panel opens. Follow the given steps to create a Trino data source:
-
Enter a name and description (optional) for the data source.
-
In the Connection Type dropdown, select Trino.
-
Enter a valid Trino server or host name in the Server Name text box.
-
Enter its corresponding port in Port text box.
-
Enter the Catalog Name from below Trino Connectors Link.
-
Choose either None or BASIC authentication in the Authentication Mechanism combo box.
-
Enter a valid Trino user name and password if you choose Basic Authentication Mechanism.
-
Select the database you want to query from the listed databases associated with the given Trino Server in the Database combo box.
In future, you can edit the connection information using Edit Connection option.
NOTE: To connect a data source with SSH, enable the SSH check box in the NEW DATA SOURCE configuration panel and enter the required credentials.

Data Preview
- Click Connect to connect the Trino server with configured details.
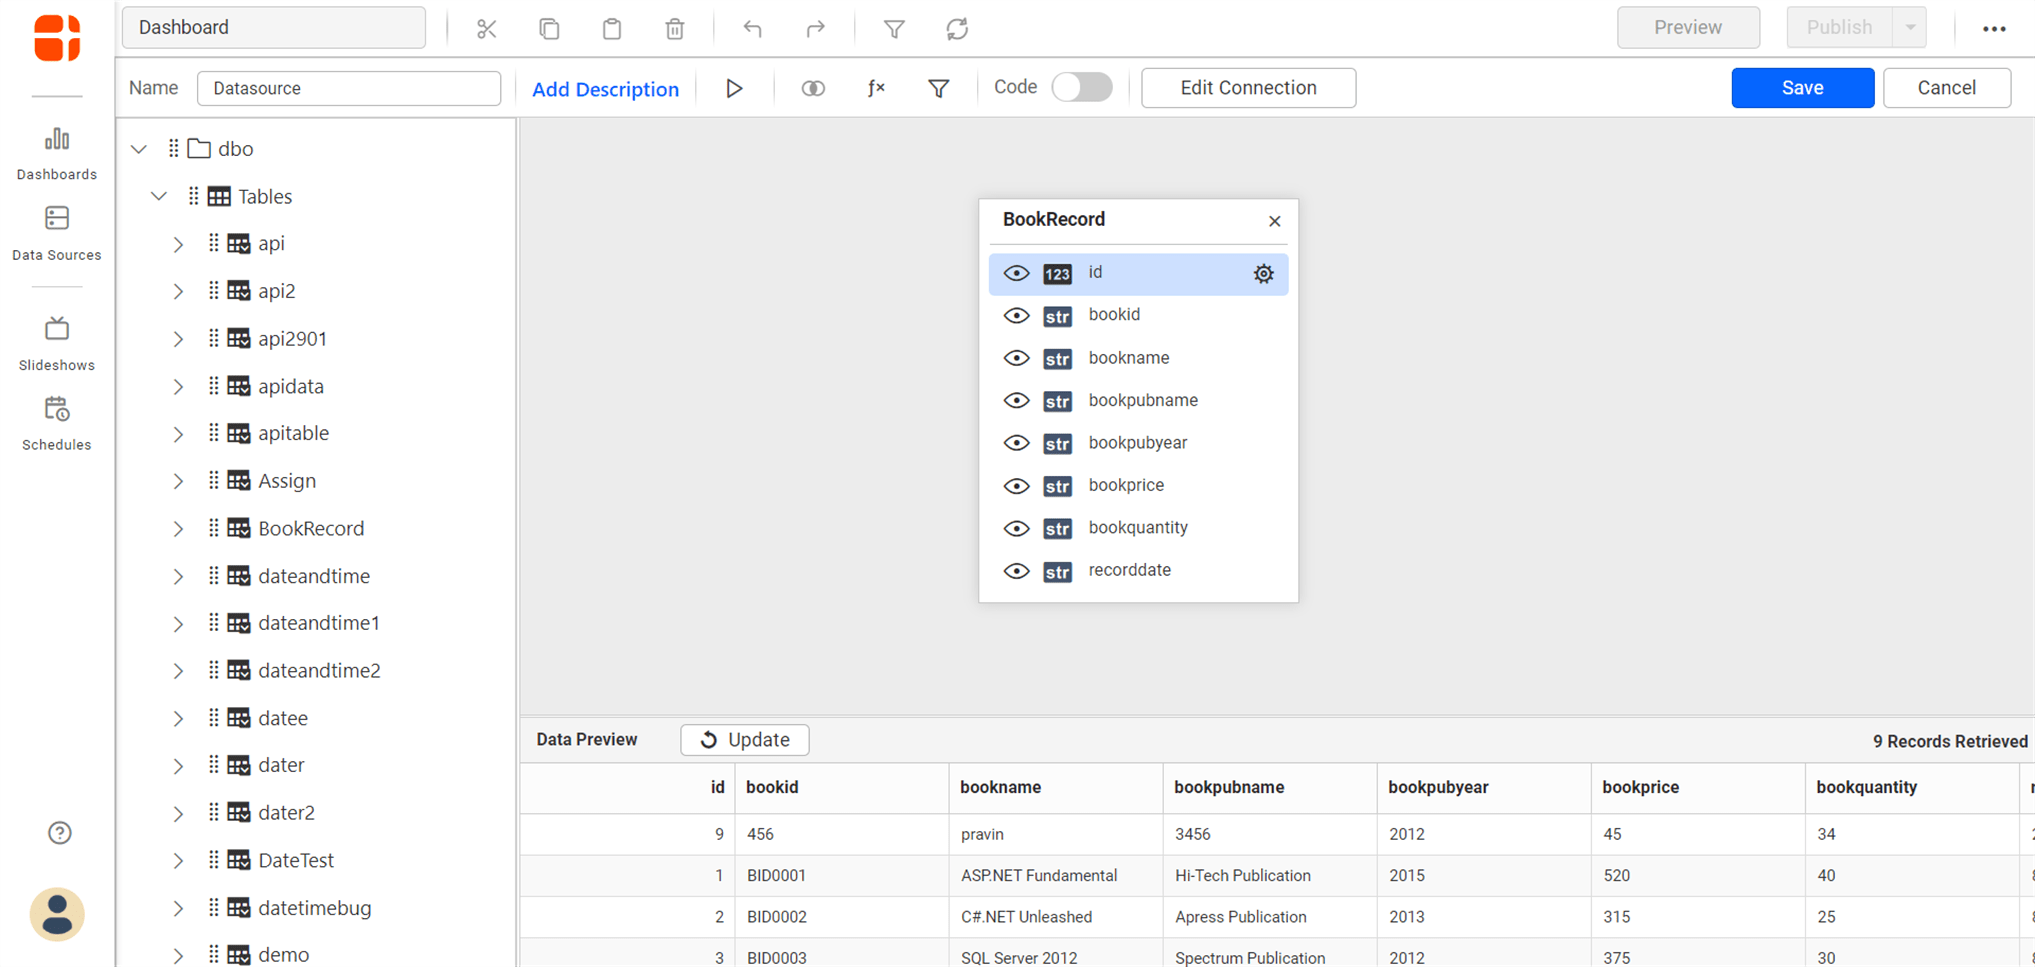
The schema represents the collection list that is retrieved from the Trino server. This dialog displays a list of schemas in a tree view and their corresponding values.
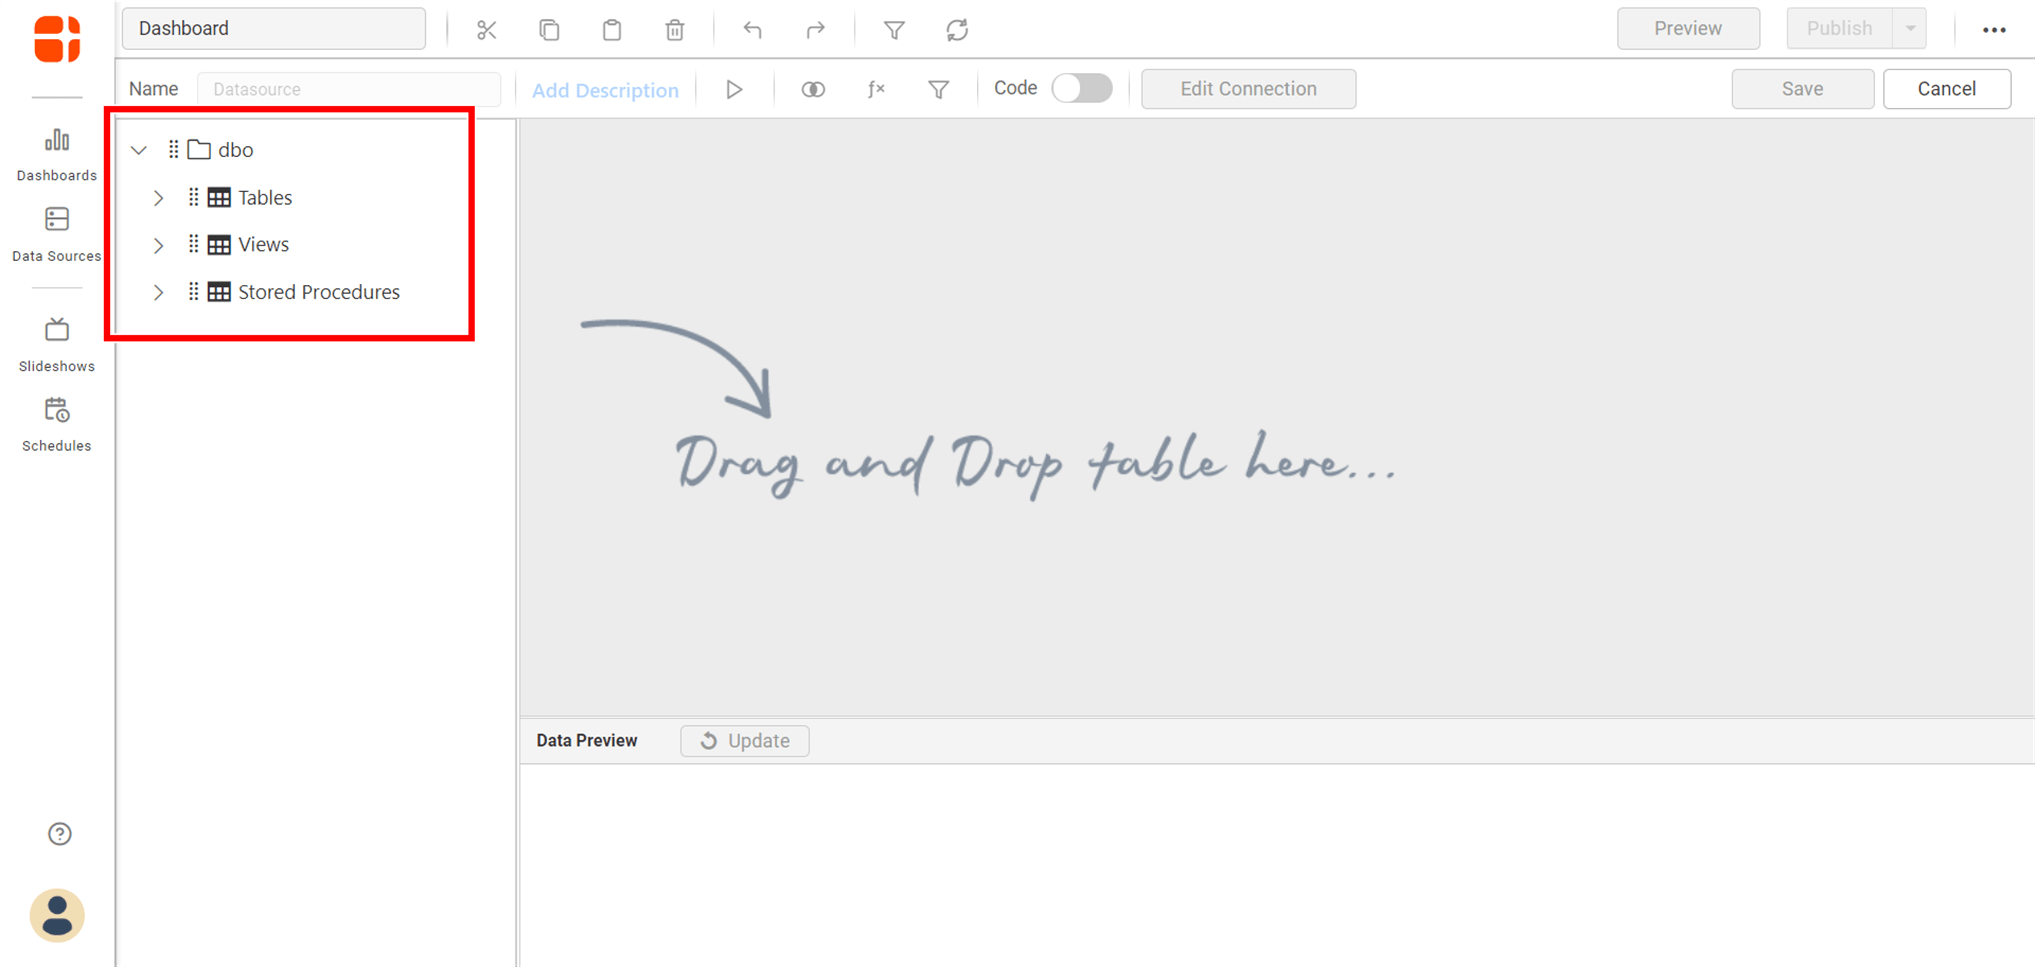
-
Now, the data design view page with the selected table schema opens. Drag and drop the table.
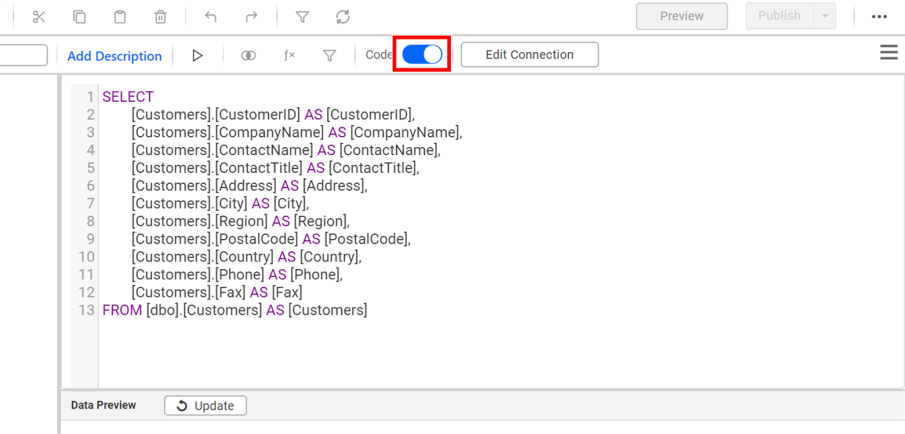
Either you can use the Code View options for passing query to display data.
-
Click Save to save the data source with a relevant name.
Connect using custom attribute and dashboard parameter
We have added support for custom attributes and dashboard parameters in the data source connection. You can now connect to the data source using custom attributes or dashboard parameters.
Custom Attribute
Dashboard Parameter
Note: Refer to the Dashboard Parameter Documentation and Custom Attributes Documentation for more details.
Related links
Having trouble getting help?
Contact SupportHaving trouble getting help?
Contact Support