Localization Support in Bold BI Application
Localization involves adapting a website into different linguistic and cultural contexts, which goes beyond simple text translation.
By default, the Bold BI application is available in English (en-US) localization.
Please refer to the following documentation to add a new localization or edit the existing localization:
NOTE: For applying localization files in Bold BI version 4.2.69 or earlier, Please refer to the Bold BI version 4.2.69 or earlier guide.
Add a new localization
- Create a folder named locale inside the app_data folder in the deployed location.

-
Create a folder inside the locale folder and specify the folder name in the locale language code in which you wish to generate the localization file.
Please refer to the sample language code. For example, create a folder called
fr-FRto represent the French language code.
-
Create application folders with the following names inside the language code folder for each service:
- bi
- bi-dataservice
- ums

-
To add
messages.potin the application folder created above, please refer to this. -
To create a locale file
messages.pofrommessages.pot, either use the manual edit option or an online tool for theBIandUMSservices. Refer to this for guidance. -
To create a locale file
messages.pofromdefault.po, either use the manual edit option or an online tool for theDesignerservice. Refer to this for instructions.
NOTE: By default, Bold BI is deployed in
C:\BoldServicesfor Windows and/var/www/bold-services/applicationfor Linux.
How to add the default locale file in the application folder
-
BI Service
-
Copy the
messages.potfile from thebi\web\locale\folder and paste it insideapp_data\locale\[language-folder]\bi\folder.
-
-
UMS Service
-
Copy the
messages.potfile from theidp\web\locale\folder and paste it insideapp_data\locale\[language-folder]\ums\folder.
-
-
Designer Services
-
Copy the
default.pofile from thebi\dataservice\localefolder and paste it insideapp_data\locale\[language-folder]\bi-dataservice\folder.
-
Copy the
locale.jsfile from thebi\dataservice\locale\en-usfolder and paste it insideapp_data\locale\[language-folder]\bi-dataservice\folder.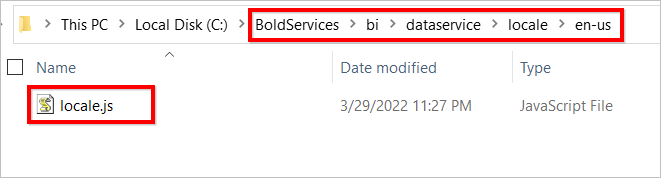
-
How to generate the localization file for another language
You can generate the localization file for the application in two ways:
- Manual edit
- Auto-generate using online tools
NOTE:
• After generating themessages.pofile forbi-dataserviceyou need to run the locale utility. Refer to this link to generate the locale js file.
• Restart the site to apply the generated language for the application.
Manual edit
-
BIorUMS-
Rename the
messages.potfile tomessages.po. This will generate the localization file for theBIservice.
BI-DATASERVICE-
Rename the
default.pofile tomessages.po.
The file contains two variables:
msgidandmsgstr.msgidcontains the product content in the default language.msgstris empty and represents the translated language. -
-
Convert the content in
msgidto the equivalent language of the desired localization support. Replace this converted content into the empty string inmsgstr. -
Change the locale Language code at the top of the
messages.pofile.
Here, the sample converted locale file will appear as follows:

Auto-generate using any tools
-
BIorUMS- Rename the
messages.potfile tomessages.po.
BI-DATASERVICE- Rename the previously pasted
default.pofile tomessages.po.
- Rename the
-
Use the online site to generate the localization file.
-
Browse to select the
messages.pofile in the application folder on the site.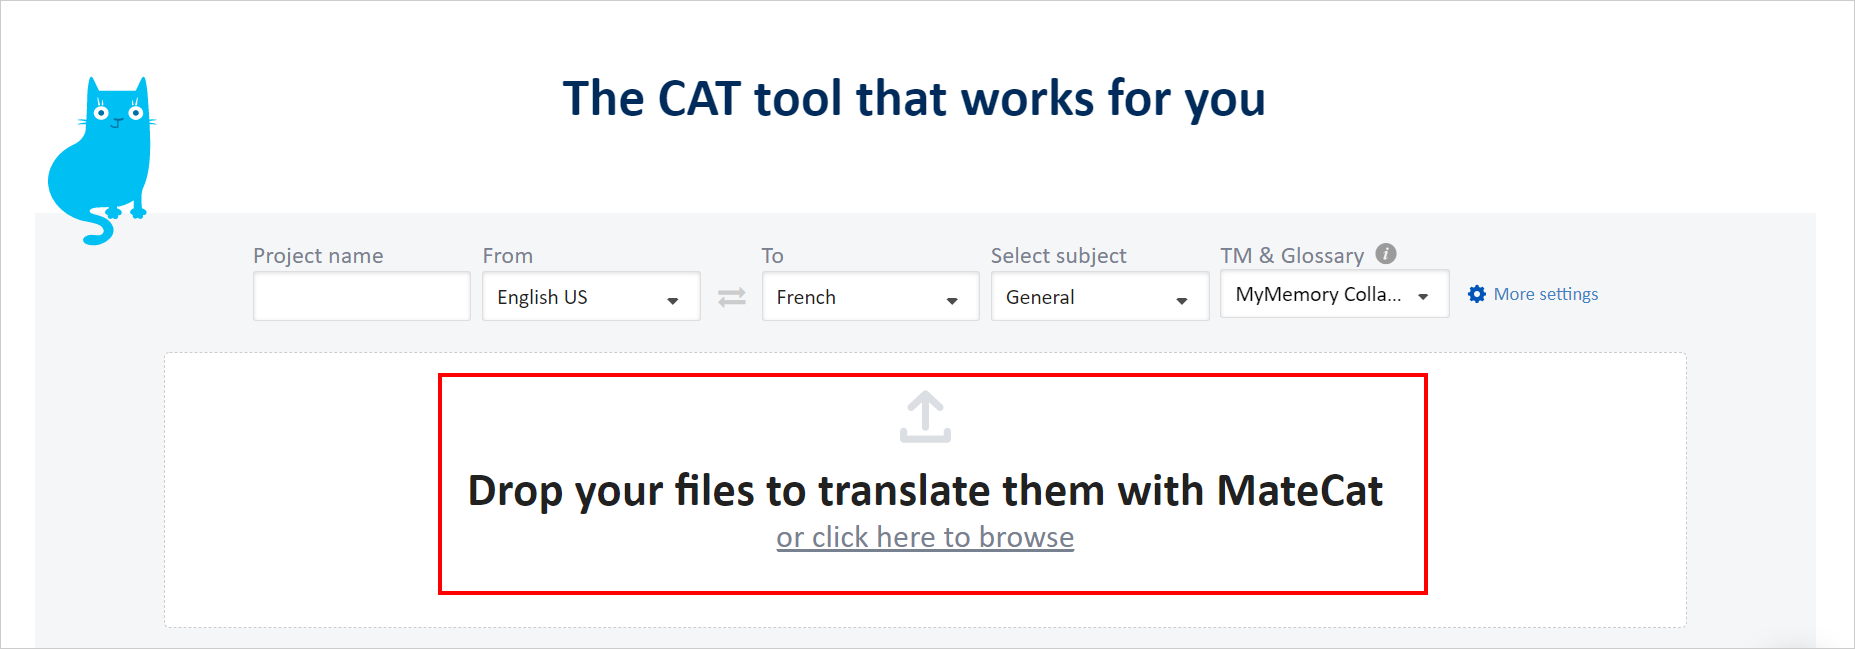
-
Change the language in the
Tooption to the desired language for generating the localization file.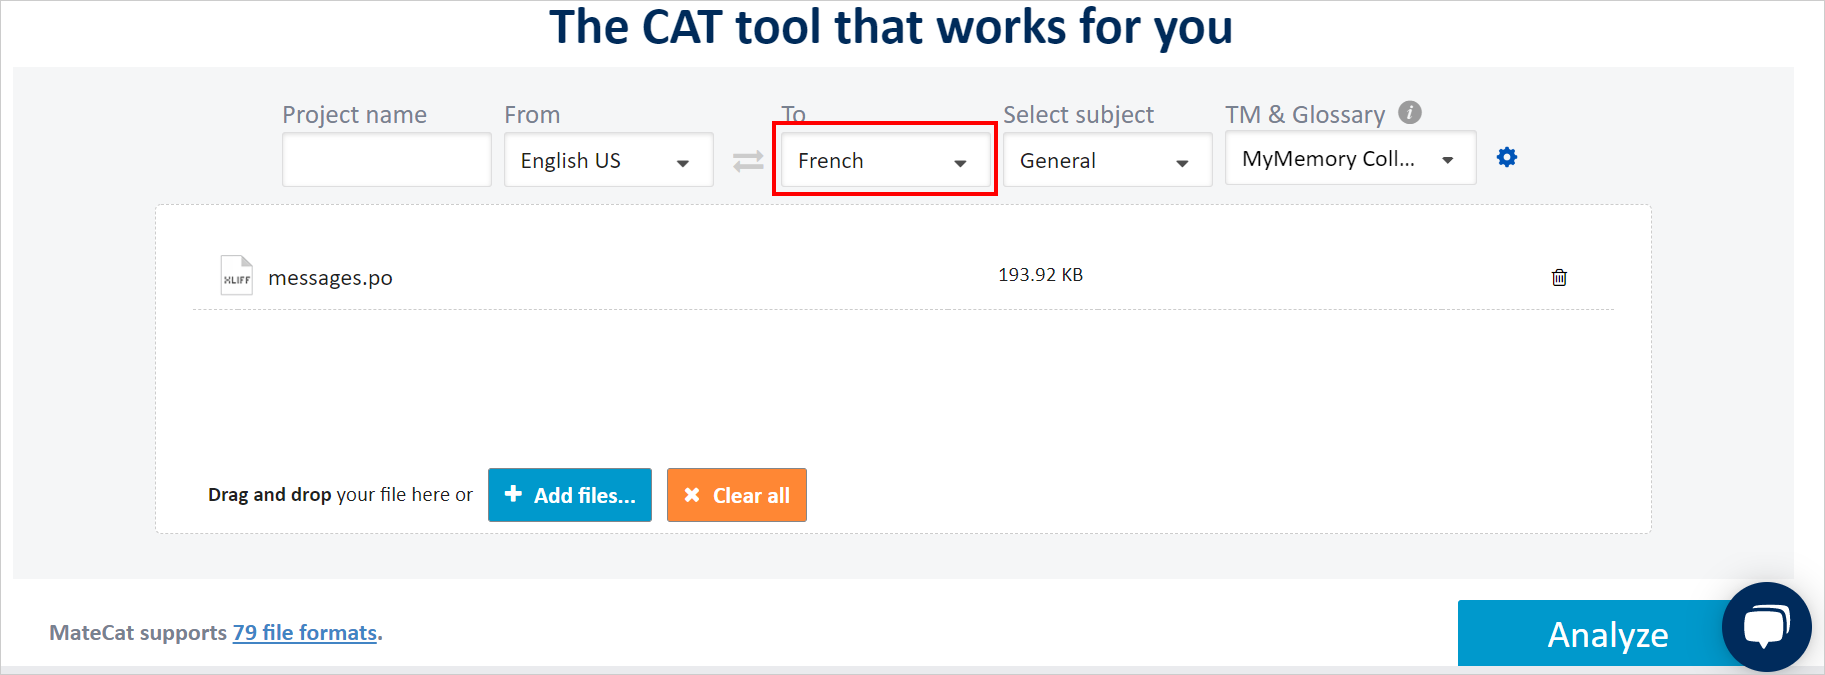
-
Select the
Analyzeoption and then clickTranslate.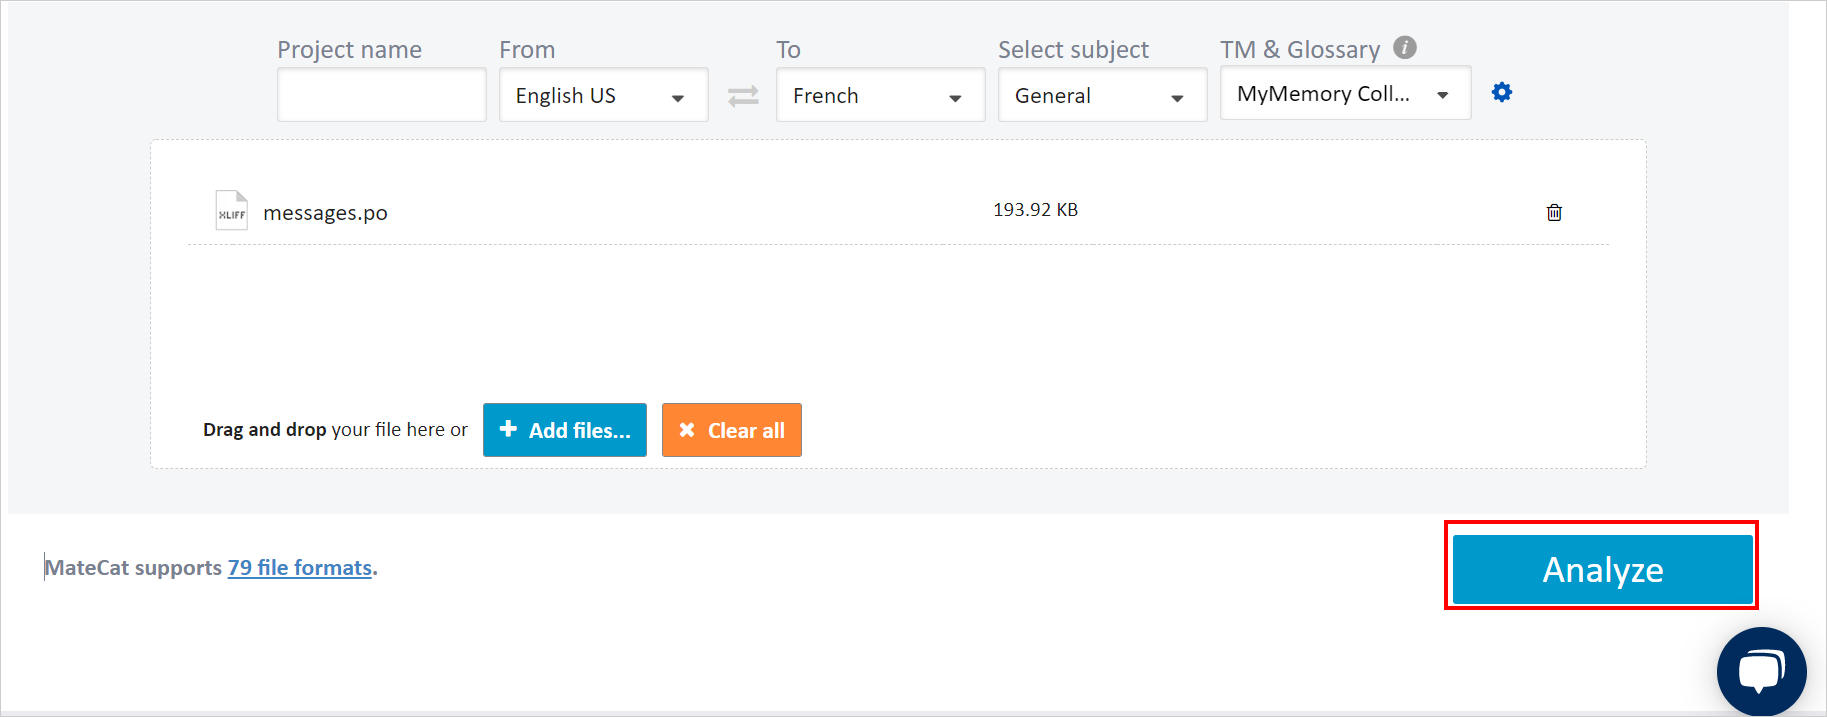

-
At the top of the page, there is a download icon. Use it to download the file.

-
Change the downloaded file name to
messages.poand paste it into the respective application folder inside theapp_data\locale\[language-folder]\.
How to Generate Locale Files for Bold BI Services
1. Download the Locale Utility
Download the locale utility from the GitHub repository: https://github.com/boldbi/localization-creation by cloning the repository or downloading it as a ZIP and extracting it locally.
2. Prepare Source Locale Files
Copy the required source locale files from your BoldServices build folders and paste them into the localization-creation folder.
Example source files:
- Copy
/bi/dataservice/locale/en-us/locale.js→ keep the name aslocale.js - Copy
/bi/web/locale/en-US/messages.po→ rename tobi.po - Copy
/idp/ums/locale/en-us/messages.po→ rename toums.po
NOTE: By default, Bold BI is deployed in
C:\BoldServicesfor Windows and/var/www/bold-services/applicationfor Linux.
3. Configure Azure Translator
Update the config.json file in the sample folder with your Azure Translator details.
Example configuration:
{
  "Translator": {
    "Endpoint": "https://api.cognitive.microsofttranslator.com/",
    "SubscriptionKey": "YOUR_SUBSCRIPTION_KEY",
    "Region": "YOUR_RESOURCE_REGION",
    "Culture": ["fr-FR"],
    "IsServerAndUMS": true
  }
}
4. Start the Localization Process
Execute the localization application:
Localization.exe- The utility calls the Azure Translator API
- Generates translated locale files for all languages specified in
Translator.Culture
5. Output Structure
The generated files will be placed inside the Translated_locale folder.
Example structure:
Translated_locale/
  └── fr-FR/
      ├── bi/
      ├── bi-dataservice/
      └── ums/
6. Deploy Locale Files
Move the generated culture folder into your application directory:
app_data\locale\fr-FRFinal structure:
app_data\locale\fr-FR\bi\app_data\locale\fr-FR\bi-dataservice\app_data\locale\fr-FR\ums\
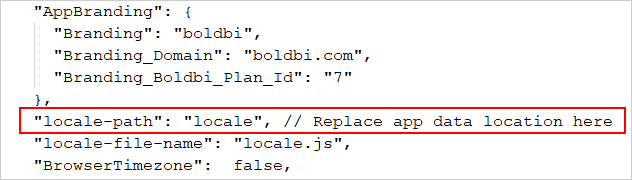
7. Update Locale Path Configuration
Open the appsettings.json file in an editor from the location {Deployed Location}\bi\dataservice and change the locale path as the app data location ../../app_data/locale in the property locale-path.
8. Restart Services
Restart the Bold BI site/services to apply the new localization changes.
NOTE:
- Ensure
SubscriptionKeyandRegionare set when using Azure Translator.- The utility will generate locale files for every language in the
Translator.Culturearray.
Where to change the localization in the application
Global language settings
After generating the localization file using the preceding steps, you can set the global language in the UMS application.
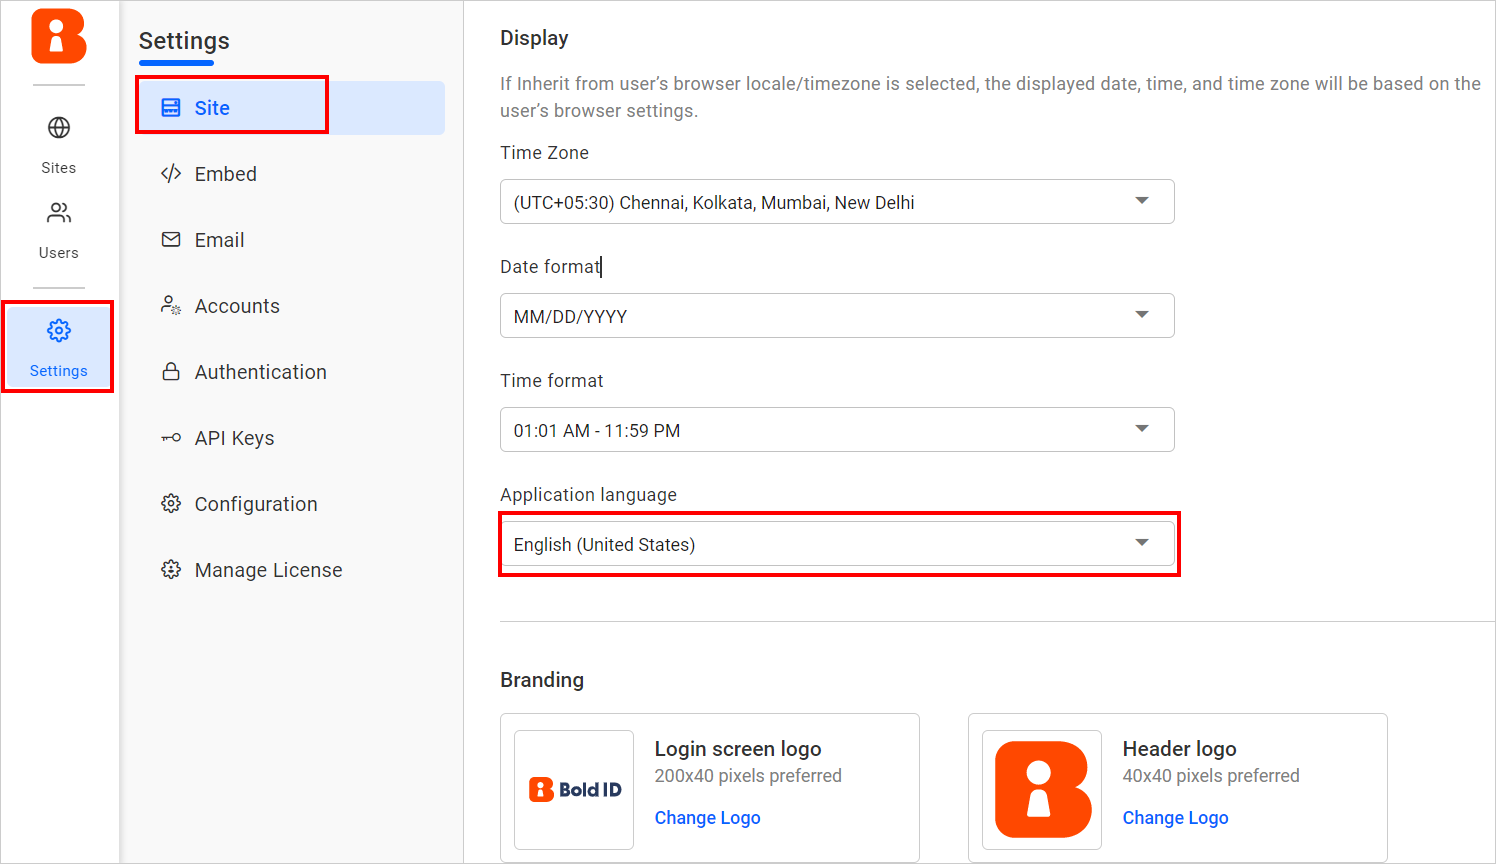
This language is applied to UMS, BI, and Designer Service when there is no language is selected in site settings or user preference settings and the Application language should be set to Inherit from global settings in site settings.
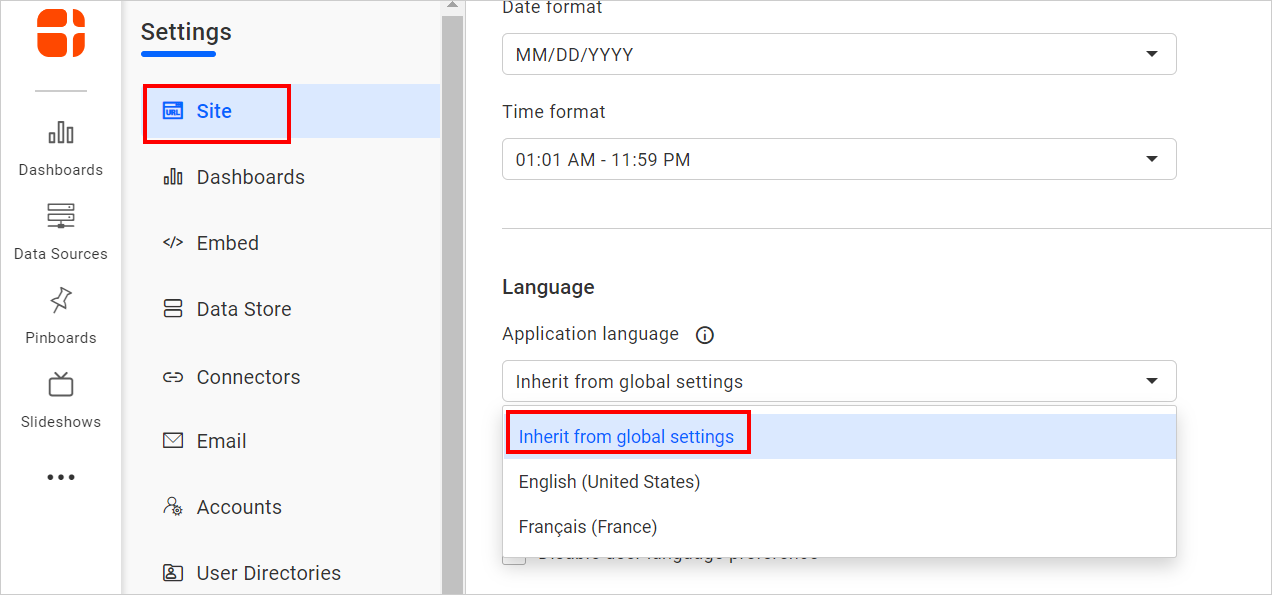
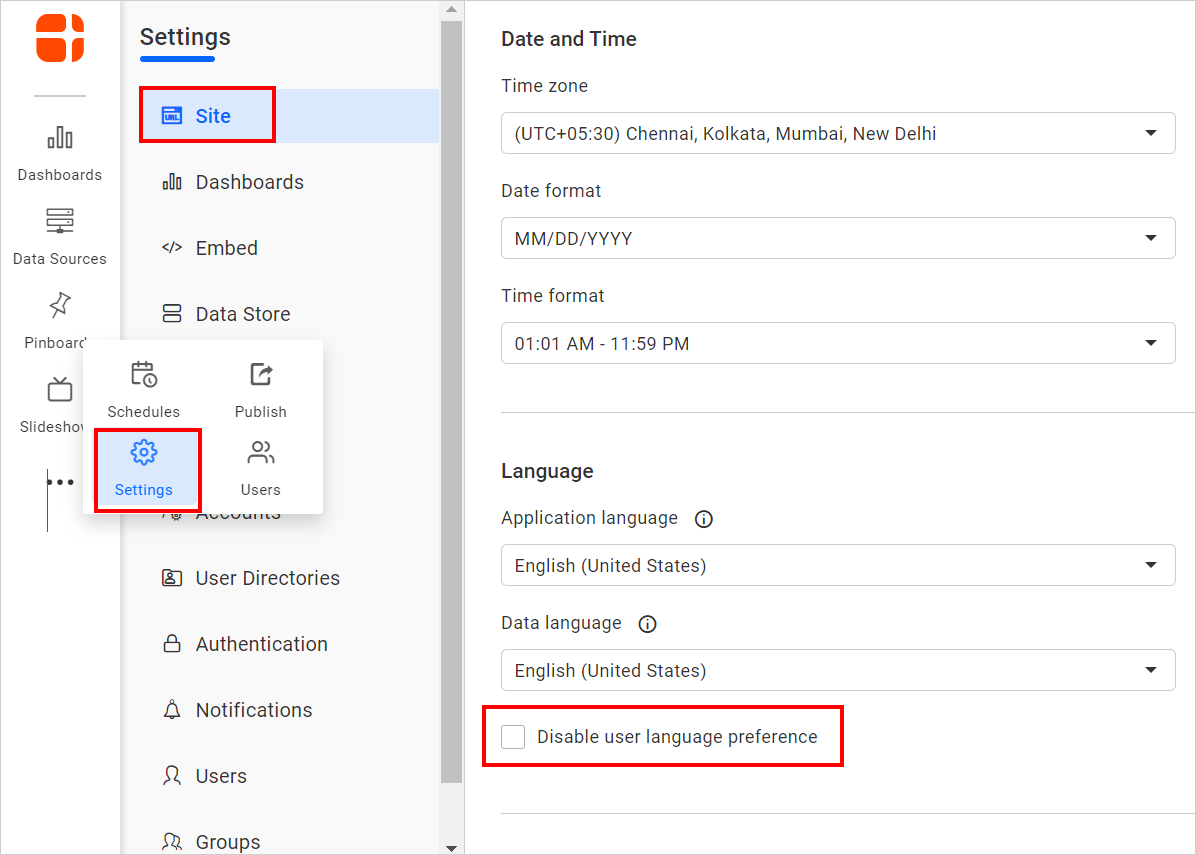
Site language settings
Change the localization on the site settings page. By default, the site language is selected as English. If you want to change the language, you can switch to the desired language after generating the localization file for the BI and BI-DATASERVICE services using the above steps.
Admins can enforce a language for all users on the site. If the admin enforces a language, then the user preference settings are disabled.

User preference settings
By clicking the Update application language details through your account link on the profile page, the user will be redirected to the UMS profile page where they can set their own language preference.

A user can set any language as the preferred language, and it will be applied to all sites. However, if the admin disables the user language preference on any site, then the user’s preferred language will not be applied on that site.