Connecting Bold BI to EDI data source
The Bold BI dashboard designer supports connecting to EDI files.
Choose an EDI data source
To configure the EDI data source, follow these steps:
-
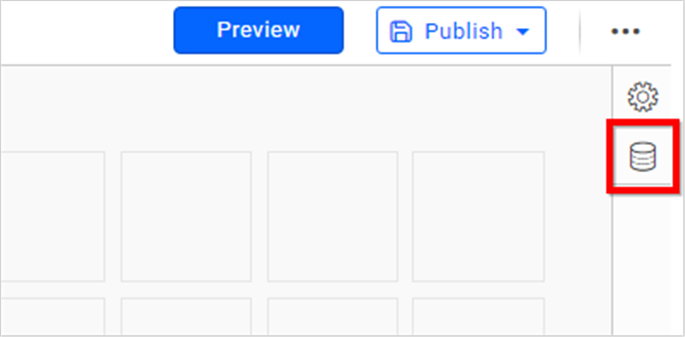
Click on Data Sources in the configuration panel to add a new data connection.
-
Click on CREATE NEW to launch a new connection from the connection panel.
-
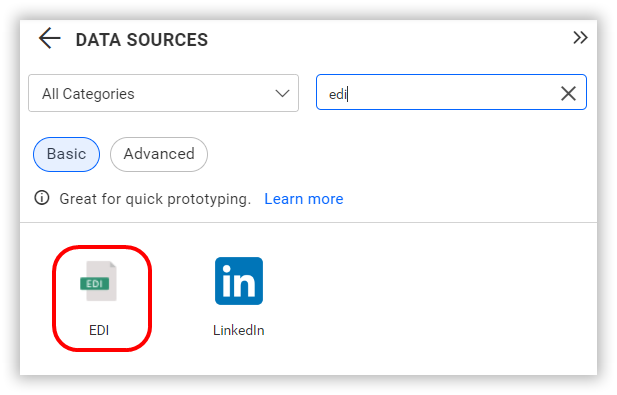
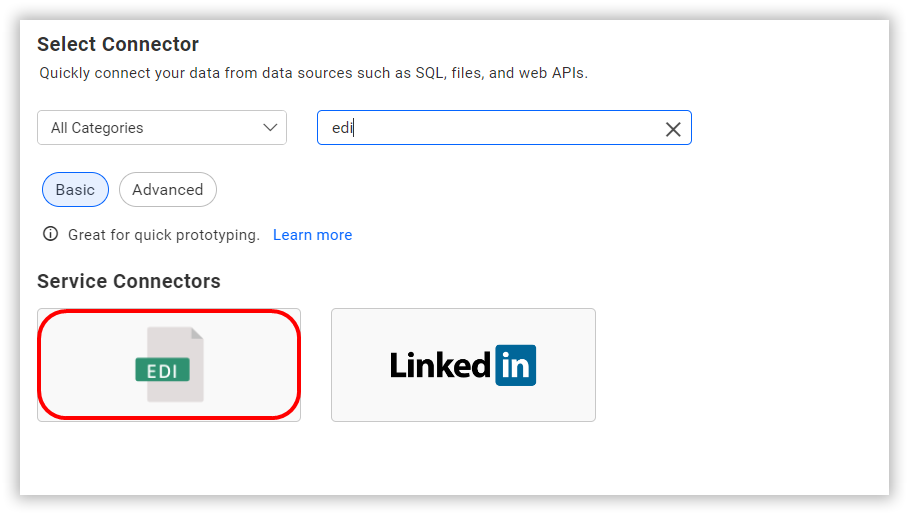
Select the EDI connection in the connection panel.
NOTE: You can also create a data source from the home page by clicking on the Data Sources menu on the left menu panel and selecting Create Data Source from the data sources page.
Connect to EDI
Create an EDI data source
After clicking on the data source, the NEW DATA SOURCE configuration panel will open. Follow the steps provided to create an EDI data source:
- Enter a name and description (optional) for the data source.
- Upload a file based on selected file type data source.
- If your data contain headers, enable the option Consider the first row as header to treat them as headers while designing dashboards.
- Enter a valid element delimiter character in the Element Separator text box.
- Enter a valid EOL delimiter character in the End Of Line Separator text box.
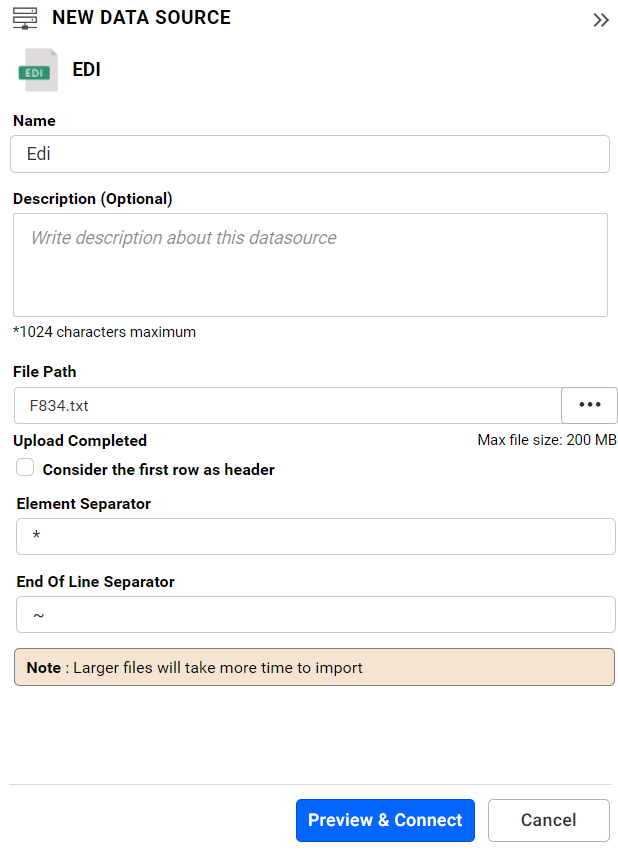
NOTE: Please note that you can preview data with a file size of 200 megabytes or less. You can also edit the connection information set here using the Edit Connection option.
Preview and data import
-
Click on Preview and Connect to connect with the configurations set.
-
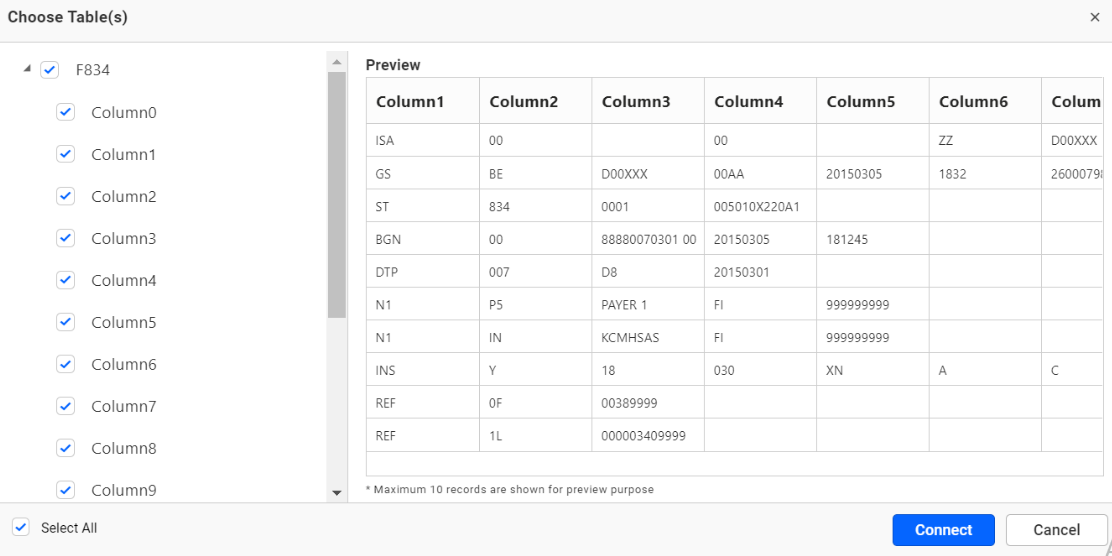
The Choose Schema(s) dialog box will open. The schema represents the key fields of data from the uploaded file. This dialog box displays a list of schemas in a tree view and their corresponding values in a grid for preview. Select the required schema(s) from the tree view to use in the designer and click Connect.
-
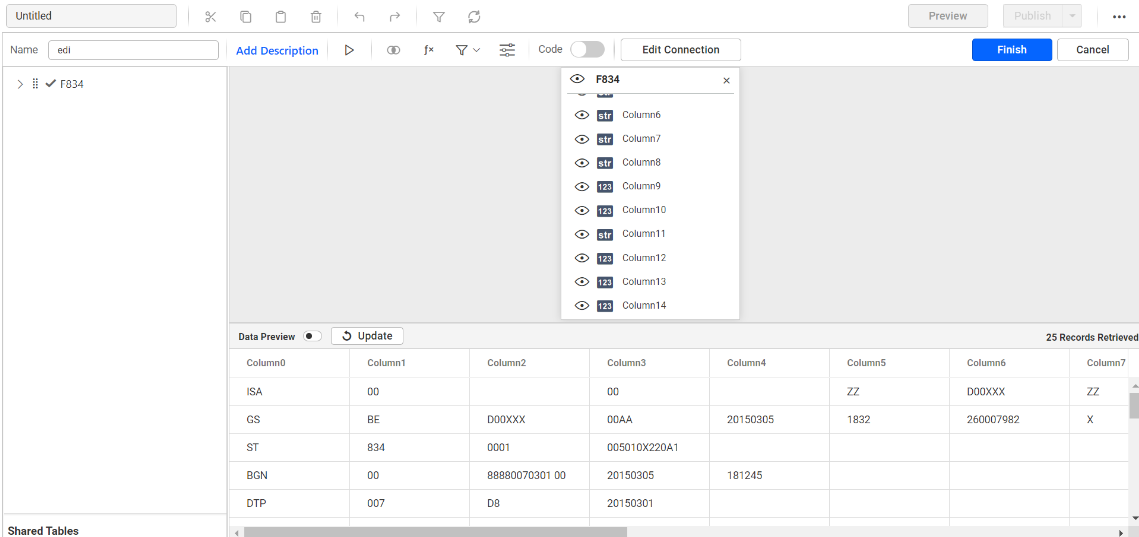
Now, the data design view page with the selected table schema opens. Drag the table.
-
Click Save to save the data source with a relevant name.