Connecting Bold BI to Gmail data source
What is Gmail? Gmail offers free cloud storage for storing emails on the web. Gmail makes emailing, chatting, drafting, and archiving your mails and conversations easy and convenient. It is necessary to create a Gmail account.
Note: Gmail data source is available in On-Premises Deployment but not in the Syncfusion Managed Cloud Server.
Connecting to a Gmail
You can connect to web services of popular sites like Gmail using the connection type. To enable this connection, follow the given steps.
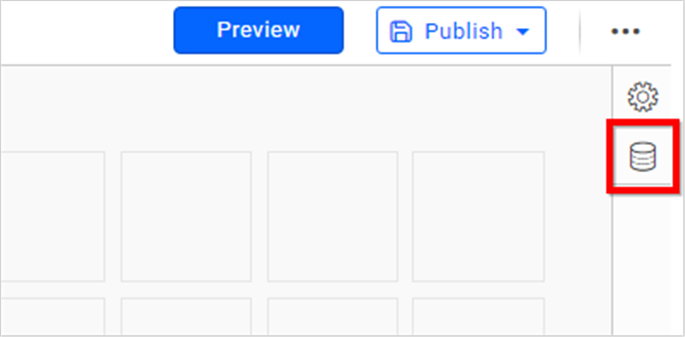
Click the Data Source button in the configuration panel to add a new data connection.
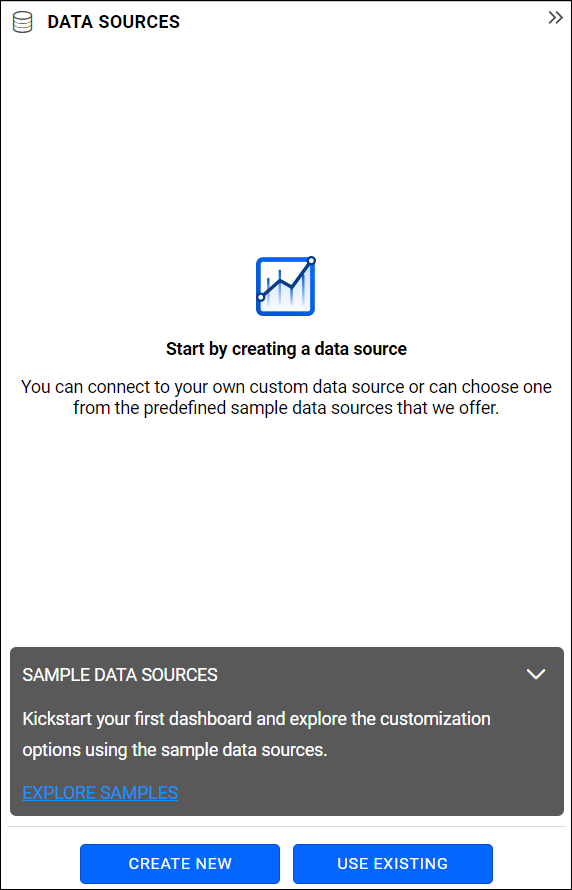
Click CREATE NEW to launch a new connection from the connection type panel.
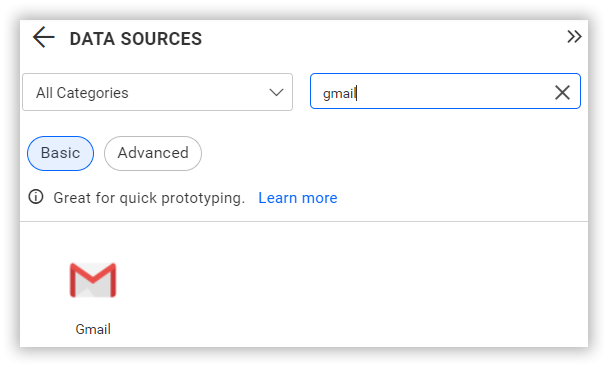
Click Gmail connection button in the connection panel.
Click Connect an Account in the window opens.
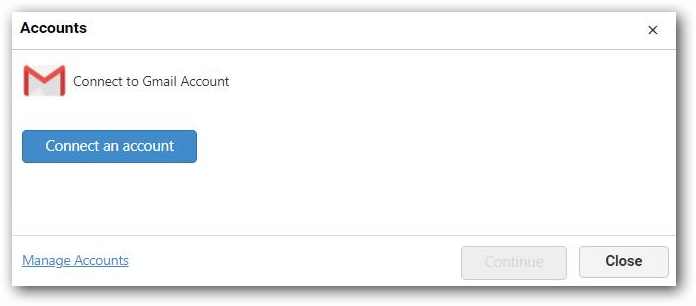
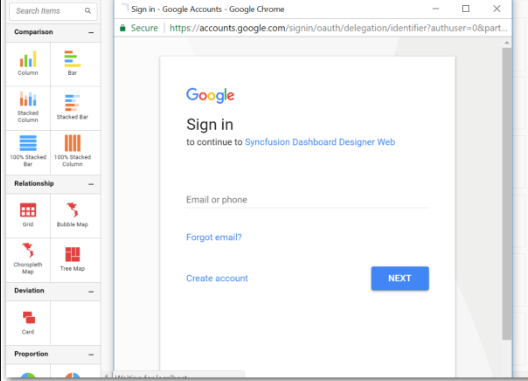
The login window opens to authorize the user.
Please enter an appropriate username and password. The authorization window will then open.
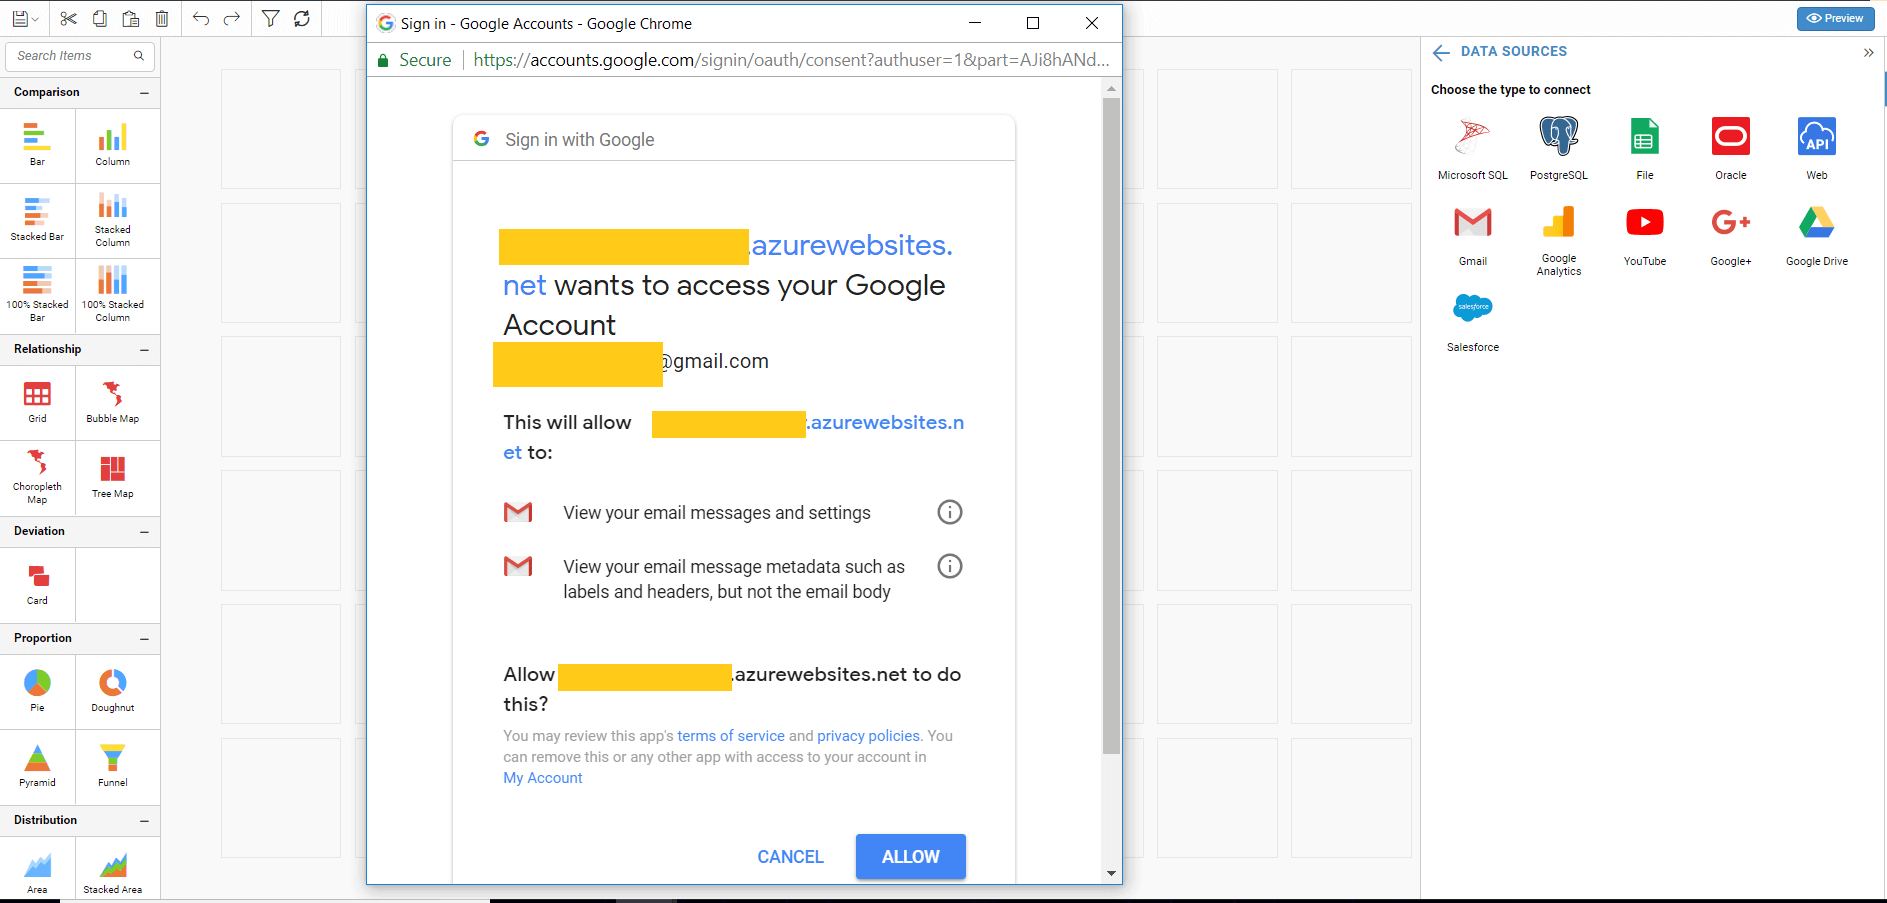
Click Allow in the authorization window. The datasource window opens.
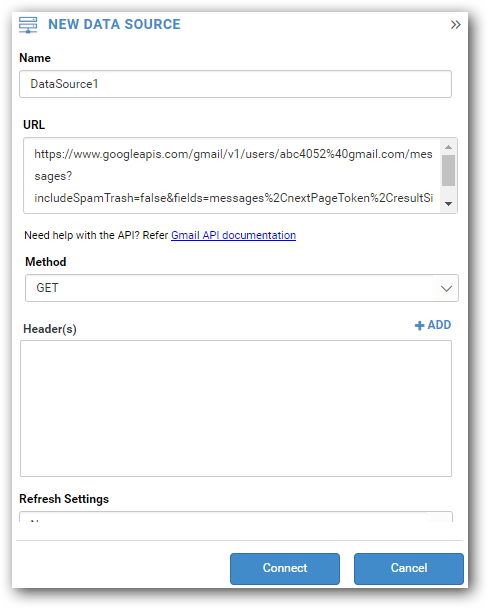
To retrieve data through the datasource window, follow these steps:
- Enter an API in URL text box which must be the valid REST API.
IMPORTANT: Refer to the Gmail API Documentation to build a query for discovering more data requests. Test the query before entering it in the URL text box. Use Google APIs Explorer, to build the query.
-
Choose the appropriate method for the API by referring to the API documentation link provided in the URL text box.
-
Add Header information, if necessary.
-
Select the appropriate refresh settings for the API.
-
Choose the suitable data format.
-
The authentication type will automatically be set as
Gmailif the login is successful.
Click connect to retrieve the data.
The choose schema(s) window opens as follows. You can select the schema and click Connect.
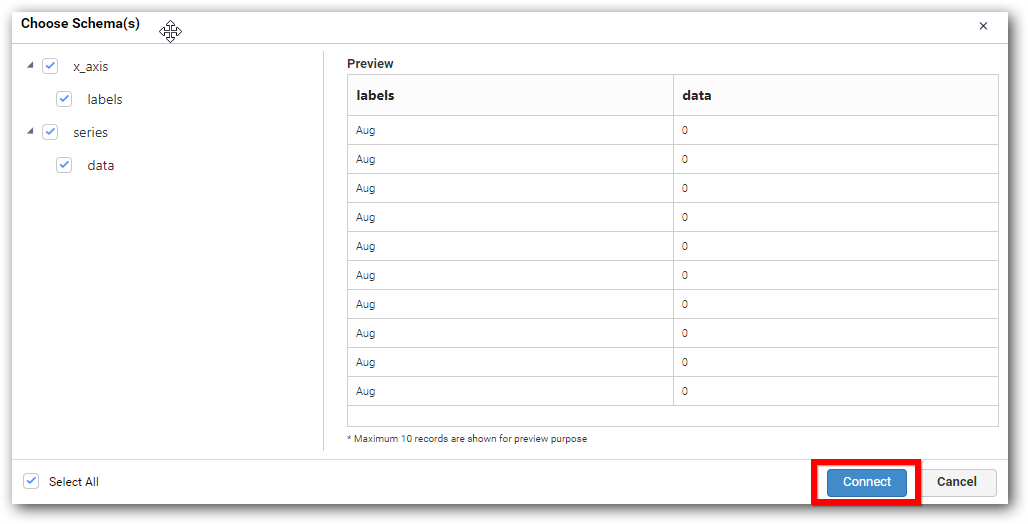
Now, you can access the data design view window with the selected table schema.
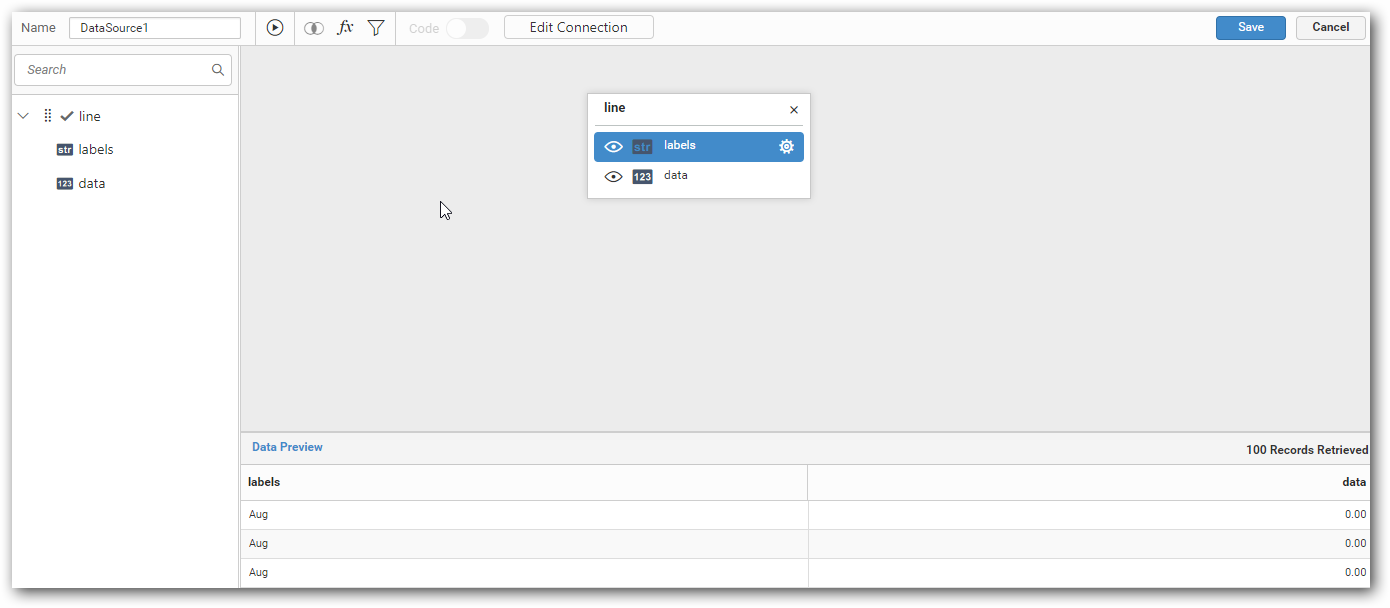
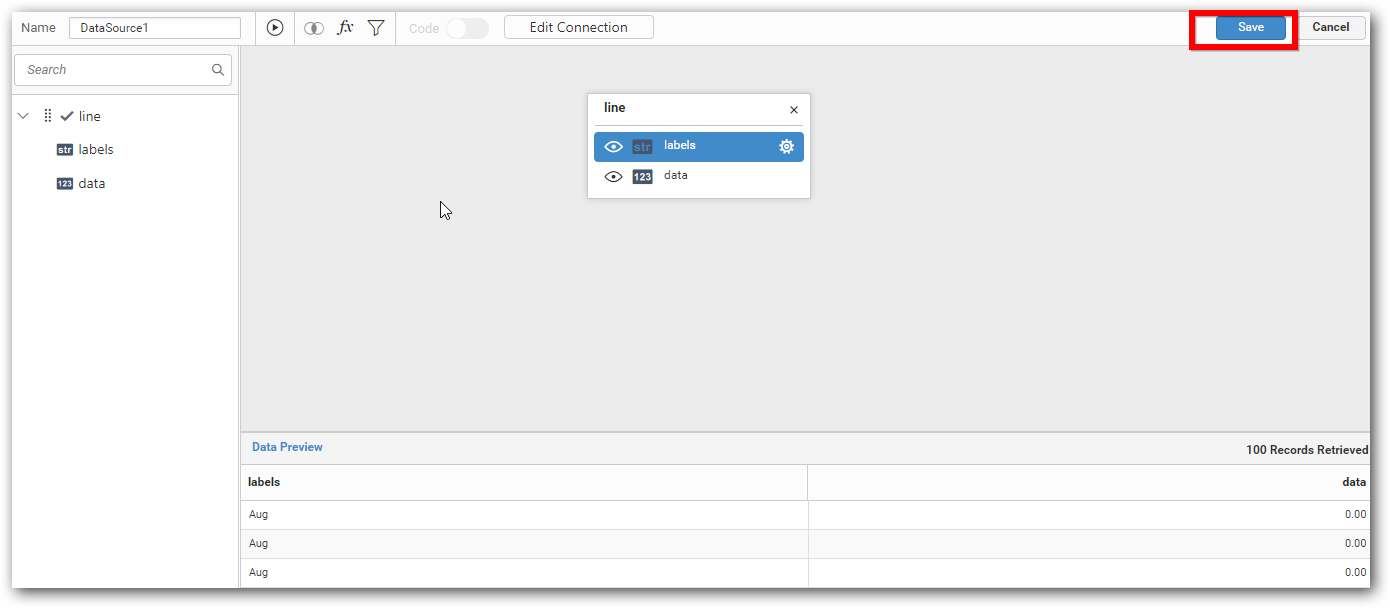
Drag and drop the table, then click the Save button to save the data source with a valid name.
How to Obtain the Google Client ID and Client Secret
Note: Google OAuth credentials are required for the On-Premises Deployment, but they are not needed in the Syncfusion Managed Cloud Server.
-
Go to the Google API Console at Google API Console.
-
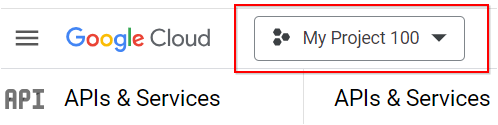
You can either select an existing project or create a new project by clicking on the Select Project dropdown at the top of the page and giving your project a name. After that, click on Create.
-
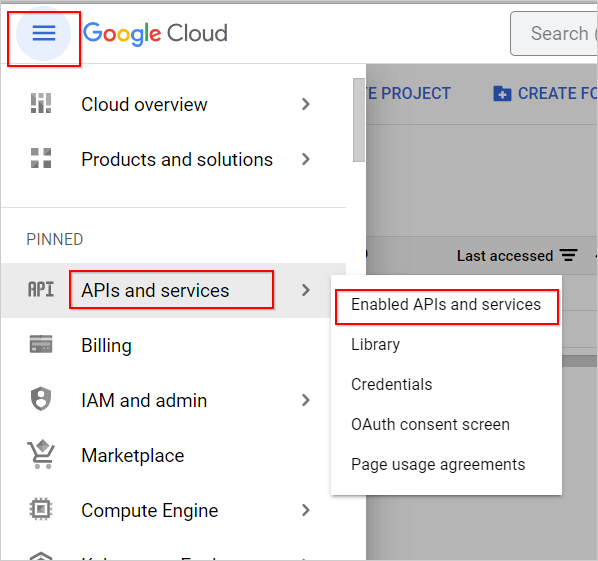
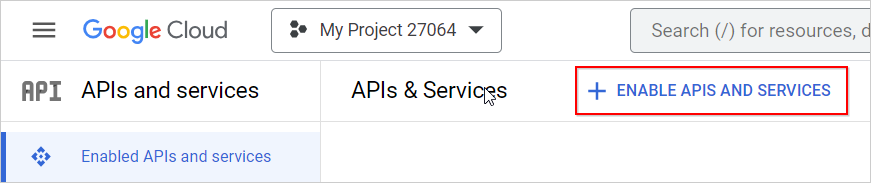
Click on the menu and select APIs & services, and then click on the Enabled APIs and services button.
-
To enable the required Google API in Bold BI, click on the +ENABLE APIS AND SERVICES.
-
Search and enable the People API by clicking the ENABLE button.
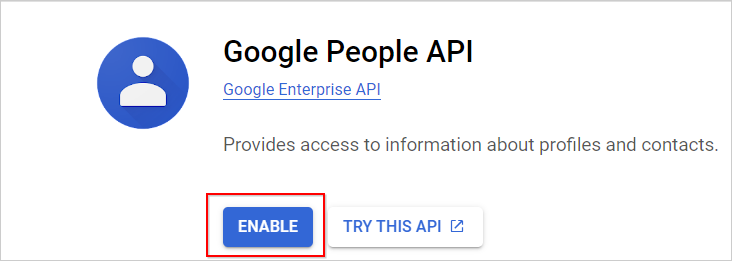
NOTE: You need to enable the required APIs in order to connect the connector in Bold BI.
| Connector | Required API | Google Drive | Google Drive API Google Drive Activity API Drive Lable API |
|---|---|
| Google Sheets | Google Sheets API |
| Google AdSense |
AdSense Host API AdSense Management API |
| Google Analytics Google Analytics V4 |
Google Analytics API Google Analytics Reporting API Google Analytics Data API |
| Google Ads | Google Ads API |
| Google Search Console | Google Search Console API |
| Google Calendar | Google Calendar API |
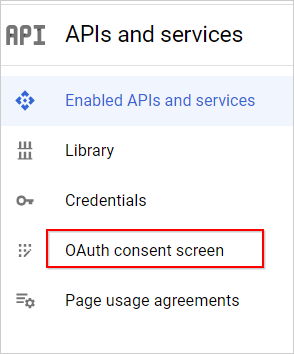
-
Click on the OAuth consent screen and follow the prompts and provide the required details.
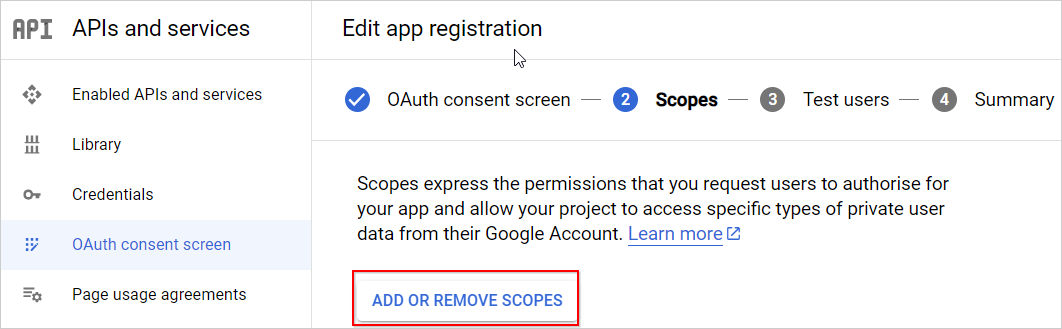
-
In the second step, click on ADD OR REMOVE SCOPES and add the required read scopes for the API that needs to be connected in Bold BI. Then click on Save and Continue.
Scopes
| Google Service | Functions | Google Drive | email
|
|---|---|
| Google Sheets | email
|
| Google Adsense |
email
|
| Google Analytics | email
|
| Google Analytics V4 |
|
| Google Ads V4 |
|
| Google Search Console | email
|
| Google Calendar | email
|
-
To create OAuth 2.0 credentials, click the Credentials menu item in the left sidebar. Click the + CREATE CREDENTIALS button and select the “OAuth client ID”.

-
Choose the Web application application type, and enter a name for your OAuth 2.0 app.
-
Add the Redirect URL mentioned here by clicking Add URI.

NOTE: The Bold BI redirect URL should be added in the proper format. Please refer to this URL structure,
https://hostname/bi/designer/v1.0/oauth/agent.
-
After creating your OAuth 2.0 client, you will be able to view and copy your Client ID and Client Secret from the Google API Console.
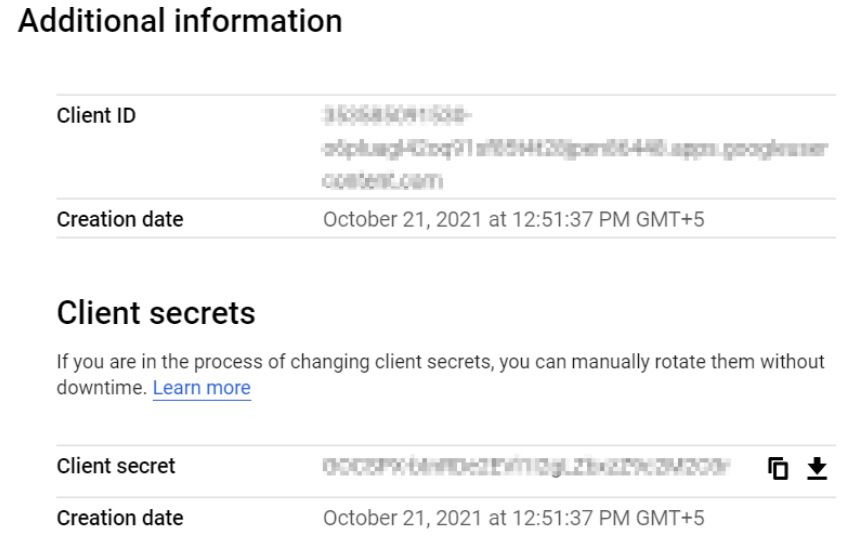
NOTE: Save the client ID and client secret in Bold BI by following the OAuth Configuration guide for more details.
Gmail reference
| API documentation | |
| API explorer | |
| Sample query |
|