Connecting Bold BI to Excel Data Source
Bold BI dashboard designer allows you to connect Excel files from both local and cloud storage.
File Prerequisites
-
Bold BI supports connecting Excel workbooks created with version 2007 and later with
.xlsxand.xlsfile extensions. -
The prepared workbook should be structured. It should be created with unique column names, and the values in a row must be in the same data type for the corresponding columns.
-
The values in the first row of your worksheet will be considered as column names by default in Bold BI. So, provide unique and meaningful column names in your spreadsheet that will make it easy to identify your data.
-
You can upload a maximum of file size 200 MB.
Connecting an Excel file from Local Storage
To connect an Excel file from local storage, follow the below steps:
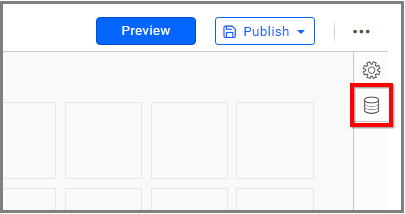
- Click the Data Sources icon in the configuration panel to add a new data connection.
-
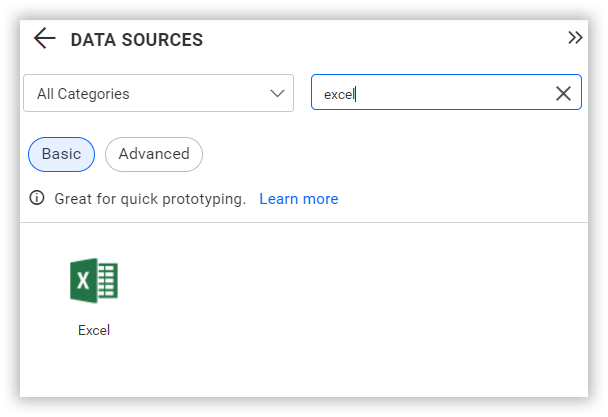
Click CREATE NEW to launch a new connection from the connection panel.
-
Select the
Exceldata source from the connection panel.
- Now, the Excel connection window will open. Provide a unique name for the data source.
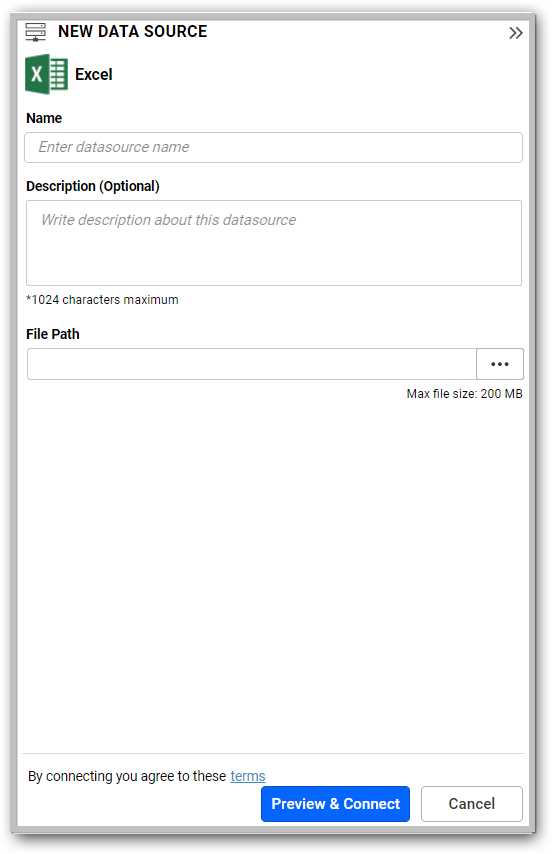
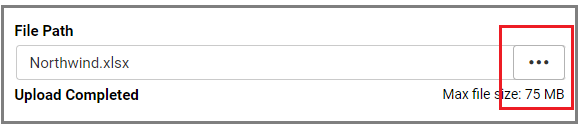
- Choose the excel file from local storage by clicking the browse button and then file will be uploaded.
- Here, Bold BI allows for different
Import Typeand click here to learn more.
- Now, click Preview & Connect and then preview window will appear. Here, you can choose your preferred
Tables and Columns.
-
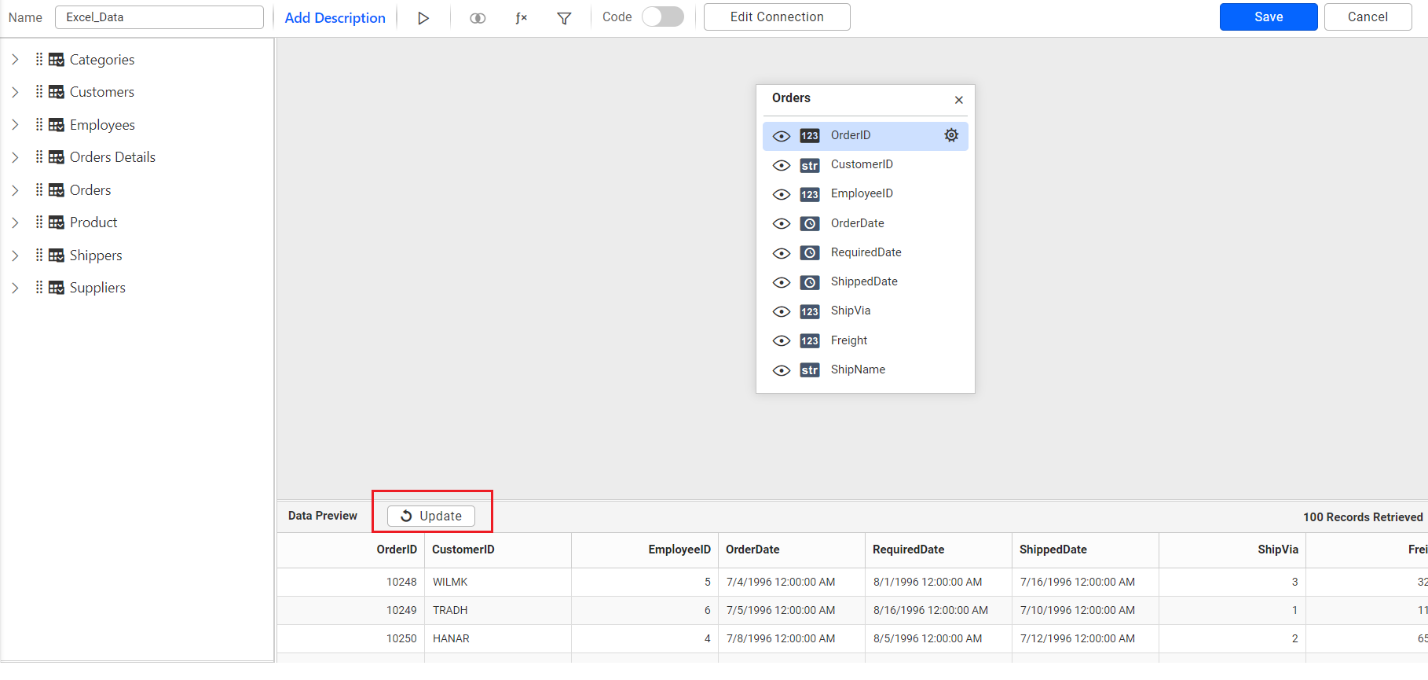
Click Connect and you will be navigated to the data source designer page. Here, the
worksheets/tablesare listed in a tree view on the left side of the editing window. -
Now, drag and drop the worksheet/table you want to analyze, and preview the data by clicking Update.
-
You can also
refreshthe Excel data and click here to know more. -
Click Save to save the data source.
Connecting an Excel file from Cloud Storage
To connect an Excel file from cloud storage, follow the below steps:
- Click the Data Sources icon in the configuration panel to add a new data connection.
-
Click CREATE NEW to launch a new connection from the connection panel.
-
Choose the
Cloud Storagecategory and, for example, selectMicrosoft SharePointas the data source.

- A new window will appear. Here, select your account and click Connect as shown in the following image.

- Now, Microsoft SharePoint window appears. Set a data source name, select site and navigate through the folders to choose file as shown in the following image.
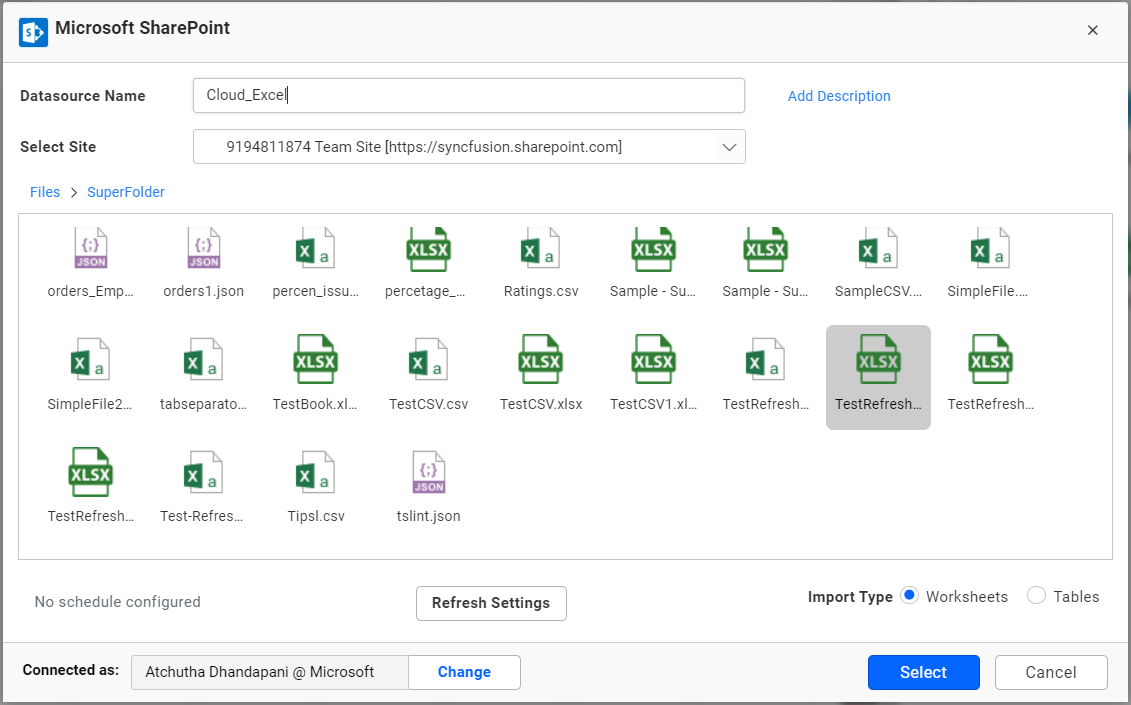
- Here, Bold BI allows for different
Import Typeand click here to learn more.
-
You can schedule refreshes to keep your data on the dashboard up to date using the
Refresh Settingsoption. click here to know more. -
Now, click Select and then a preview window will appear. Here, you can choose your preferred
Tables and Columns.
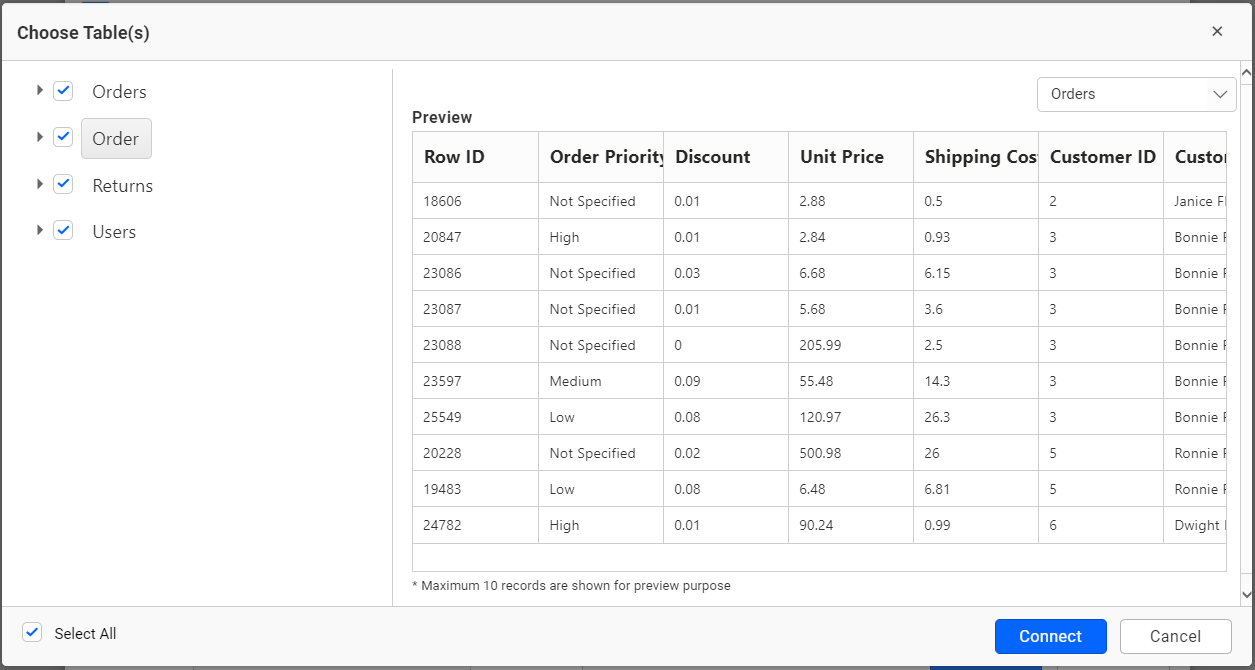
-
Click Connect and you will be navigated to the data source designer page. Here, the
worksheets/tablesare listed in a tree view on the left side of the editing window. -
Now, drag and drop the worksheet/table you want to analyze, and preview the data by clicking Update.
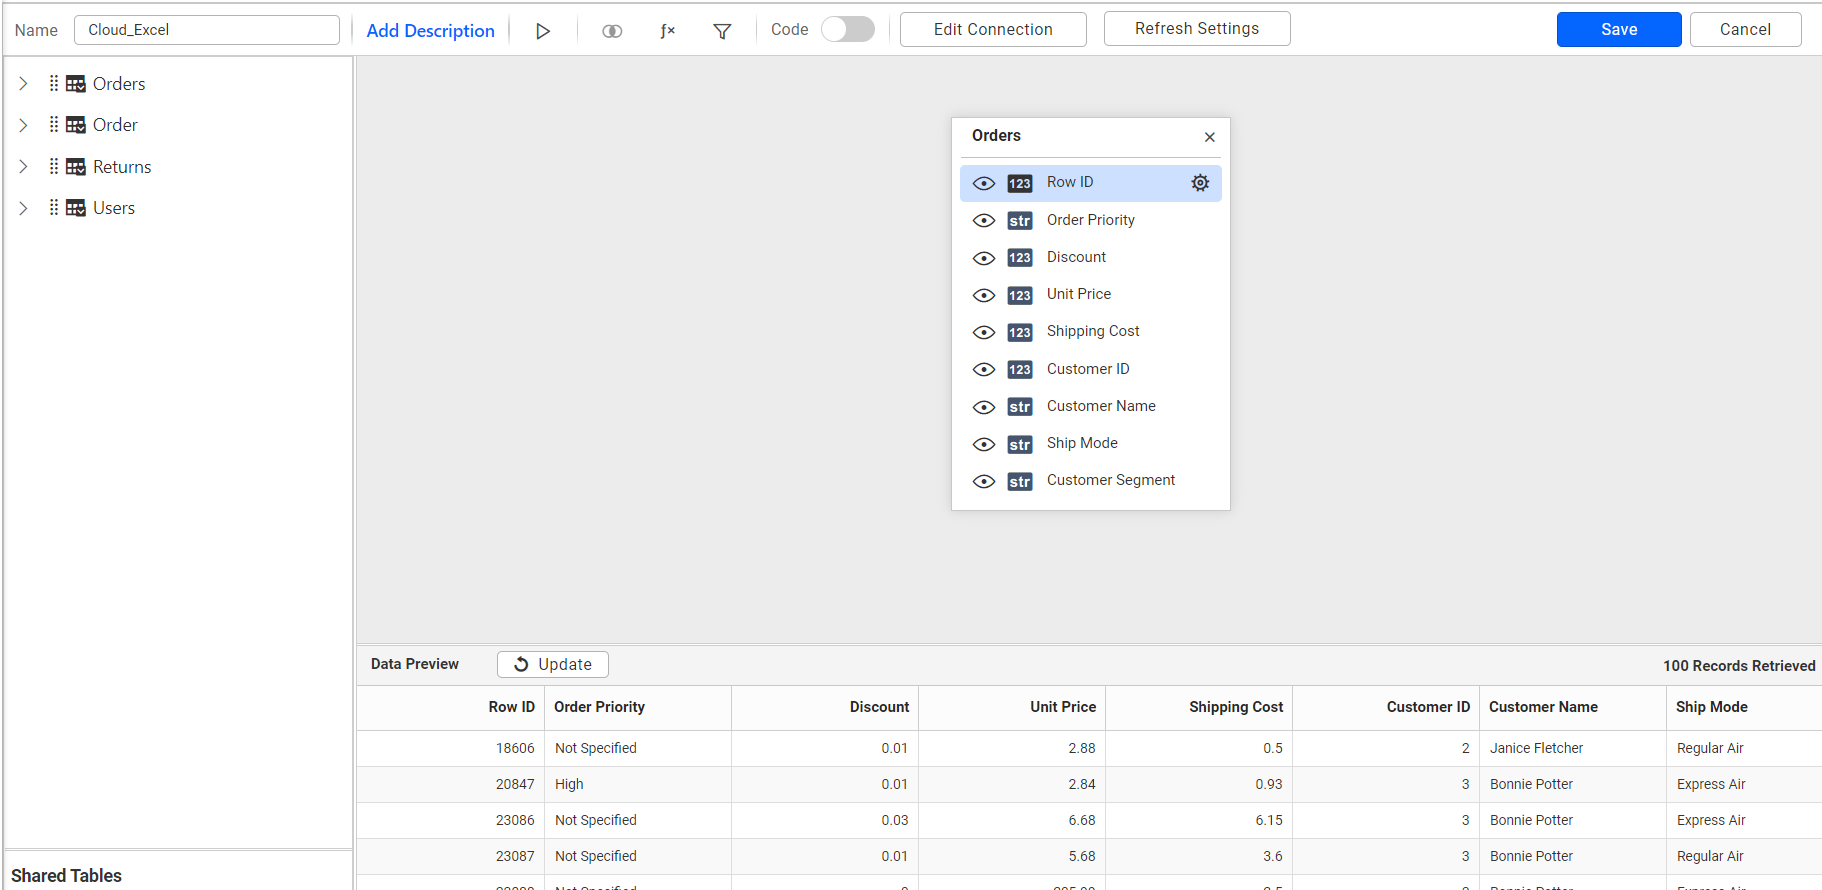
- Click Save to save the data source.
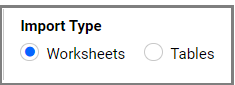
Importing data
Bold BI allows you to import Excel as worksheets and tables. Choose Tables to fetch tables from Excel worksheets, and choose Worksheets to fetch an entire worksheet of data along with tables.
NOTE: The import type feature is only available for version 2007 and later with the .xlsx extension format.
Importing Worksheets
Bold BI Excel data connector allows you to connect data from different worksheets.
Follow the below steps to connect data from different tables:
- To connect entire worksheet along with tables, choose
Worksheetsin the Import type.
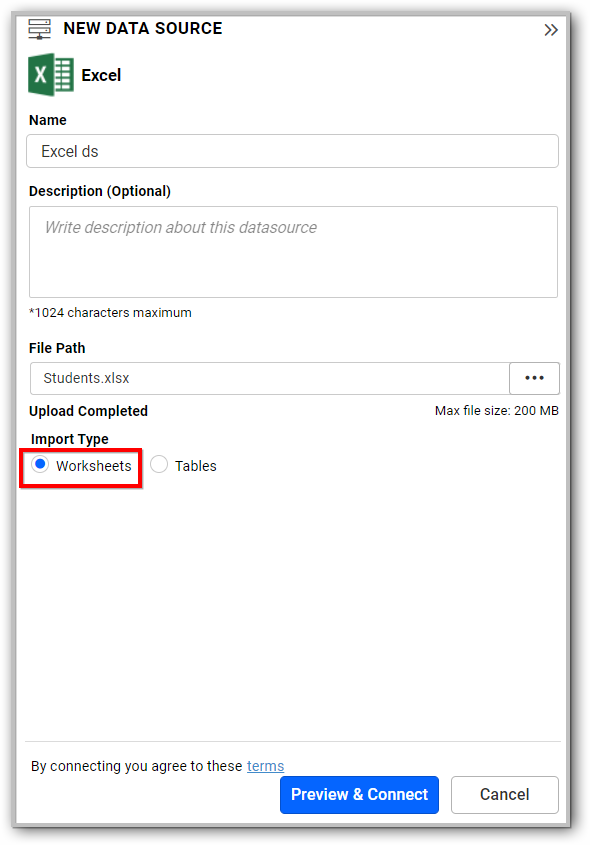
-
Click Preview & Connect button and then preview window will appear.
-
In the left pane, the sheets are listed. To see the data preview of a sheet in the right pane, choose a specific sheet from the drop-down list at the top right corner of the window, as shown in the following image.

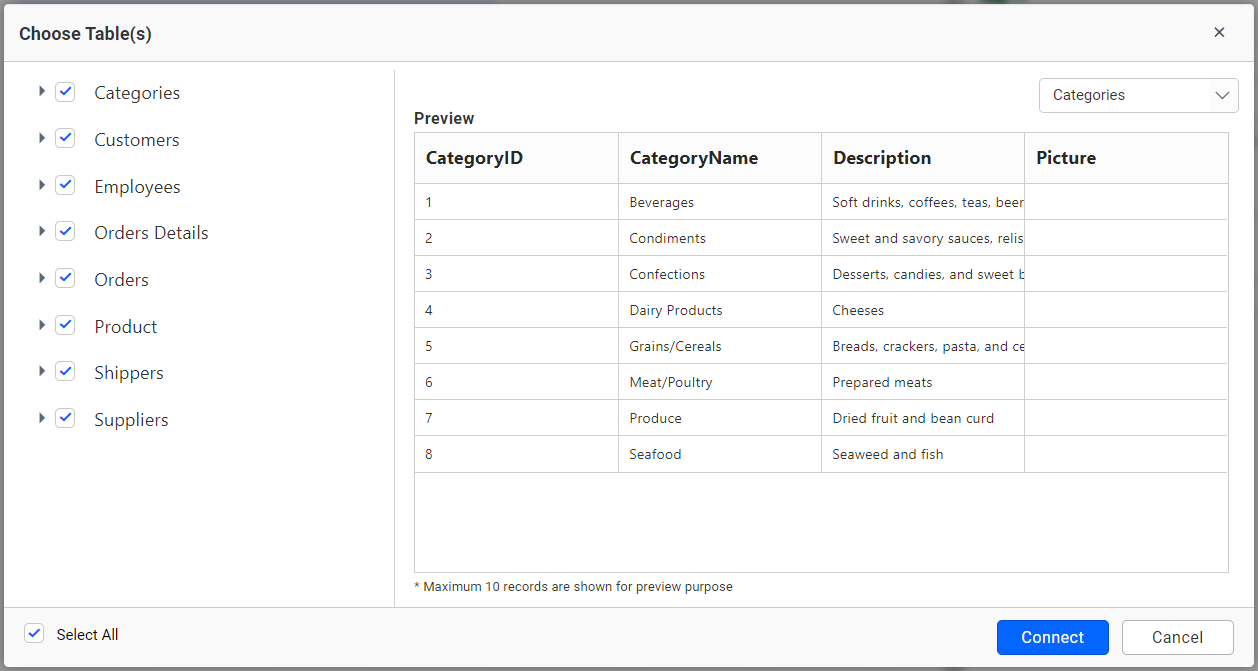
Importing Tables
The Bold BI Excel data connector allows you to connect multiple tables across worksheets. In the following workbook, the Order Details worksheet contains two different tables. Now, you can connect both tables in the designer.

Follow the steps below to connect data from different tables:
- To connect one or more tables from your worksheets, choose
Tablesin Import type.
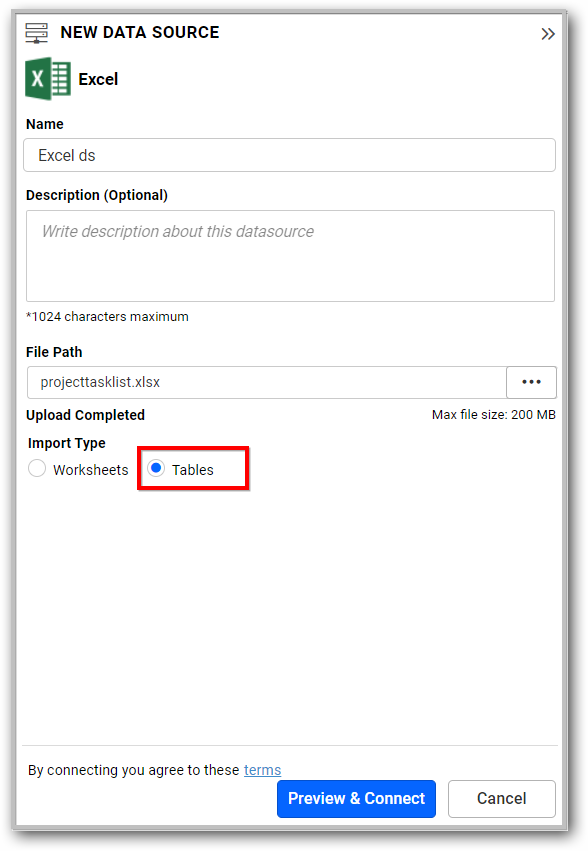
-
Click the Preview & Connect button, and then the preview window will appear.
-
Here, the tables are listed in the left pane. To see the data preview of a table in the right pane, choose specific table from the drop-down list at top right corner of the window as shown in the following image.

Joining Excel data source with other data source
Bold BI allows you to join tables from two or more different data sources. To combine multiple data sources, use the Shared Tables panel at the bottom of the data source designer.
Click on the Shared Table to know more.
Refreshing Local Excel Data Source
Bold BI allows you to refresh the excel data in your dashboard. You can update this by editing the data source connection.
Follow the below steps to edit data source connection:
- Click on Edit Connection button in data source designer page.

- In the Edit Connection dialog, browse for your
Excel filefrom local storage. This file should either be the same source file with updates or a different file with the same schema but a different name.
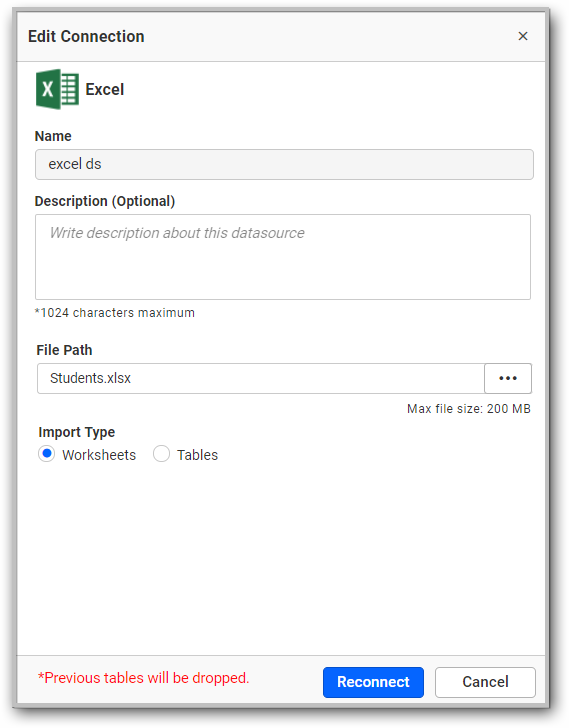
- Click the Reconnect button and now your data will now be updated.
Refreshing Cloud Excel Data Source
Bold BI allows you to refresh the cloud-stored Excel data on your dashboard. You can update this by creating a schedule to transfer data from your cloud location to an intermediate database location.
Follow the below steps to refresh the data:
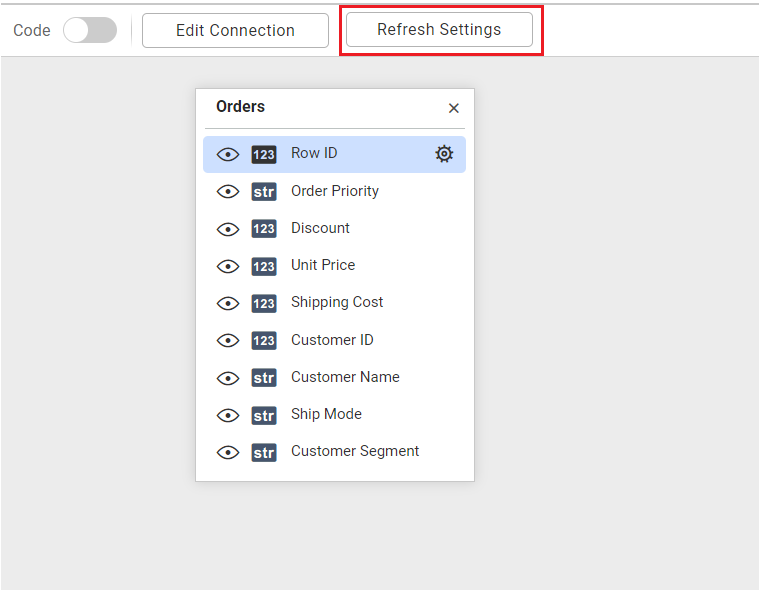
- Click the Refresh Settings button in data source designer page.
-
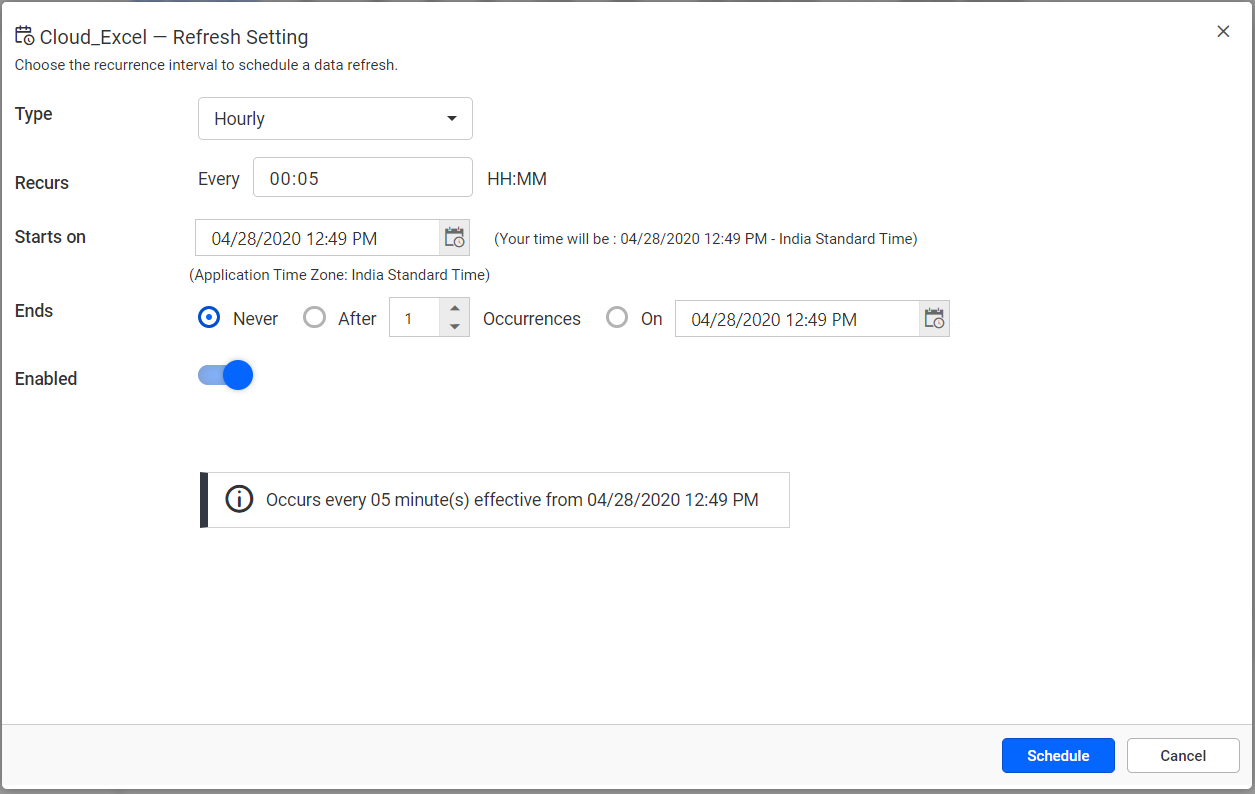
Select the type of recurrence, recurrence frequency, and start and end dates in the
Refresh Settingsdialog box.- Data refresh can be scheduled hourly, daily, weekly or monthly.
- The Application Time Zone is displayed below the date picker. The start time of the schedule is converted to the client’s Time Zone and shown on the right side for the user’s convenience.
-
Now click the Schedule button.
NOTE: In cloud storage, you may either replace the latest file with one of the same name or edit your existing file and save it with the modified content before a refresh is triggered. If the schema changed in the uploaded file, then data will be lost in your dashboard.
NOTE: You can also schedule a refresh for an already created data source. Click here to learn more.
Limitations
Below are the limitations for connecting excel file in Bold BI,
- You cannot connect an excel file with formats other than .xls and .xlsx extensions.
- You cannot connect an empty worksheet.
- Inserted image, charts, shapes or non-data elements in the file will not be shown.
- You cannot connect to a password-protected worksheet.