Application Startup
NOTE: If you have already installed Bold Reports on your machine, please go to this section to activate your Bold BI account.
This topic explains how to activate the account and also how to start up the Bold BI Enterprise Application.
You can activate your account either by using your login credentials or by offline unlock key.
Activate the account using login credentials
You can sign in using your registered email address to activate your subscription.
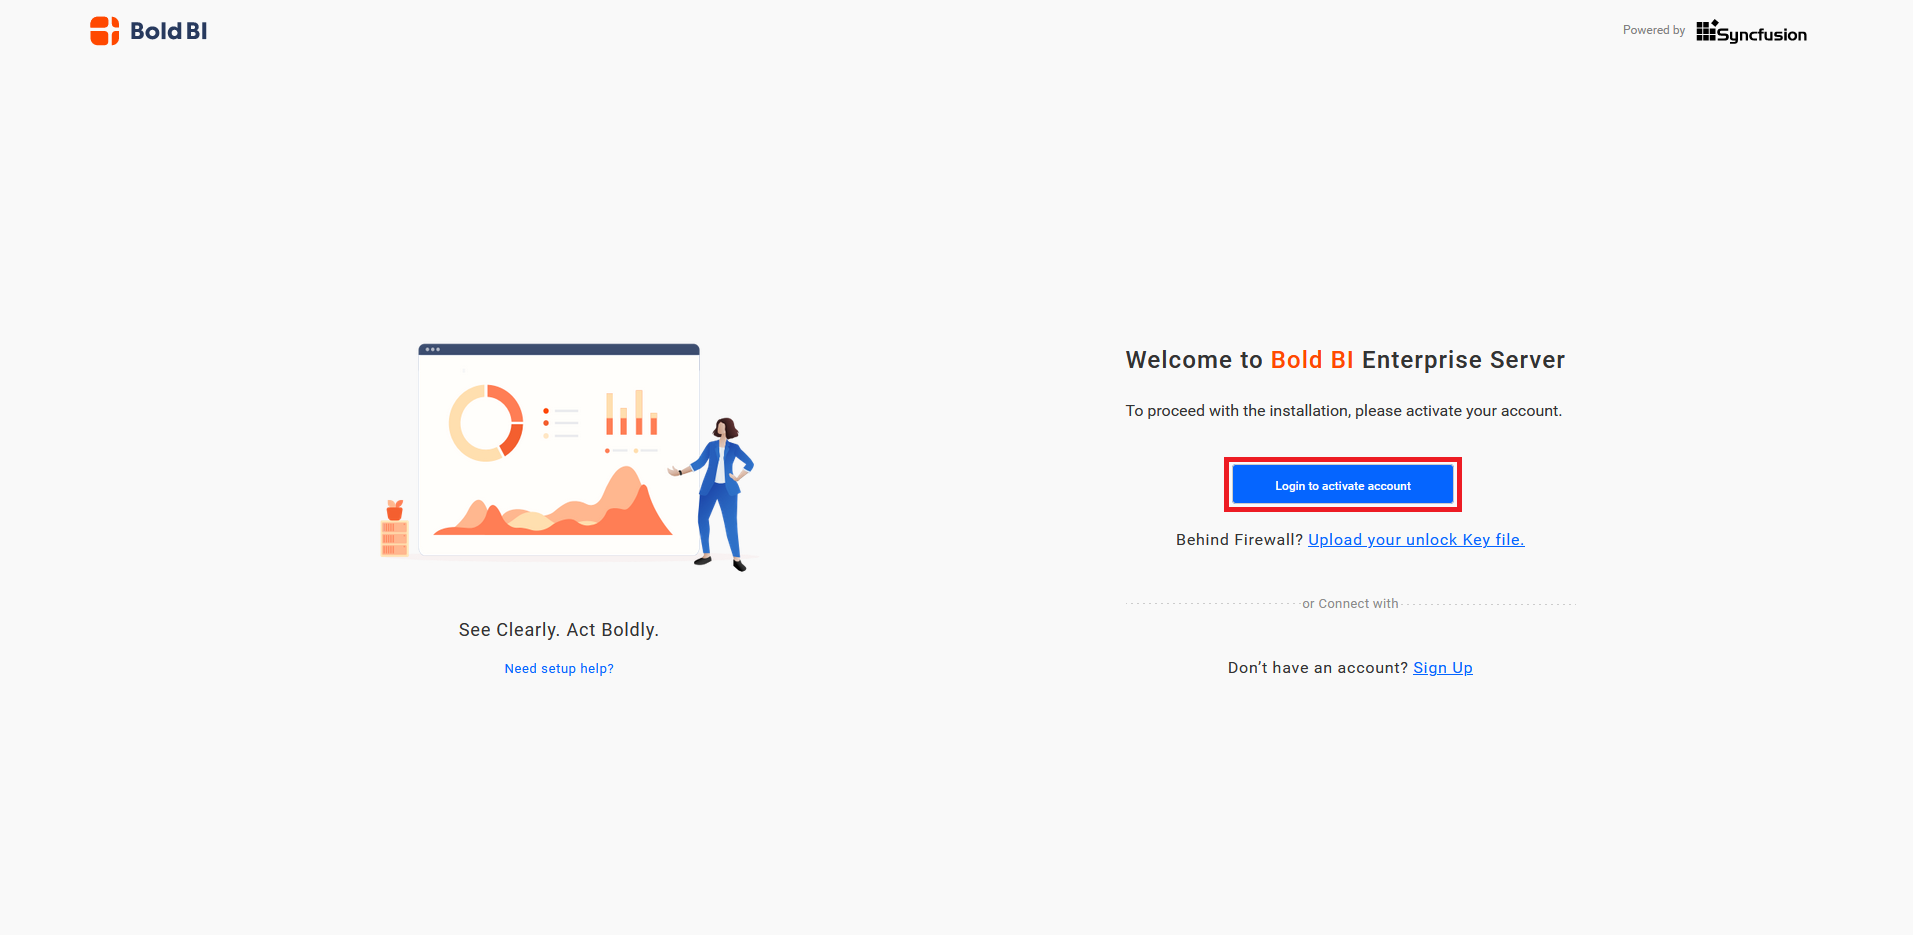
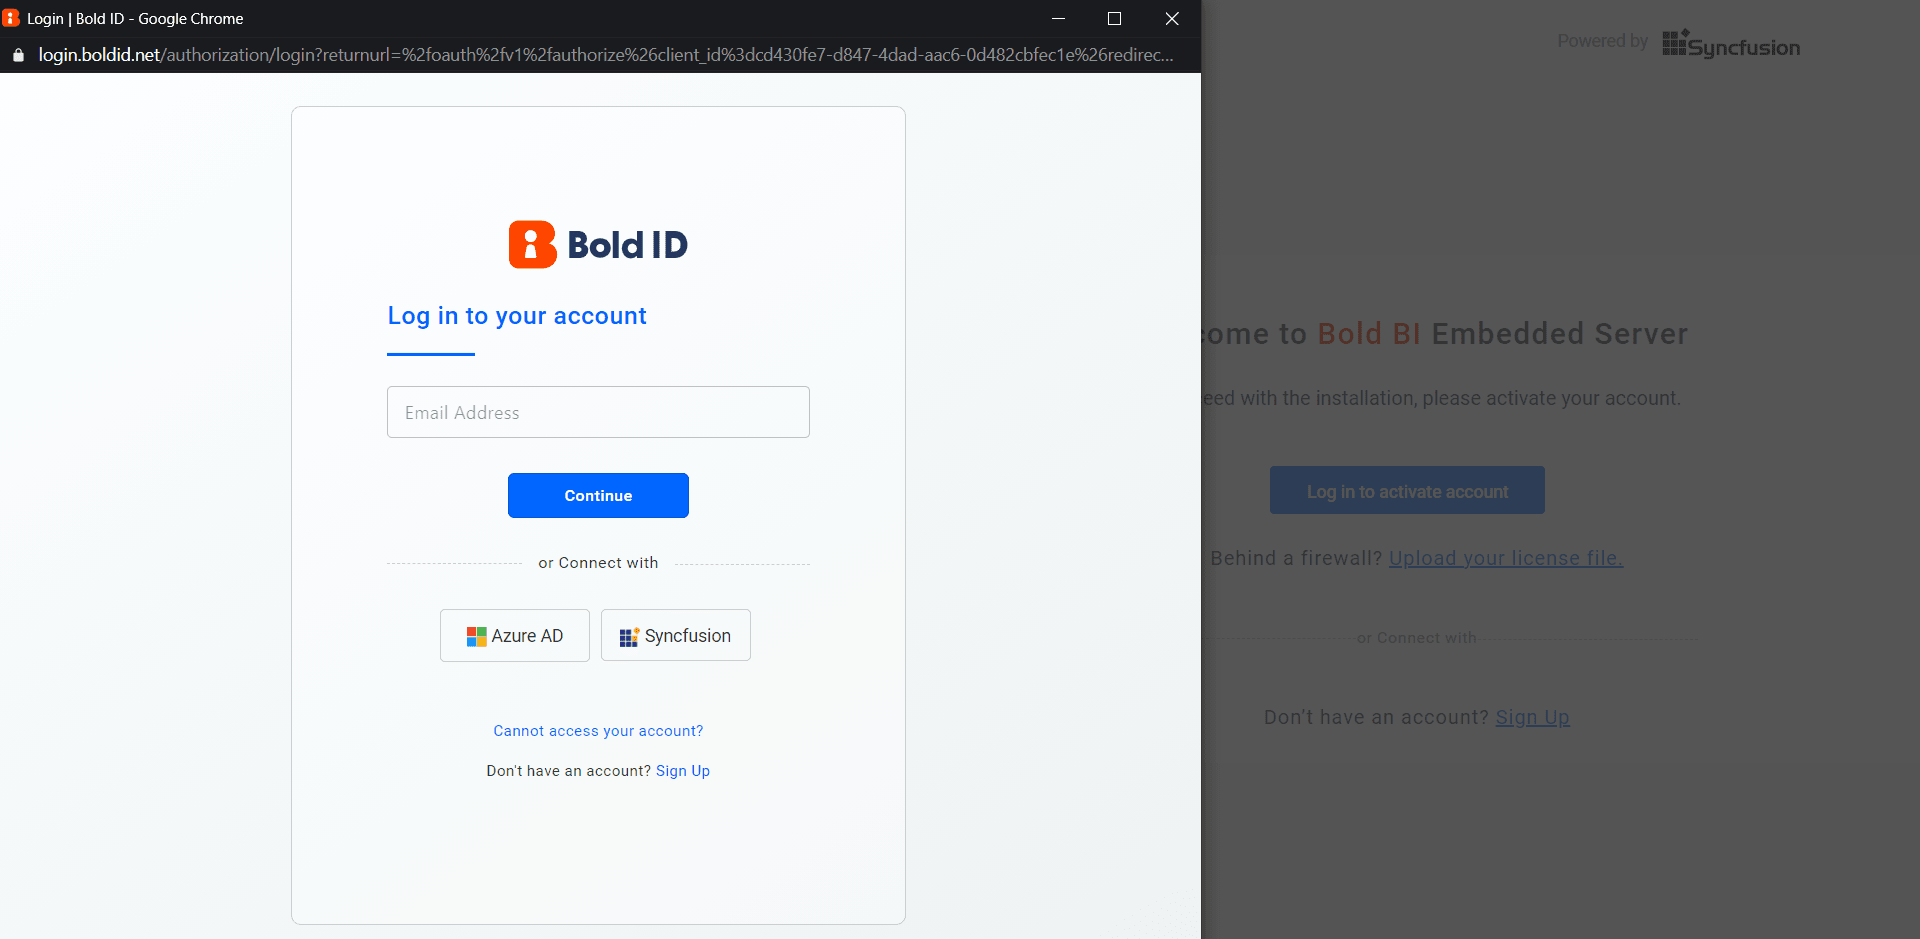
Select Login option
From the login window, select your account type and proceed to login.
- Bold BI Login Credentials
- Azure AD
- Syncfusion Login Credentials
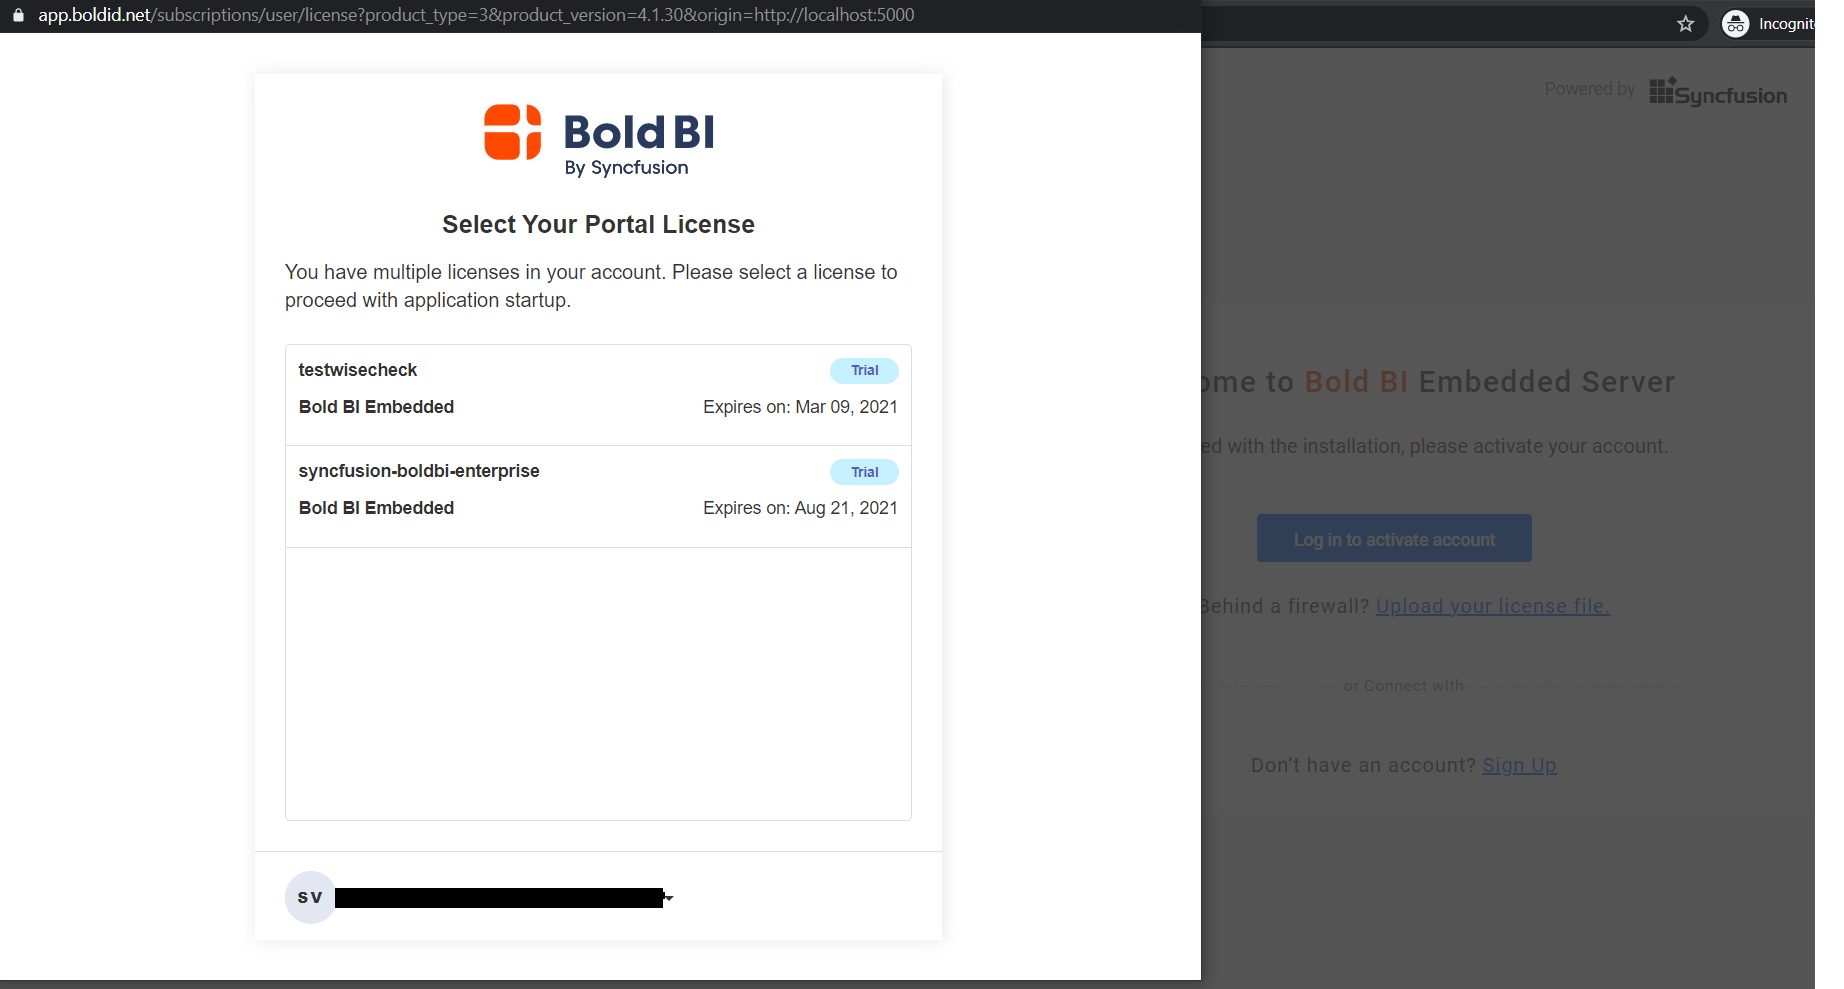
Select license
If you have multiple Bold BI licenses, you will see this screen and can select the corresponding license to proceed with the application startup. Otherwise, you will be automatically redirected to the application startup screen.
Offline Installation
NOTE: The offline unlock key will be available for download on your account page under the Active subscription section, by default.
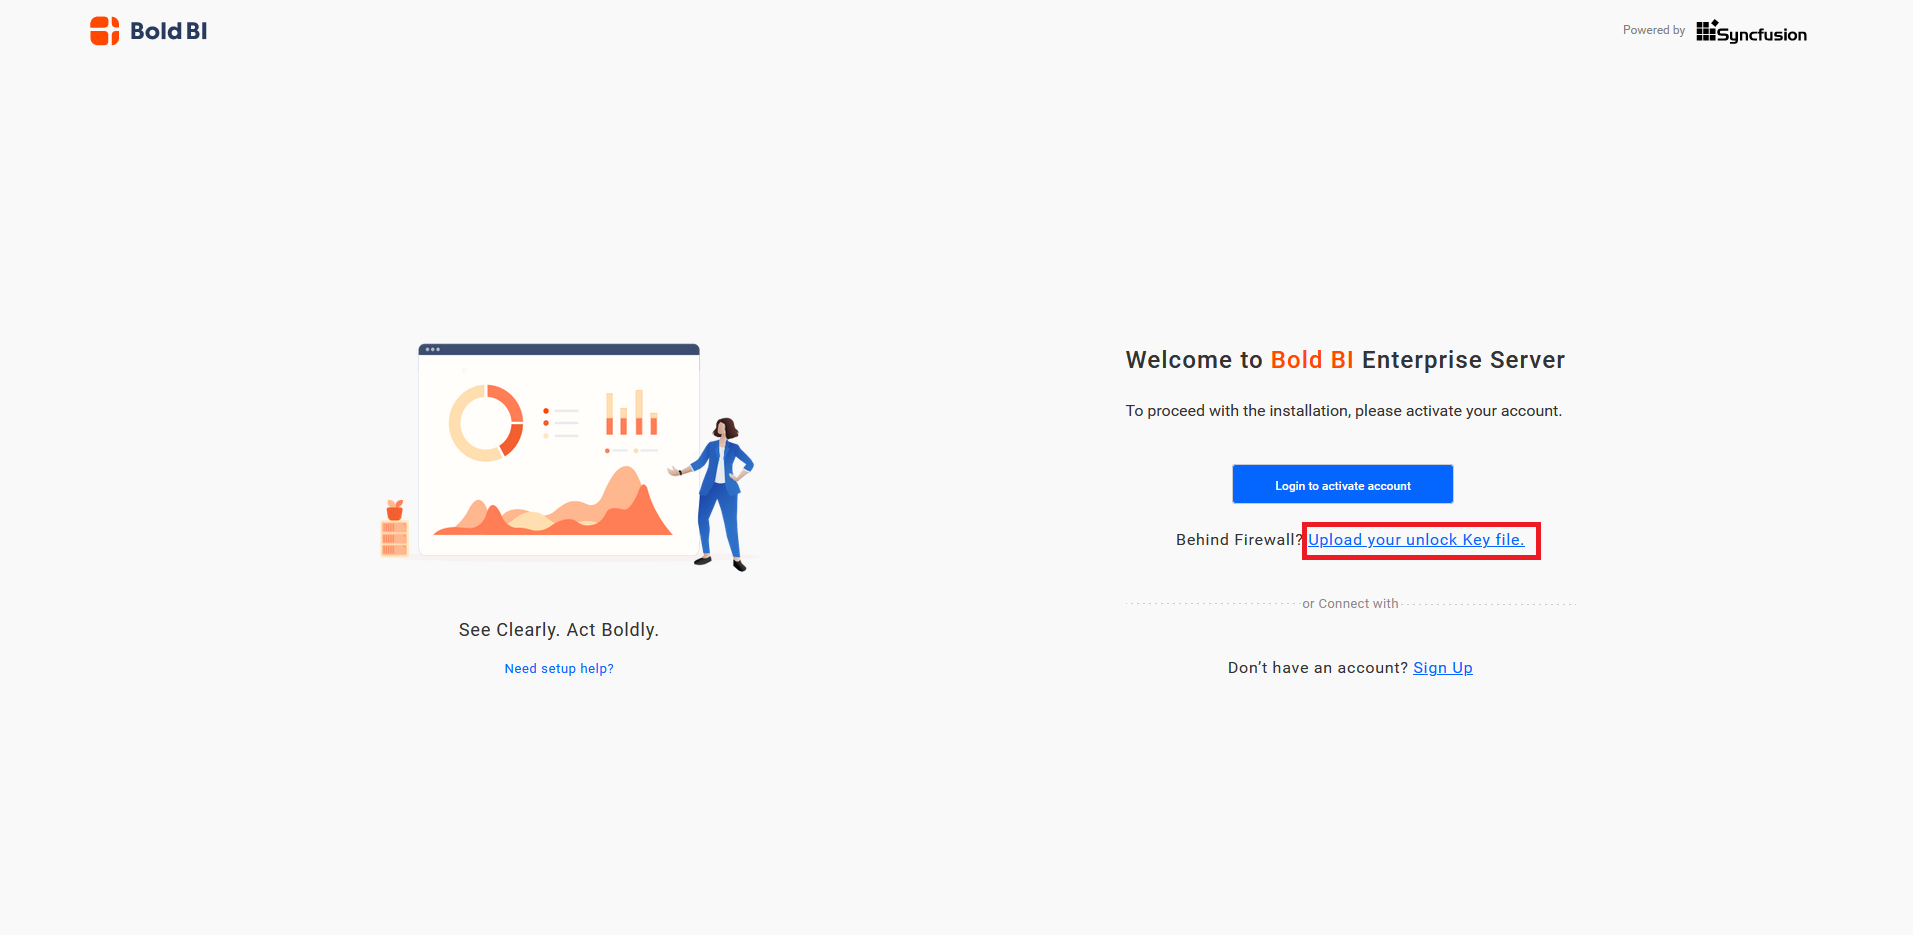
If you are installing Bold BI in firewall restricted environments, you can use an offline unlock key to activate the account.
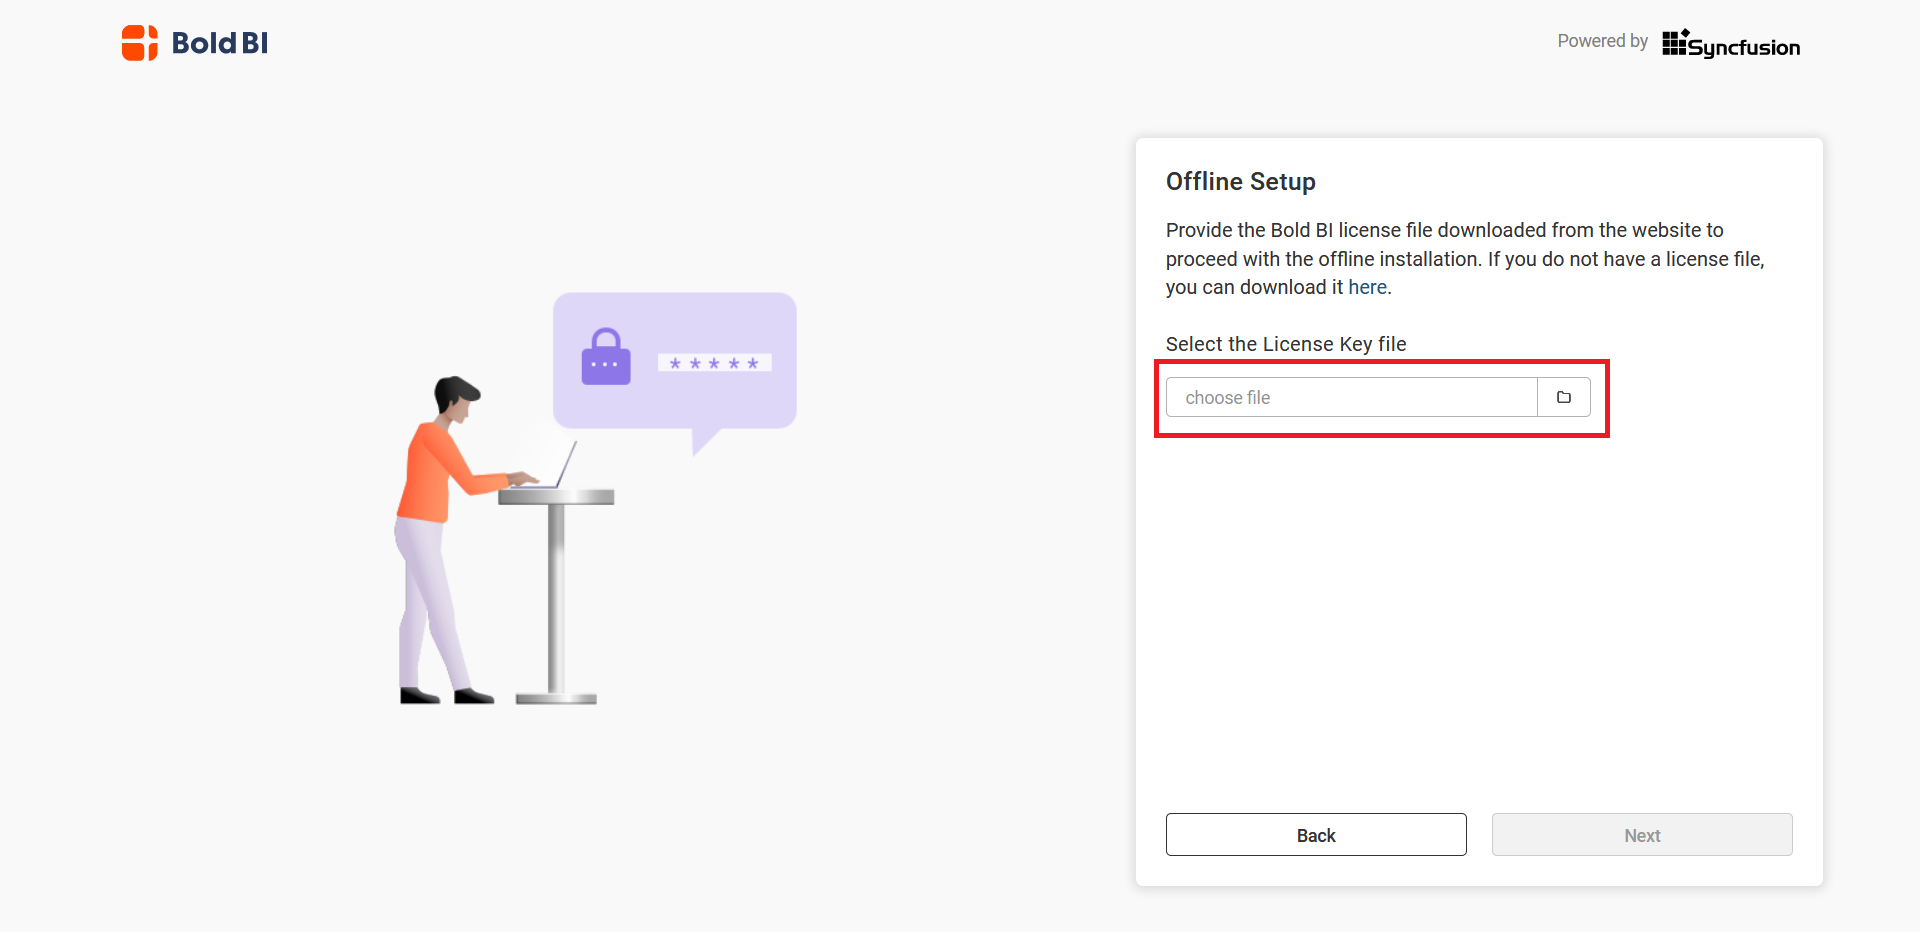
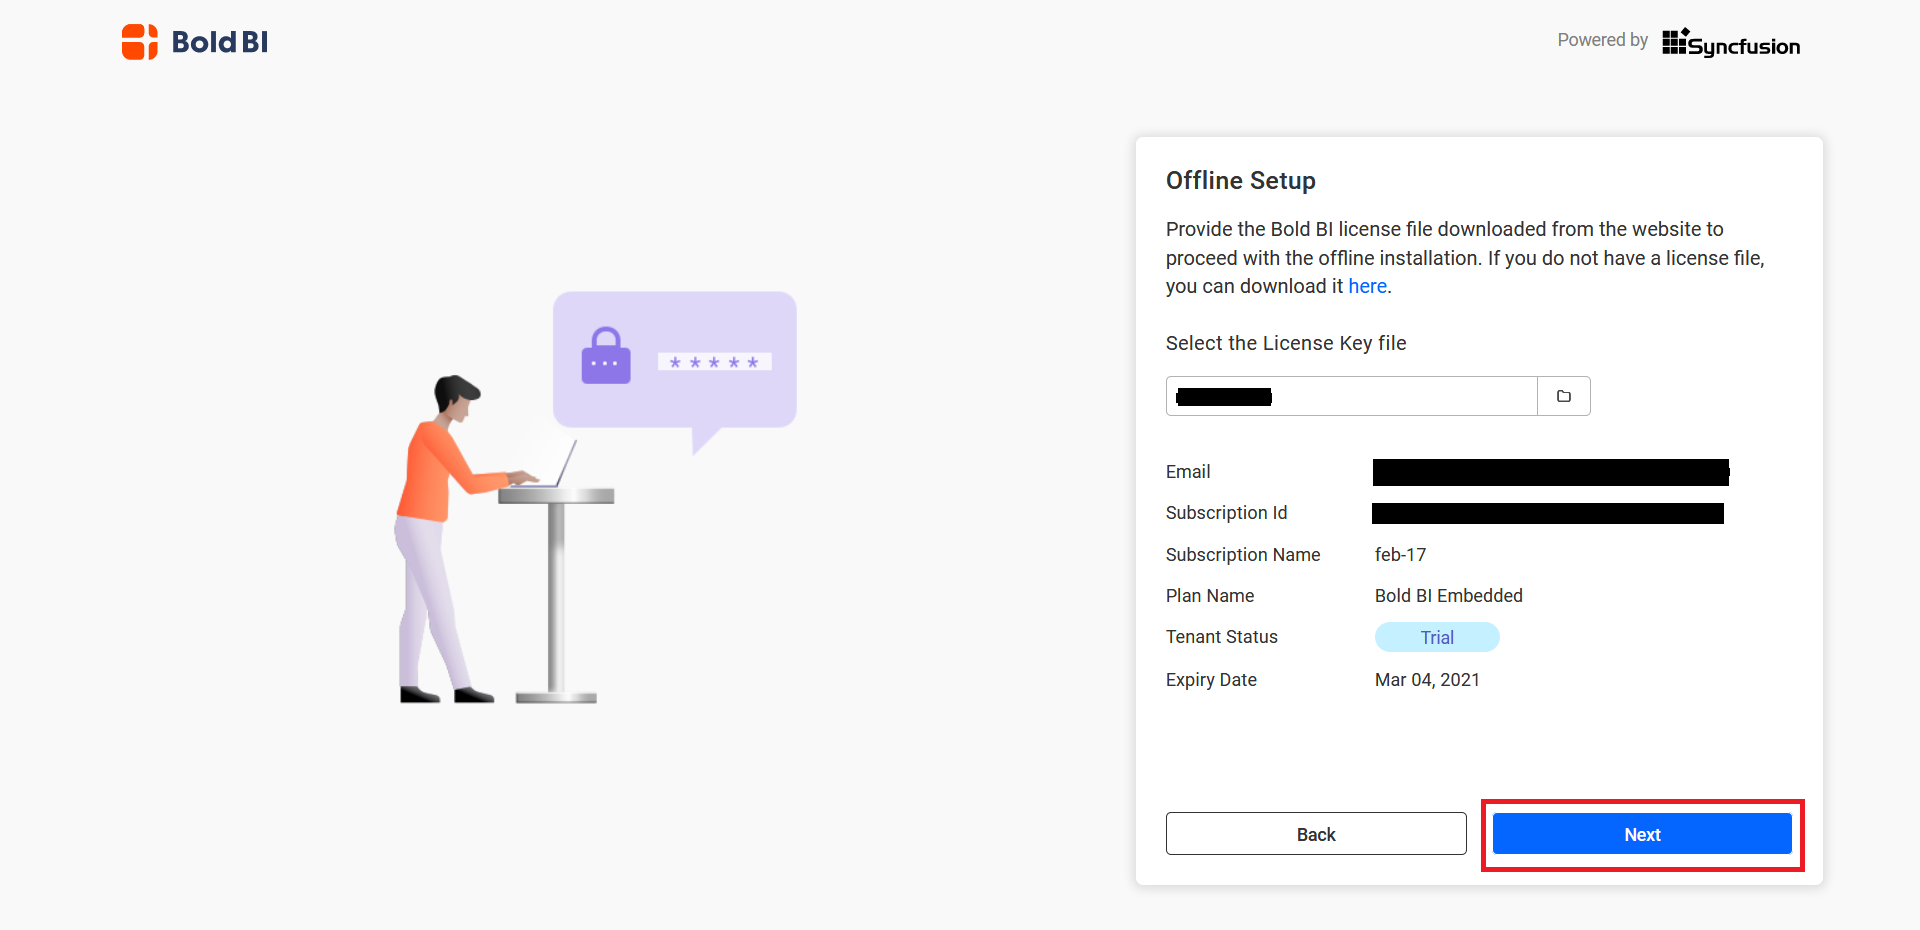
Once the unlock key has been uploaded, proceed to the next screen to configure the application.
Possible errors cases and their solution:
| Cases | Solution |
|---|---|
| Invalid File Type | Please upload a valid unlock key file (lic). |
| Unlock Key Expired | Your unlock key date was expired. Please download the new unlock key file and upload. |
NOTE: If you are experiencing any other issues, please contact us.
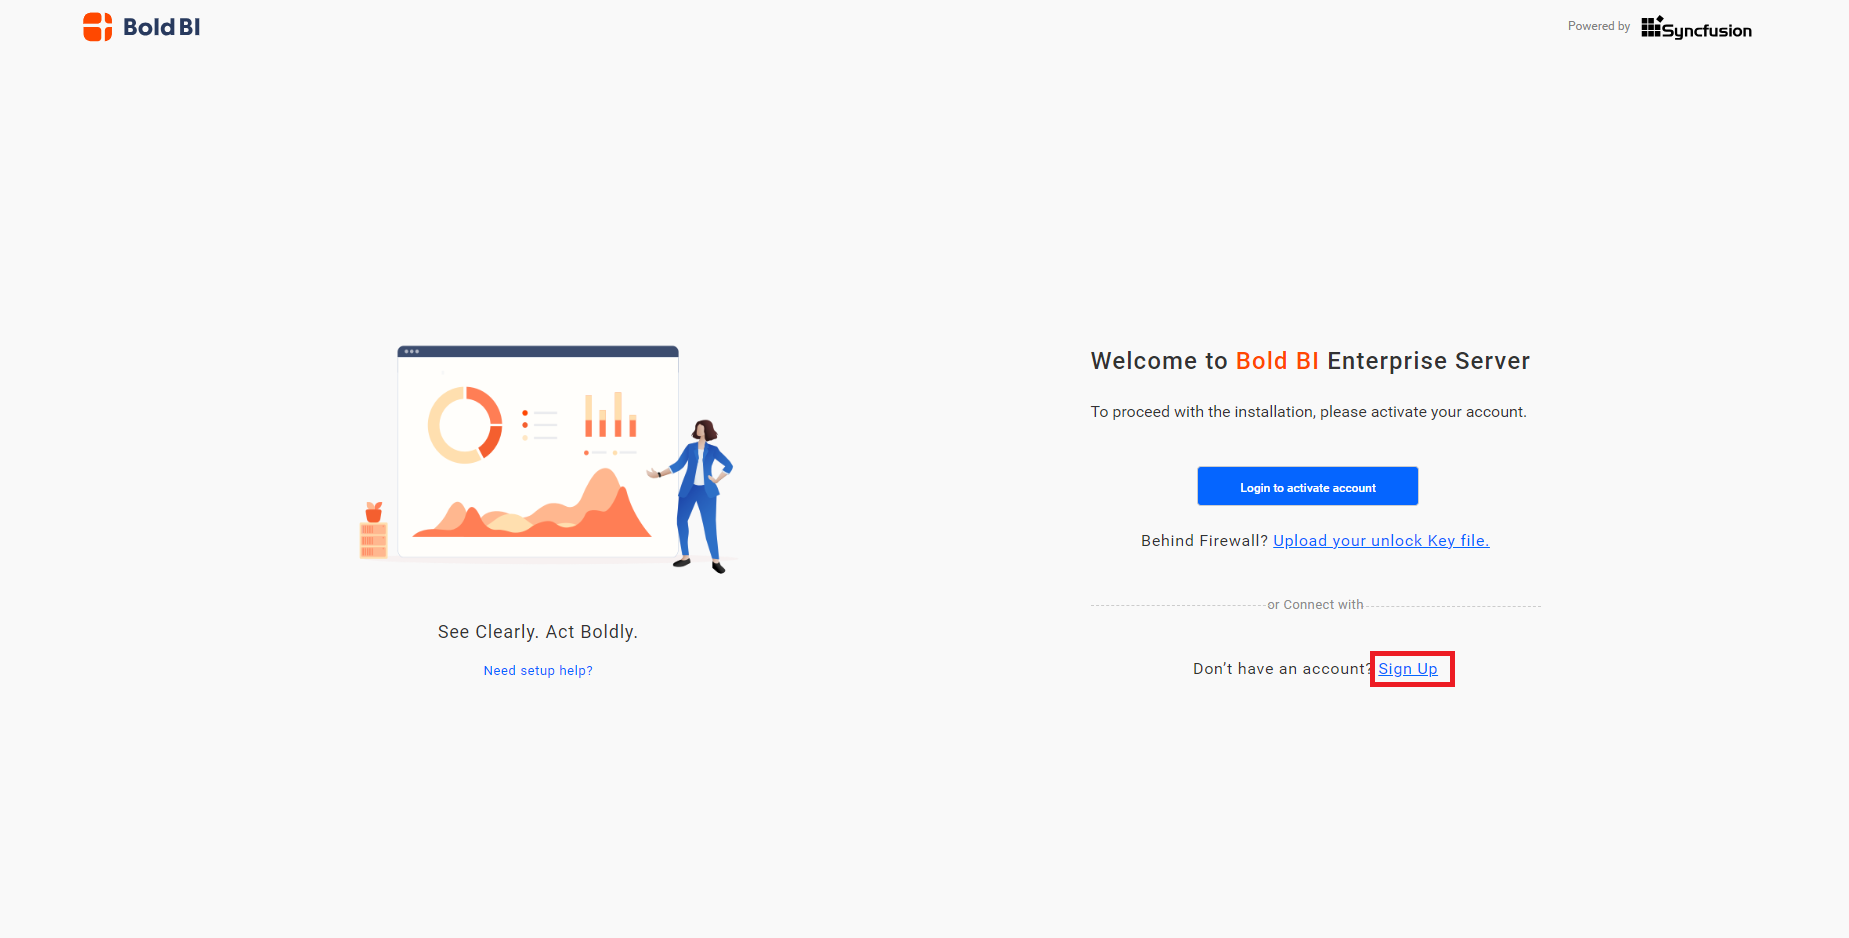
No Trial / New Account Request
If you do not have a Bold BI account, you can request a new trial by clicking on the pricing plans.
Application Startup for Bold BI Enterprise
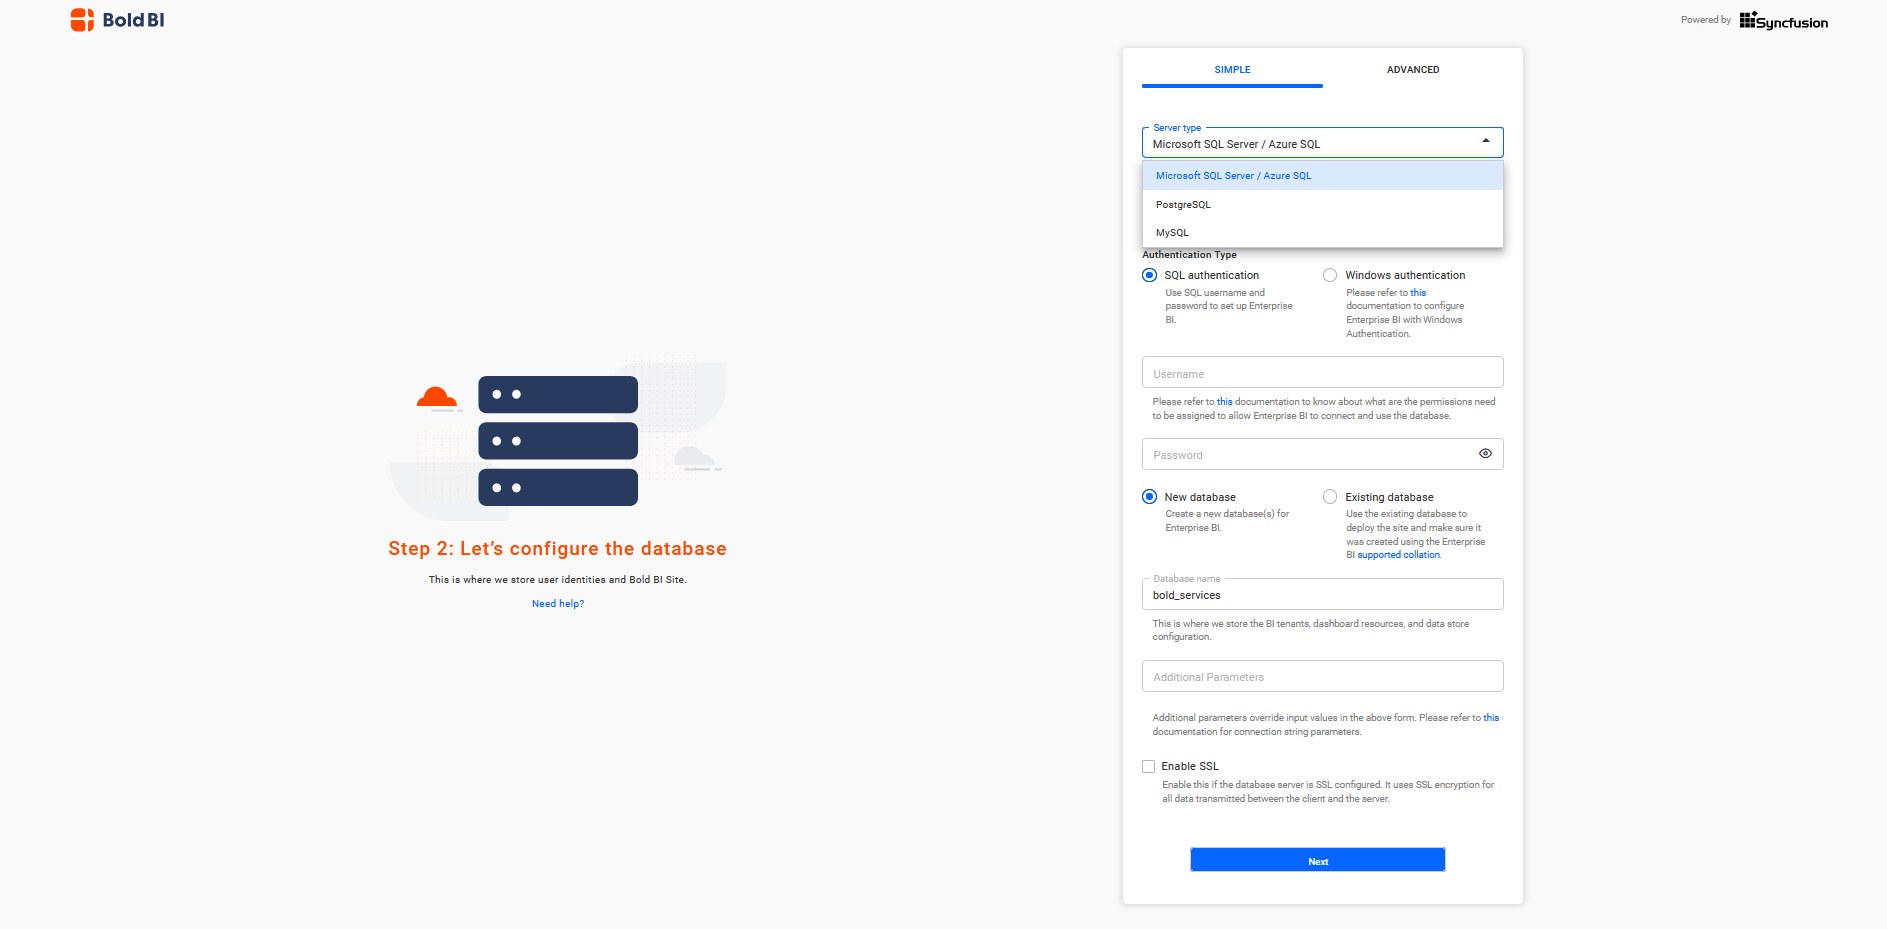
The application startup screen helps you configure storage options and set up the admin account.
Application startup holds the storage options configuration for below application,
- Bold ID - Manages user identities and sites
- Bold BI - Manages dashboards, data sources, schedules and the user permissions.
Storage Options
- SQL Server, Azure SQL
- PostgreSQL, Azure-PostgreSQL
- MySQL (Not applicable for Data Store Configuration)
- Amazon Aurora with PostgreSQL compatibility (Please click here to know how to configure AWS Aurora)
NOTE: To connect with a PostgreSQL database, you need to install the PostgreSQL client library while installing the Bold BI Enterprise edition. Learn more here.
Database Configuration for Bold ID
This configuration stores the user identities and site details in the database. You can use any one of the following databases to configure the Bold ID.
Click here to see the available storage options
You can connect to the existing server instance using the options below.
- Create new database.
- Use an existing database.
NOTE: The credentials given to connect to the server instance must have the permissions specified in this documentation.
IMPORTANT: The Bold BI server will accept all connections that use Transport Layer Security (TLS 1.1/1.2) encryption and AES Cryptography (128 bits). When configuring the Bold BI Server, select the
Enable SSLoption to support encrypted data transfer.
Storage Configuration for Bold ID
The user can select the preferred storage type, either File Storage or Blob Storage, to store the resource in Bold ID.
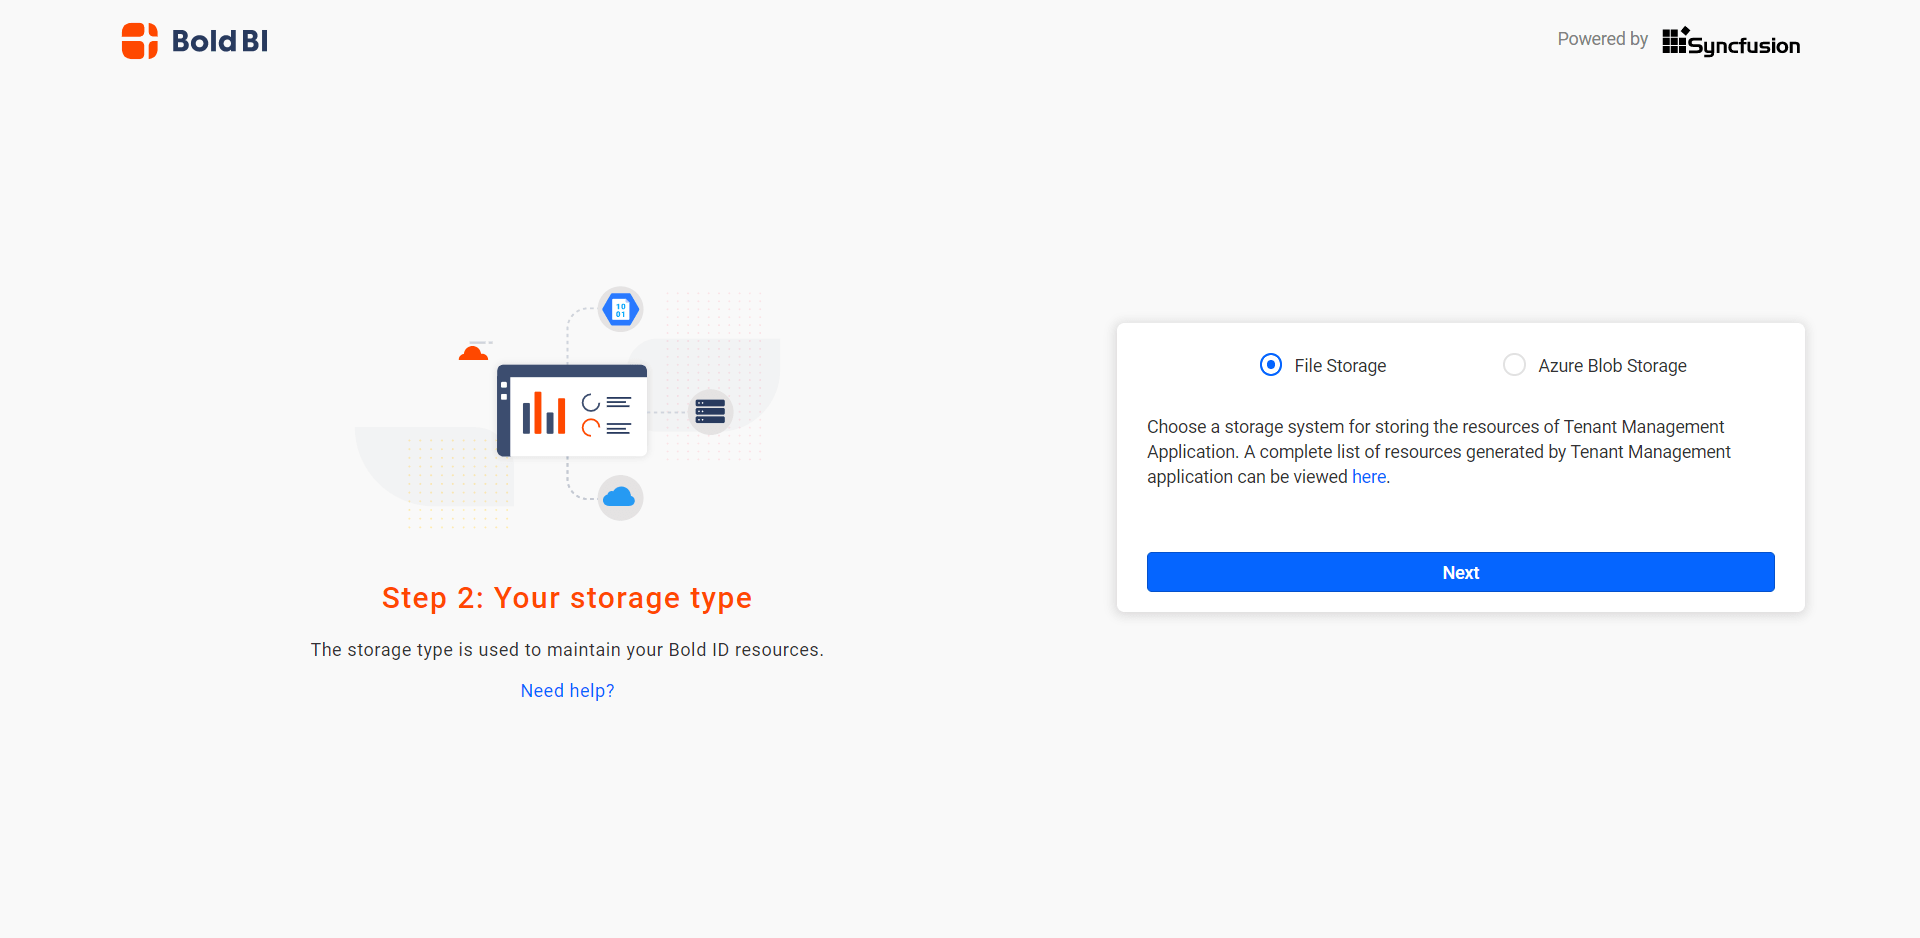
NOTE: The default storage type is
File Storage.
The user can select the Blob Storage by providing the Azure Blob Credential in the required field.
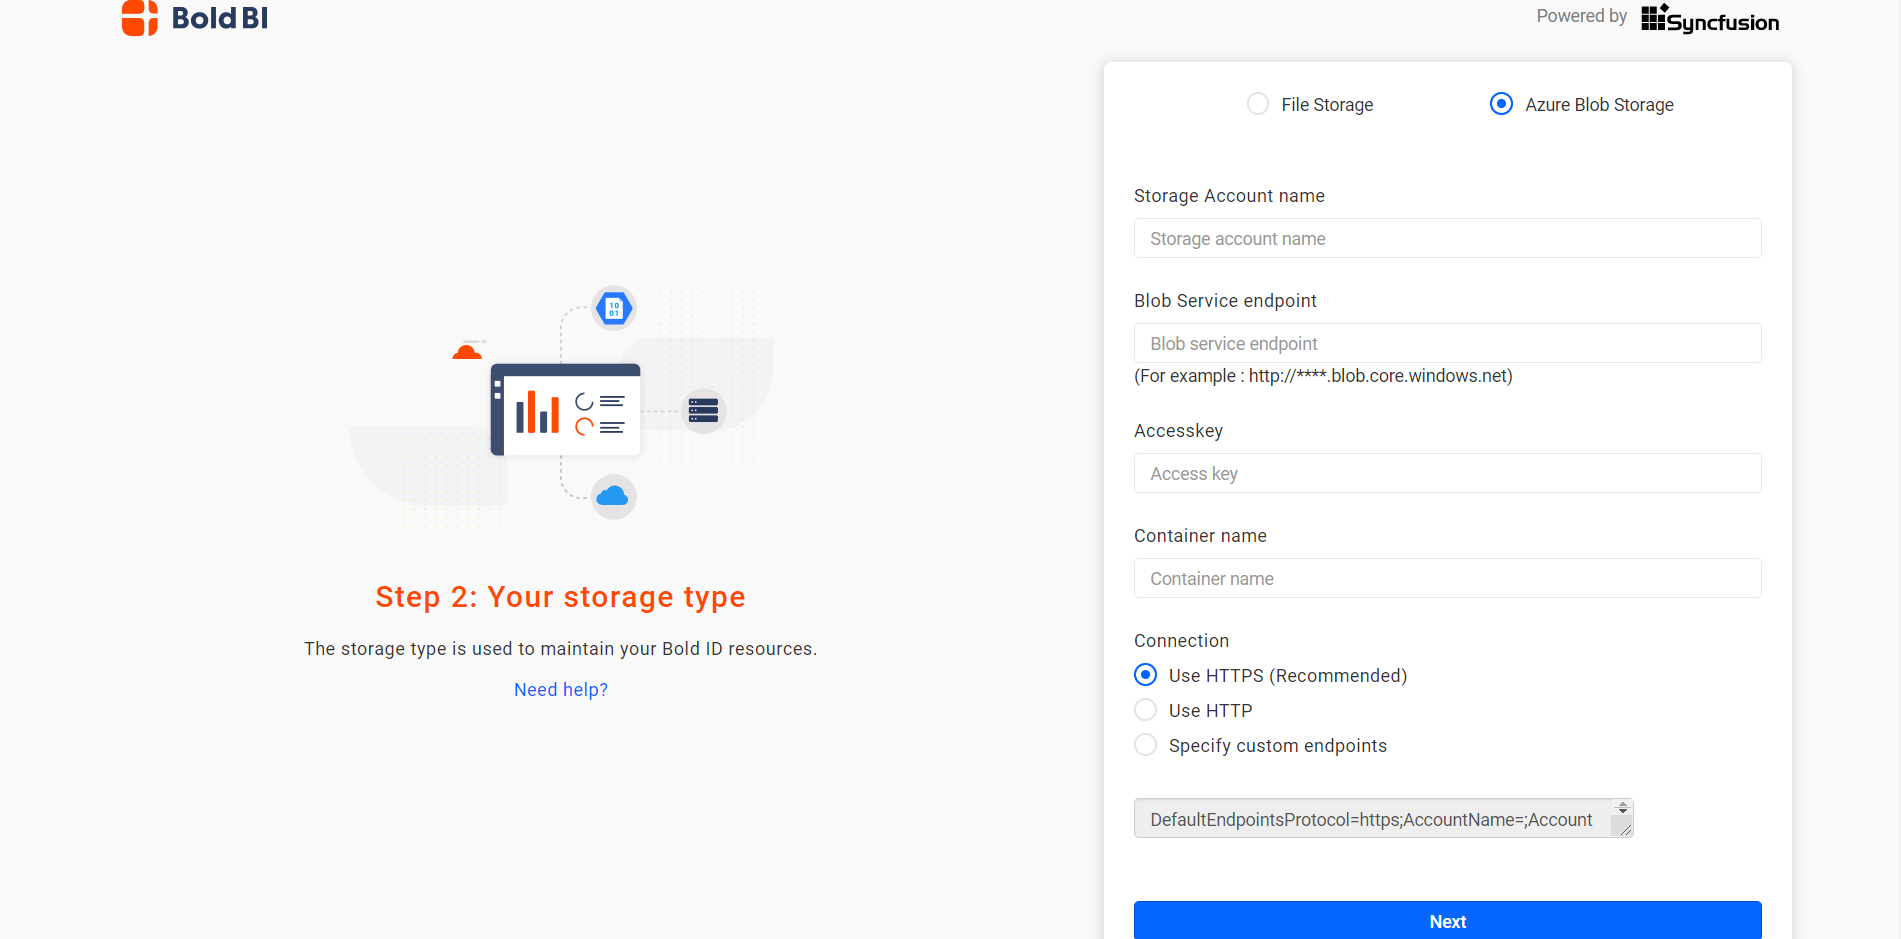
You can find the details on How to configure the Azure Blob.
New User - System Administrator
A new user should be created in order to access the Bold BI Sites and Dashboards, using the details mentioned in the image below.
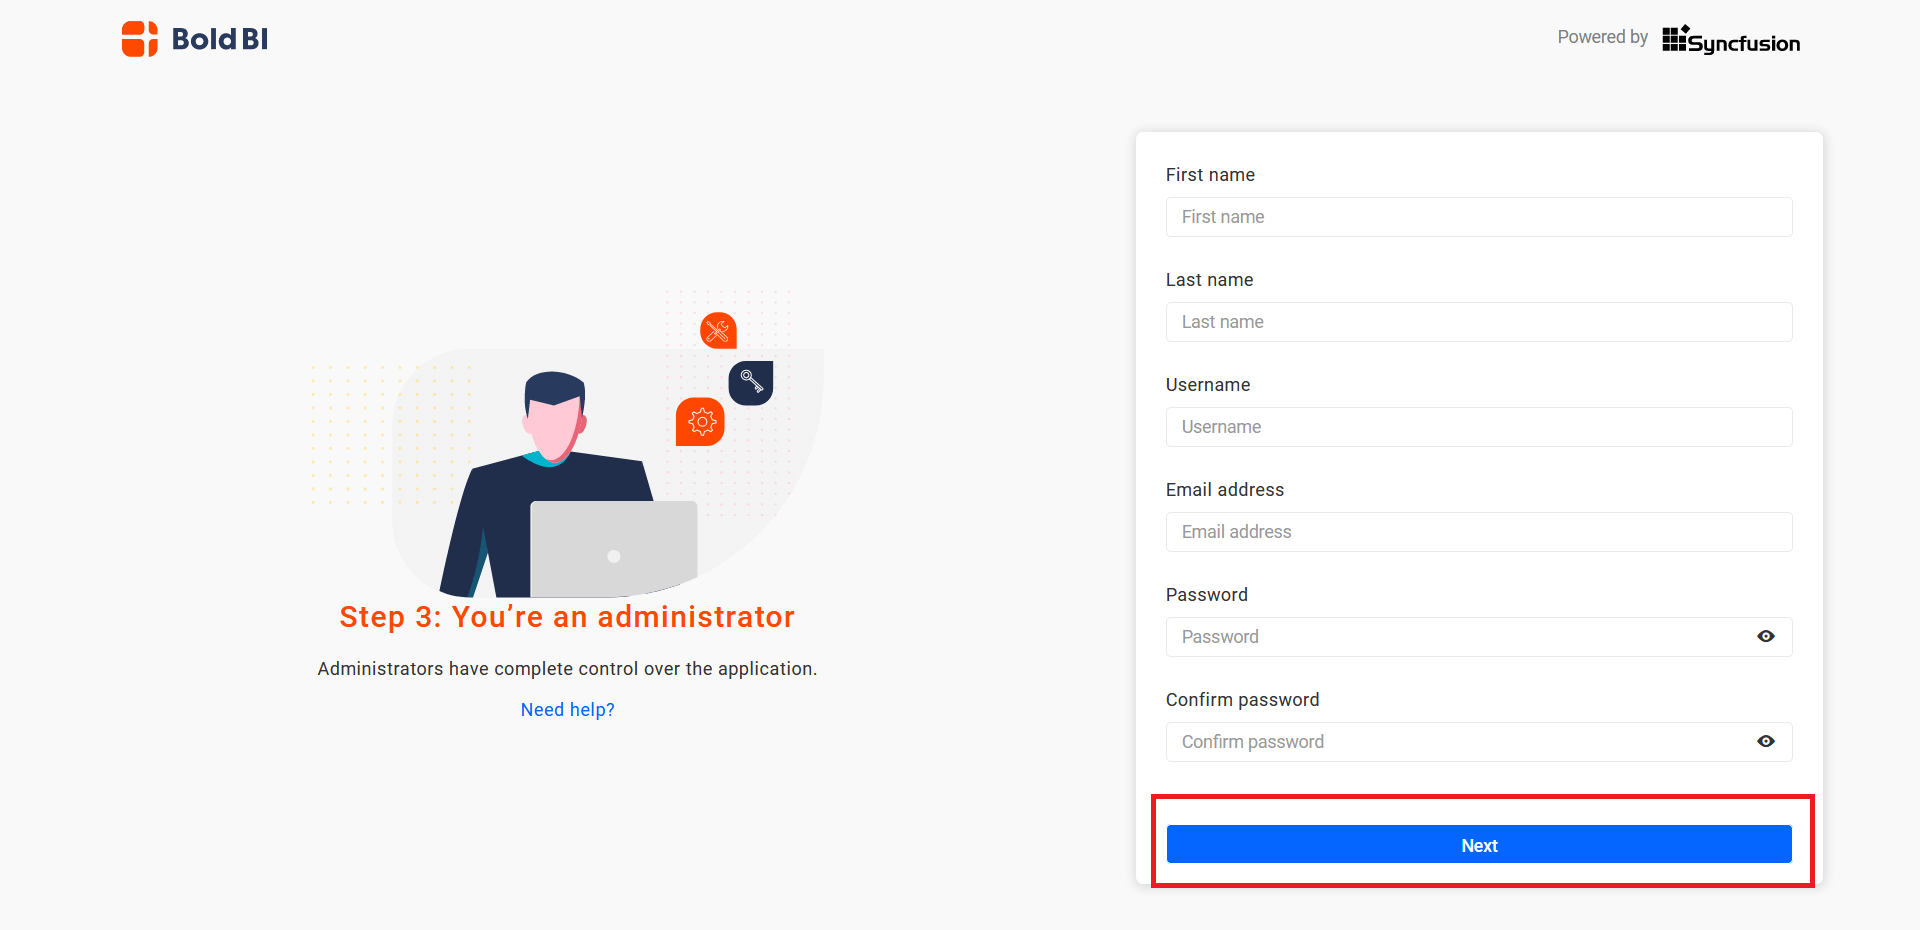
While creating this new user account, a new group called System Administrator is also created.
By default, the System Administrator group has permission to do the following:
- Create Dashboards
- Create Data Sources
- Create Schedules
- Create Slideshows
- Create Users
- Create Groups
- Manage Permissions for users and groups
By default, the newly created user account is assigned to this group.
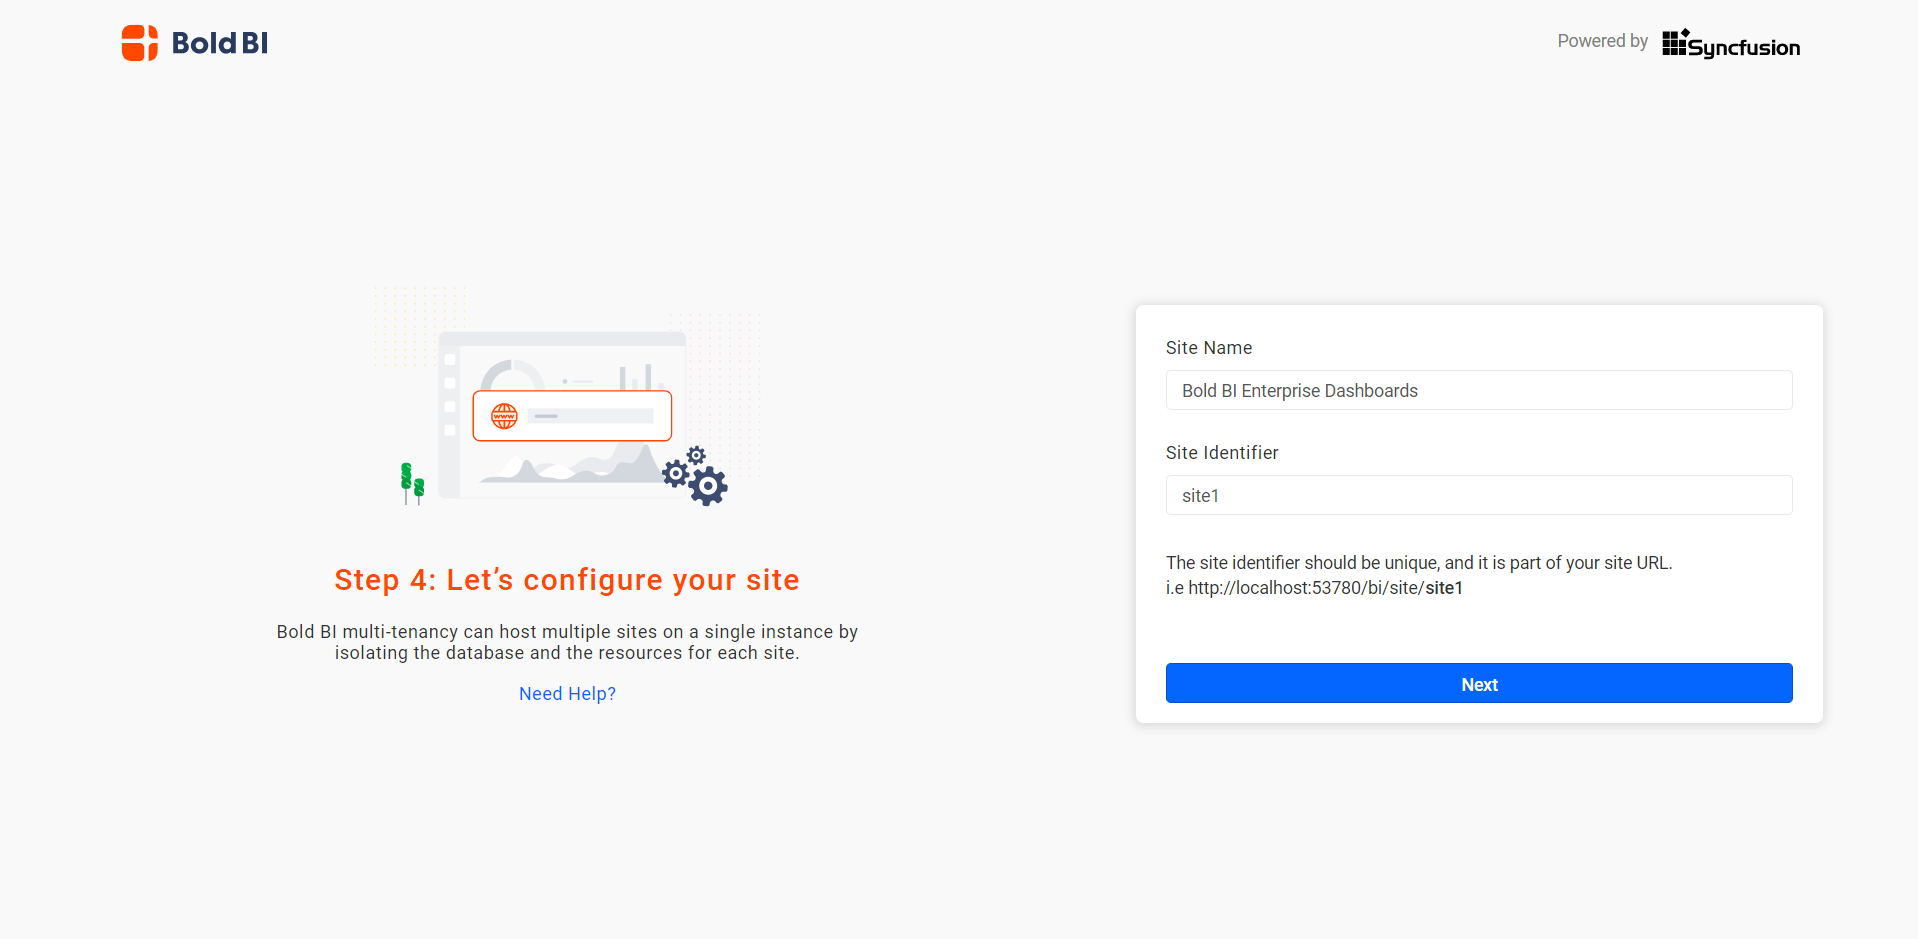
Site Configuration for Bold BI Sites
The user can select the preferred site name and site identifier for the initial site.
Database Configuration for Bold BI
This configuration stores the dashboards, users, and their access permissions in the database. You can use any one of the following databases to configure Bold BI.
Click here to see the available storage options
You can connect to the existing server instance using the options below.
-
Create new database.
-
Use an existing database.
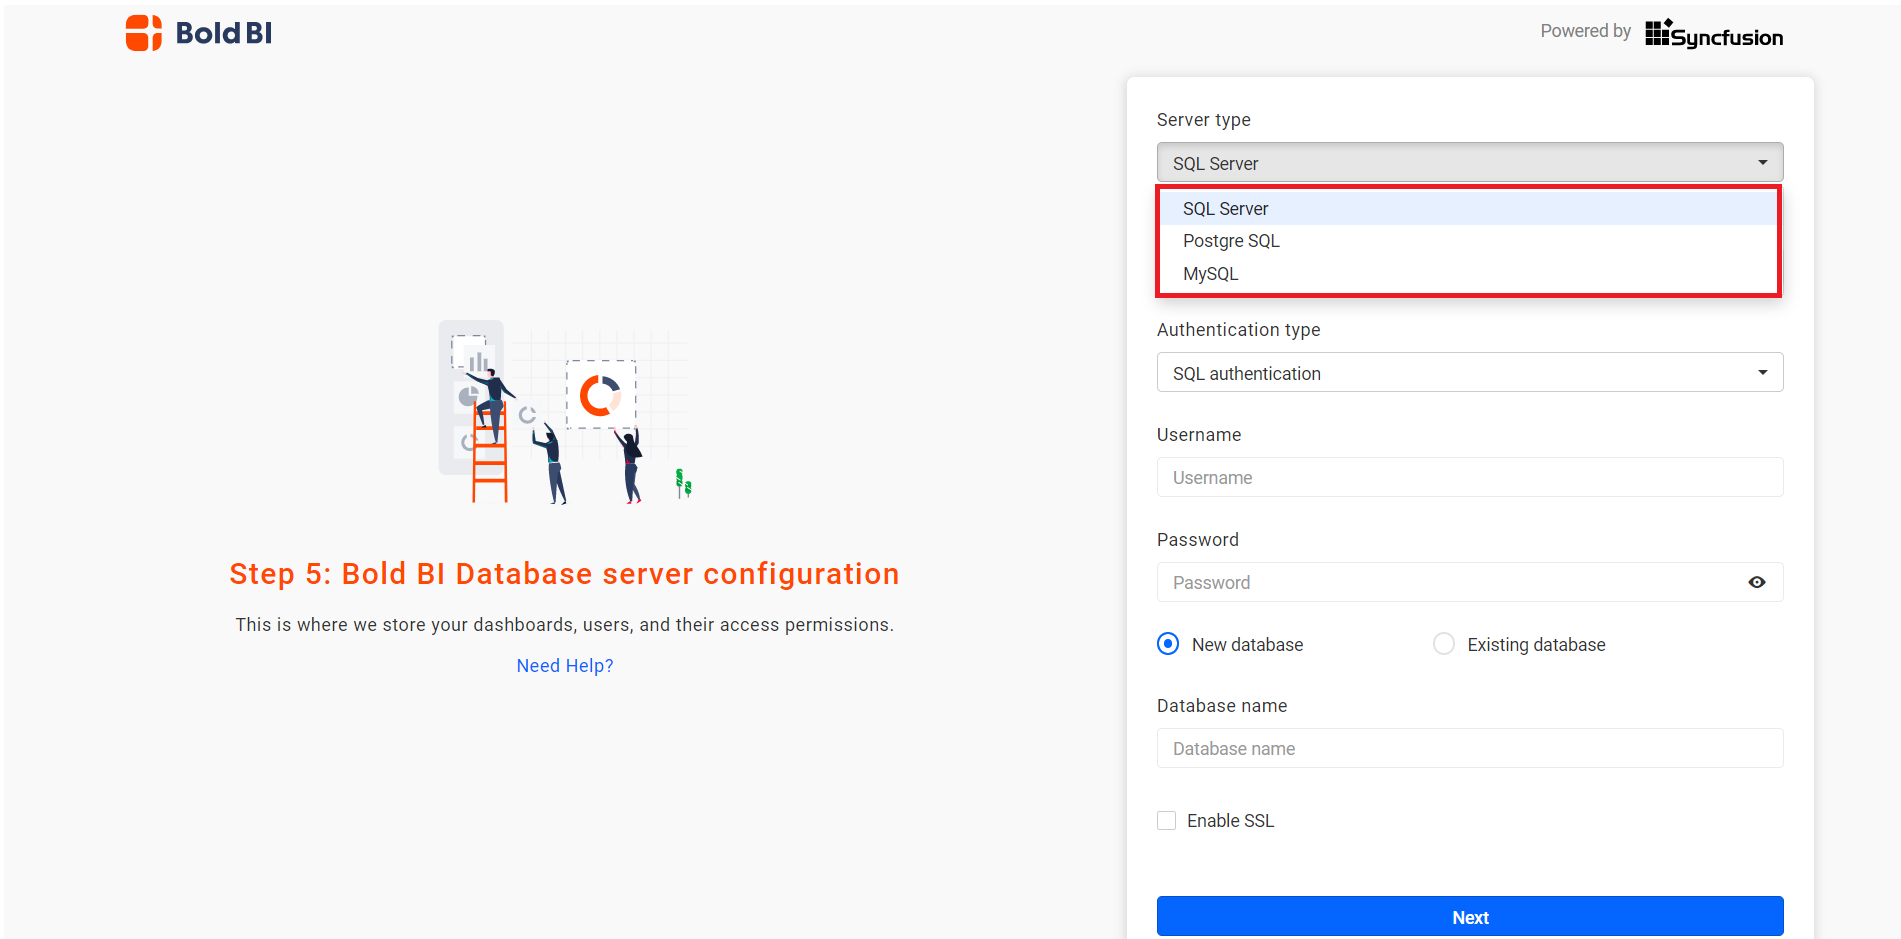
NOTE: The credentials provided to connect to the server instance must have the permissions specified in this documentation.
IMPORTANT: The Bold BI server will accept all connections that use Transport Layer Security (TLS 1.1/1.2) encryption and AES Cryptography (128 bits). When configuring the Bold BI Dashboard, select the
Enable SSLoption to support encrypted data transfer.
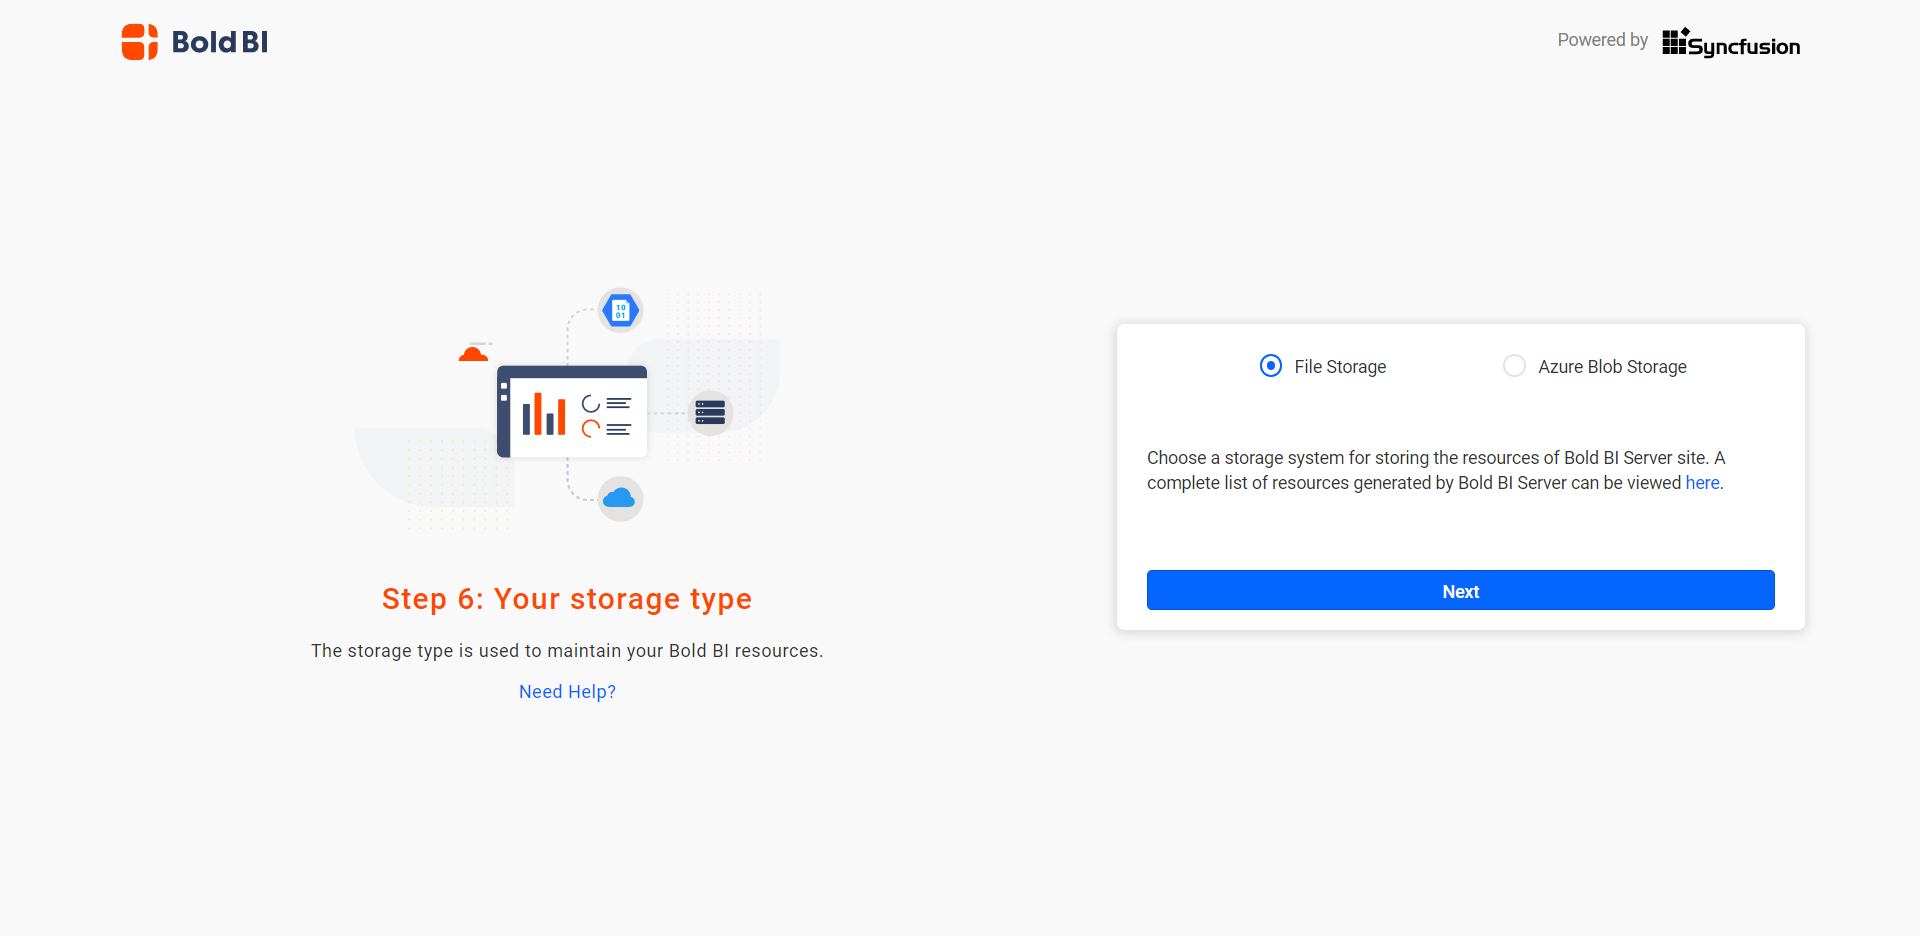
Storage Configuration for Bold BI
File Storage
The default system is File Storage. In this system, the Dashboard Server stores the dashboards and data sources that are uploaded to the server in the following location on the installed machine.
Blob Storage
If the Dashboard Server wants to store the dashboards and data sources that are uploaded to the server in the blob storage location, it needs to provide the details shown in the figure below.
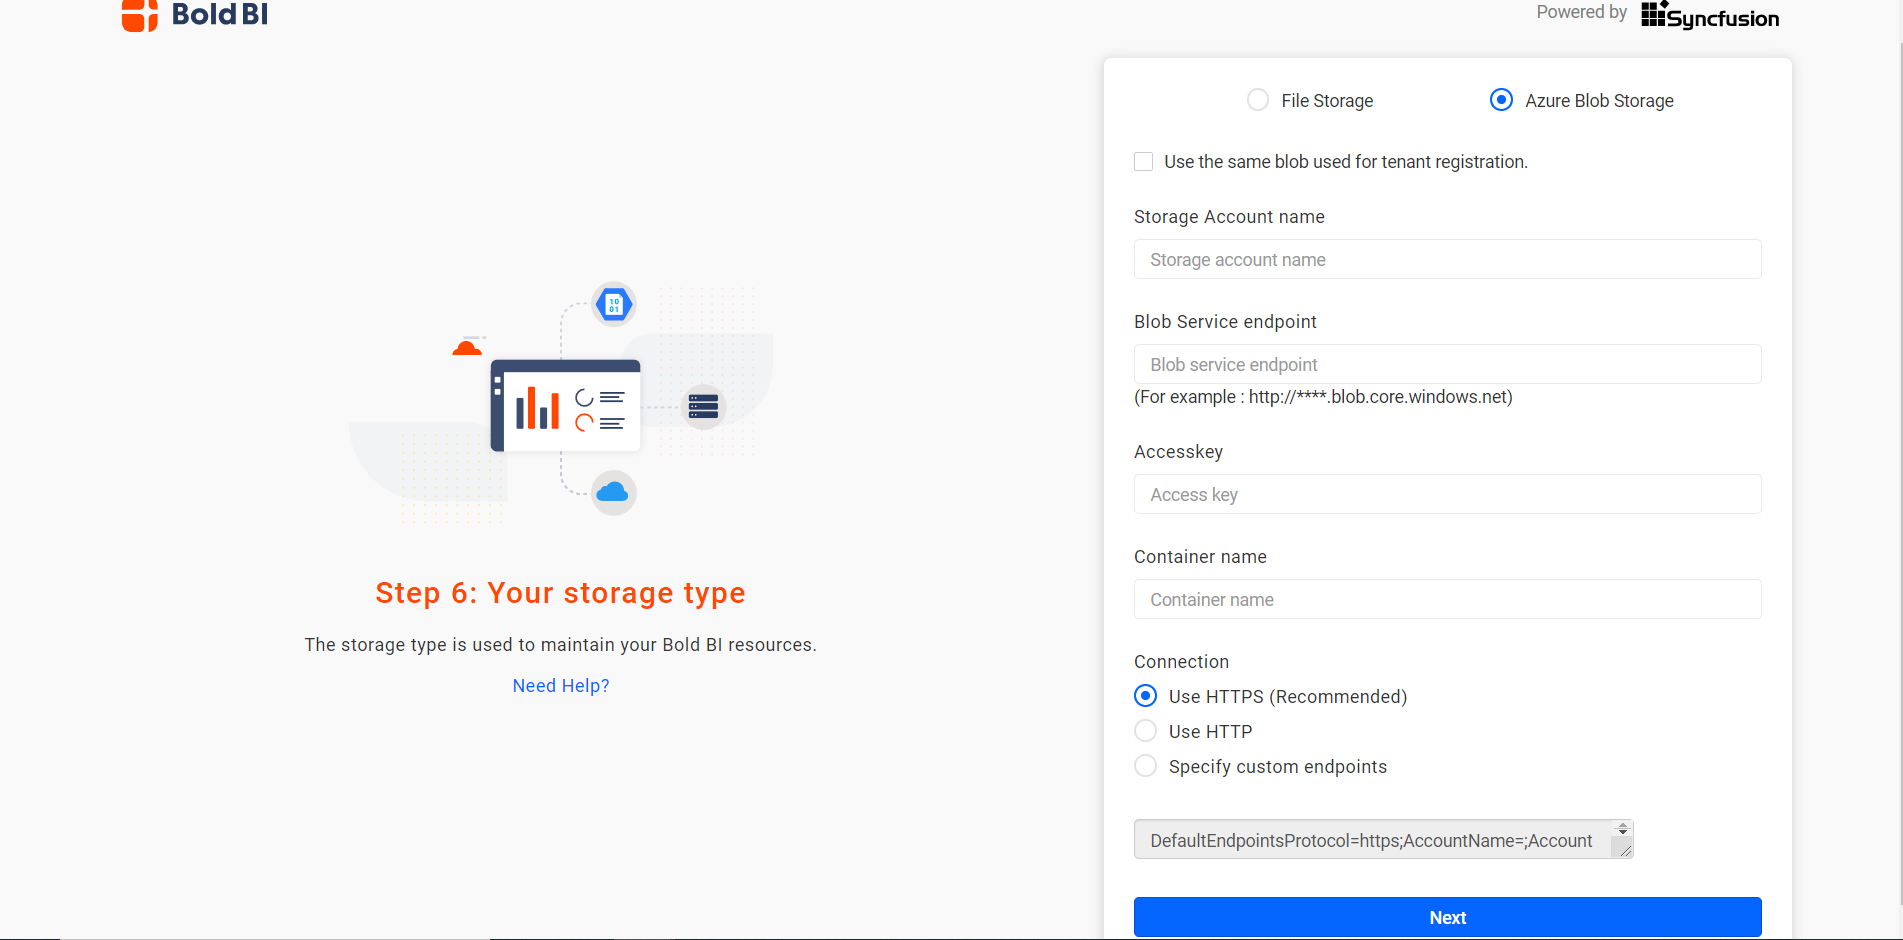
You can find the details on how to configure the Azure Blob.
Database Configuration for Data Store
The DataStore is essentially an intermediate database. It is used to store imported data from web data sources and statistic files. Additionally, you have the ability to update the data by utilizing the scheduled refresh option.
This configuration stores the data offline and helps to access the dashboards quickly.
You can configure the database connection for data storage and then proceed with the next step.
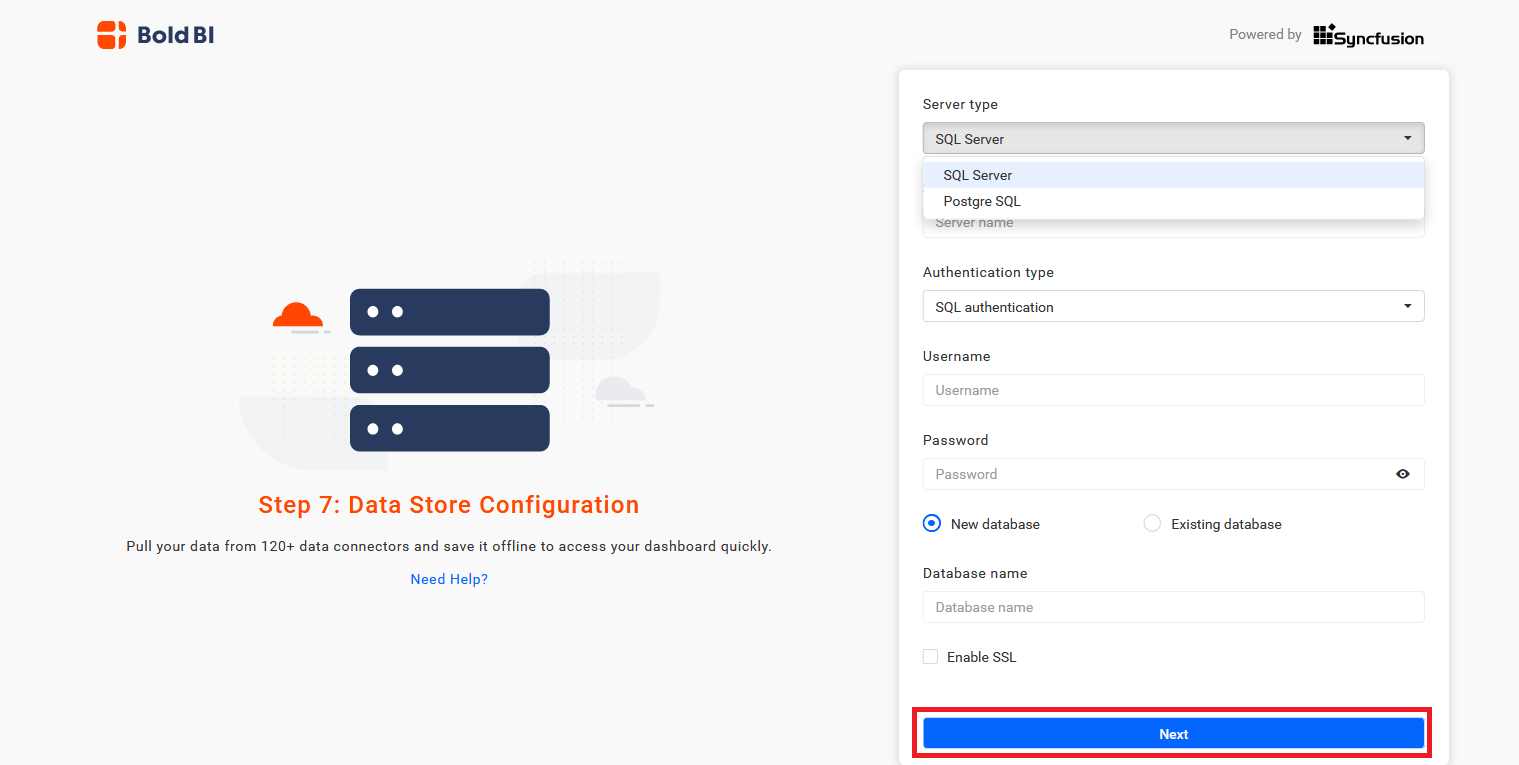
You can use any one of the following databases to configure the Data Store.
Click here to see the available storage options
You can connect to the existing server instance using the options below.
- Create new database.
- Use an existing database.
NOTE: The credentials provided for connecting to the server instance must have the permissions specified in this documentation.
IMPORTANT: The Bold BI server will accept all connections that use Transport Layer Security (TLS 1.1/1.2) encryption and AES Cryptography (128 bits). When configuring the Data store, select the
Enable SSLoption to support encrypted data transfer.
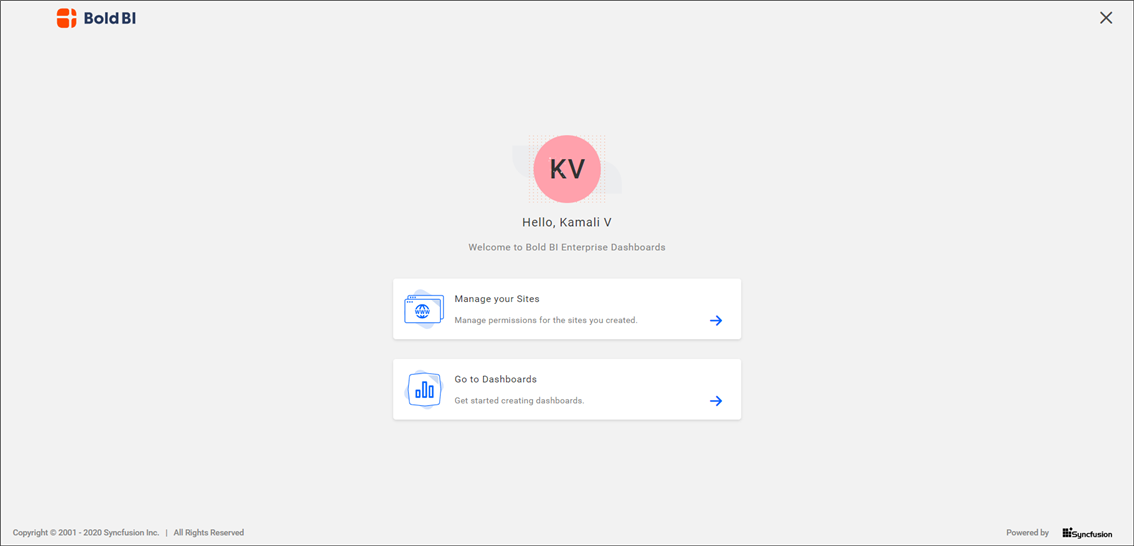
After proceeding with Next, the application will register and validate the site information. Once the process is completed, you will be able to:
- Manage sites – where you can manage permissions for the sites you have created
- Go to Dashboards - where you can create, edit, update the dashboards and so on.
Activate Bold BI license
You can activate your account either by using your login credentials or by using an offline unlock key.
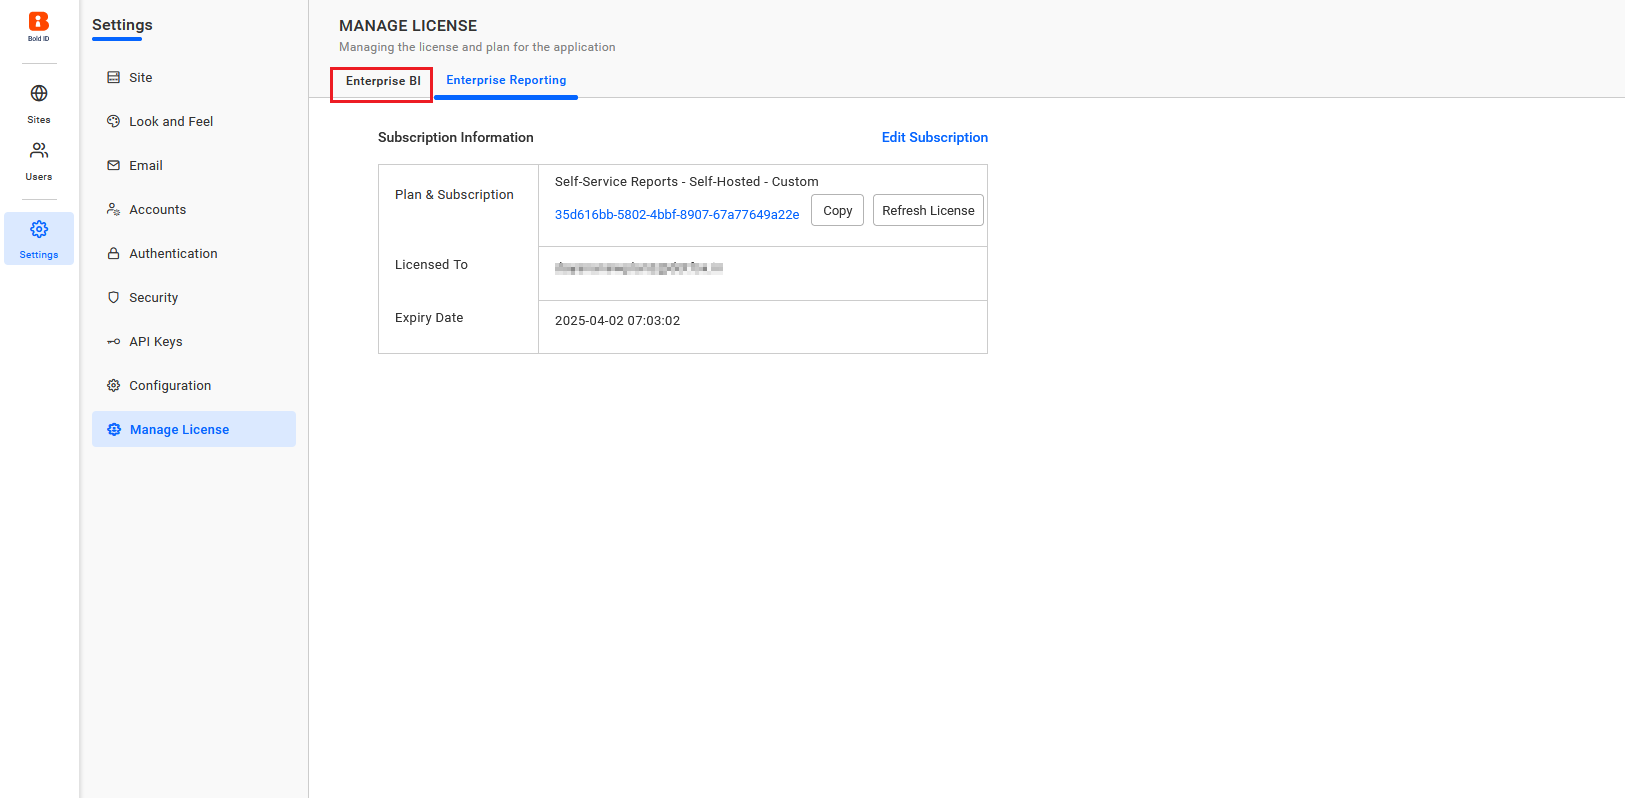
Open the Manage License Page - {domain}/ums/administration/license-settings
Then, select the Bold BI Enterprise tab.
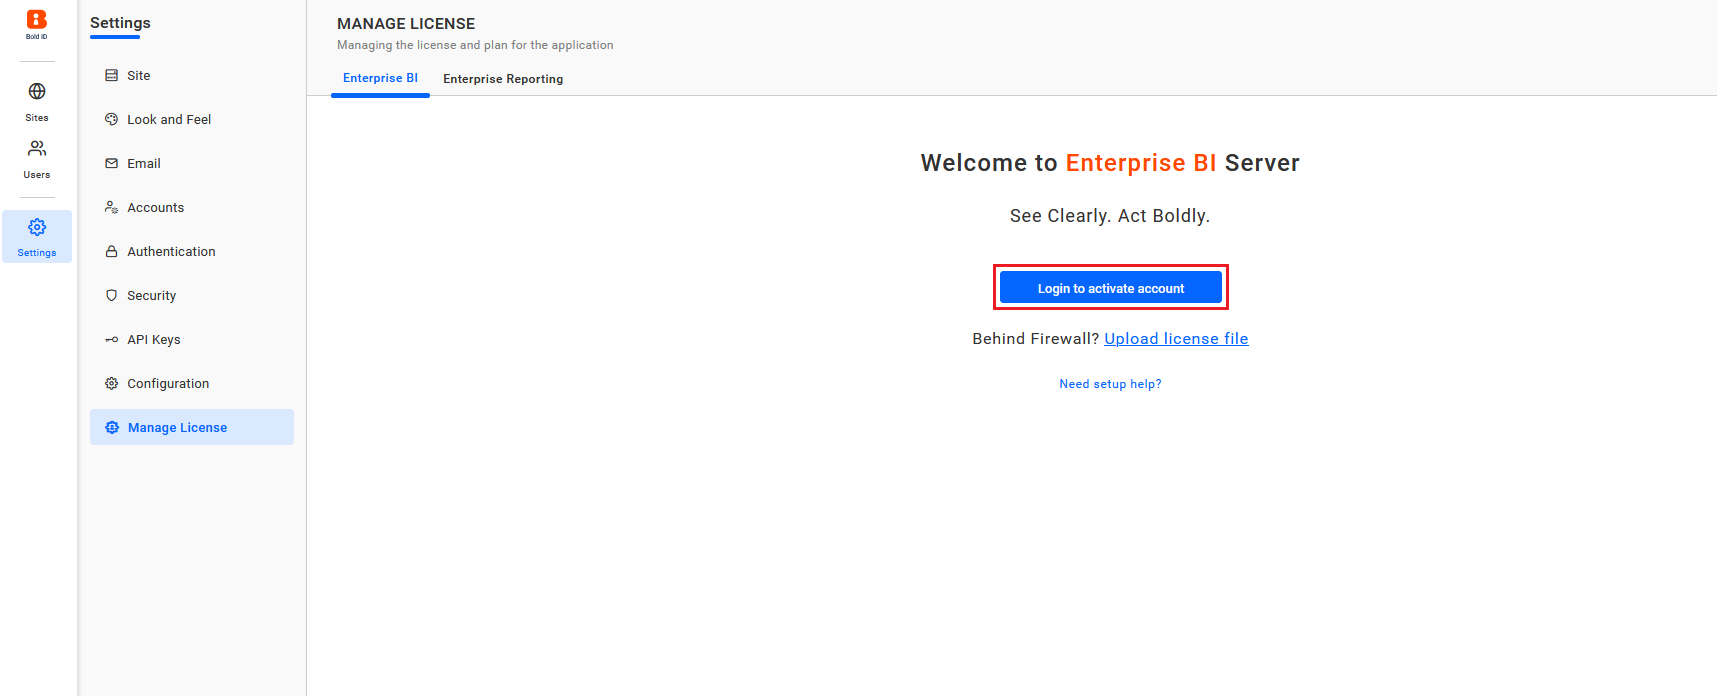
Activate Bold BI license using the login credential
To activate your subscription, you can sign in using your registered email address.
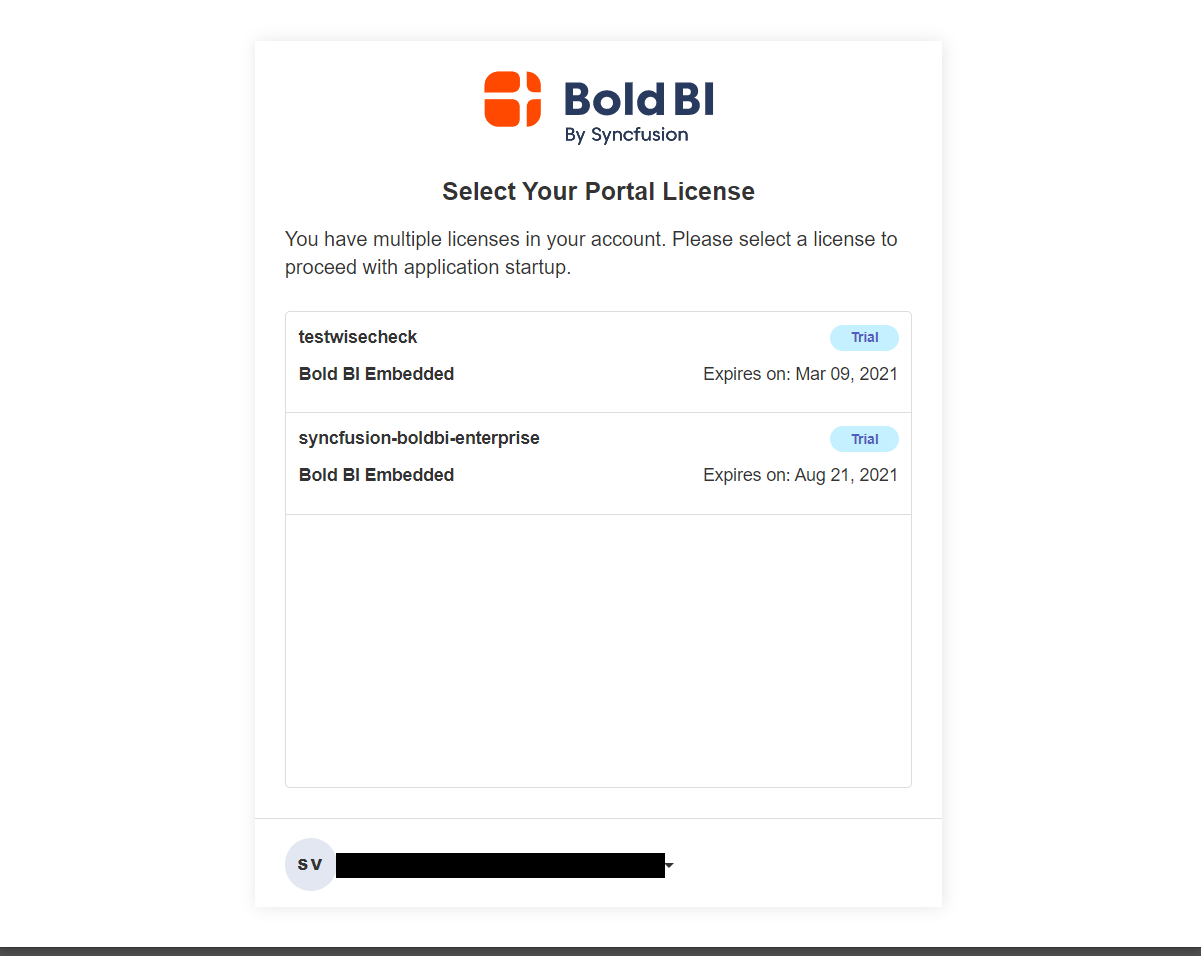
If you have multiple Bold BI licenses, you will see this screen and can select the corresponding license to activate Bold BI. Otherwise, your Bold BI license will be automatically activated.
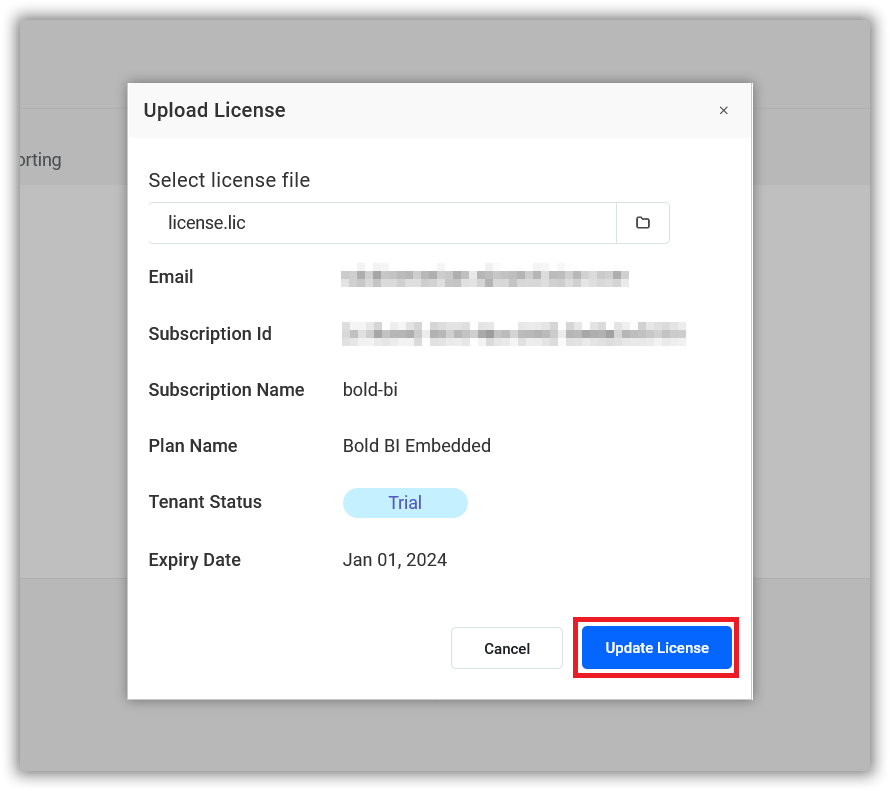
Upload unlock key
NOTE: The offline unlock key will be available for download on your account page under the Active subscription section, by default.
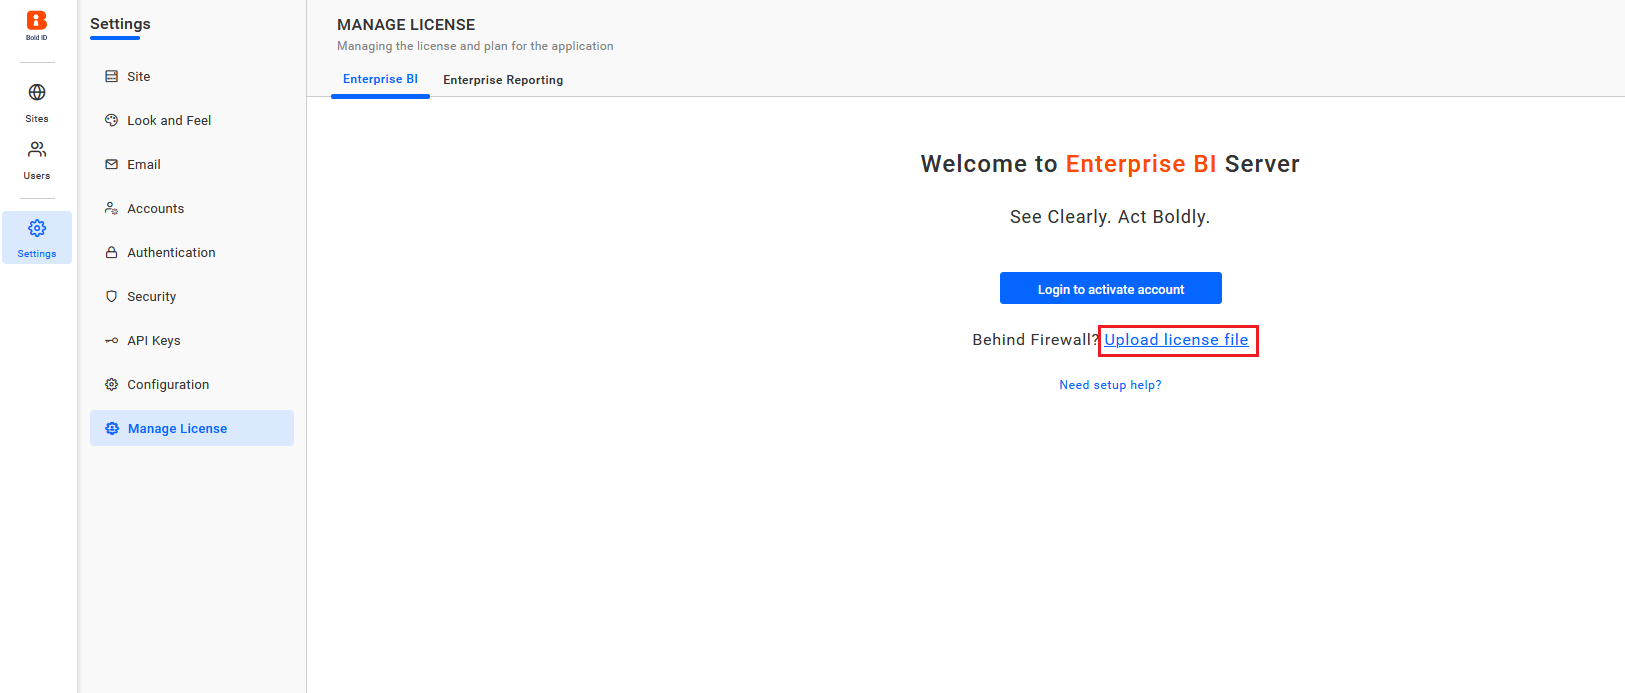
Once the unlock key has been uploaded, proceed to the Upload License button to activate the Bold BI License.
Create site
Please refer to this Create Site document to create more sites/tenants.